


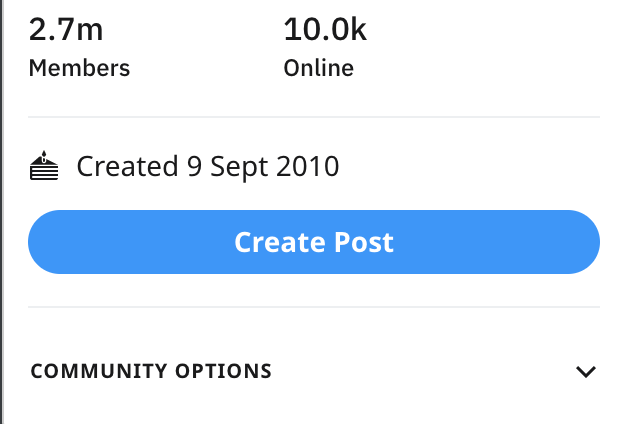
How our Video went Viral on Reddit How I took the #1 spot in r/bitcoin N.B. Don’t read this if you’re not willing to experiment

Top Video Trends and Ideas 2021 A complete guide to the top video trends and ideas for 2021 It’s been true on the web for

What is an online video editor and how does it work? A complete guide: Discover what an online video editor is and how does it


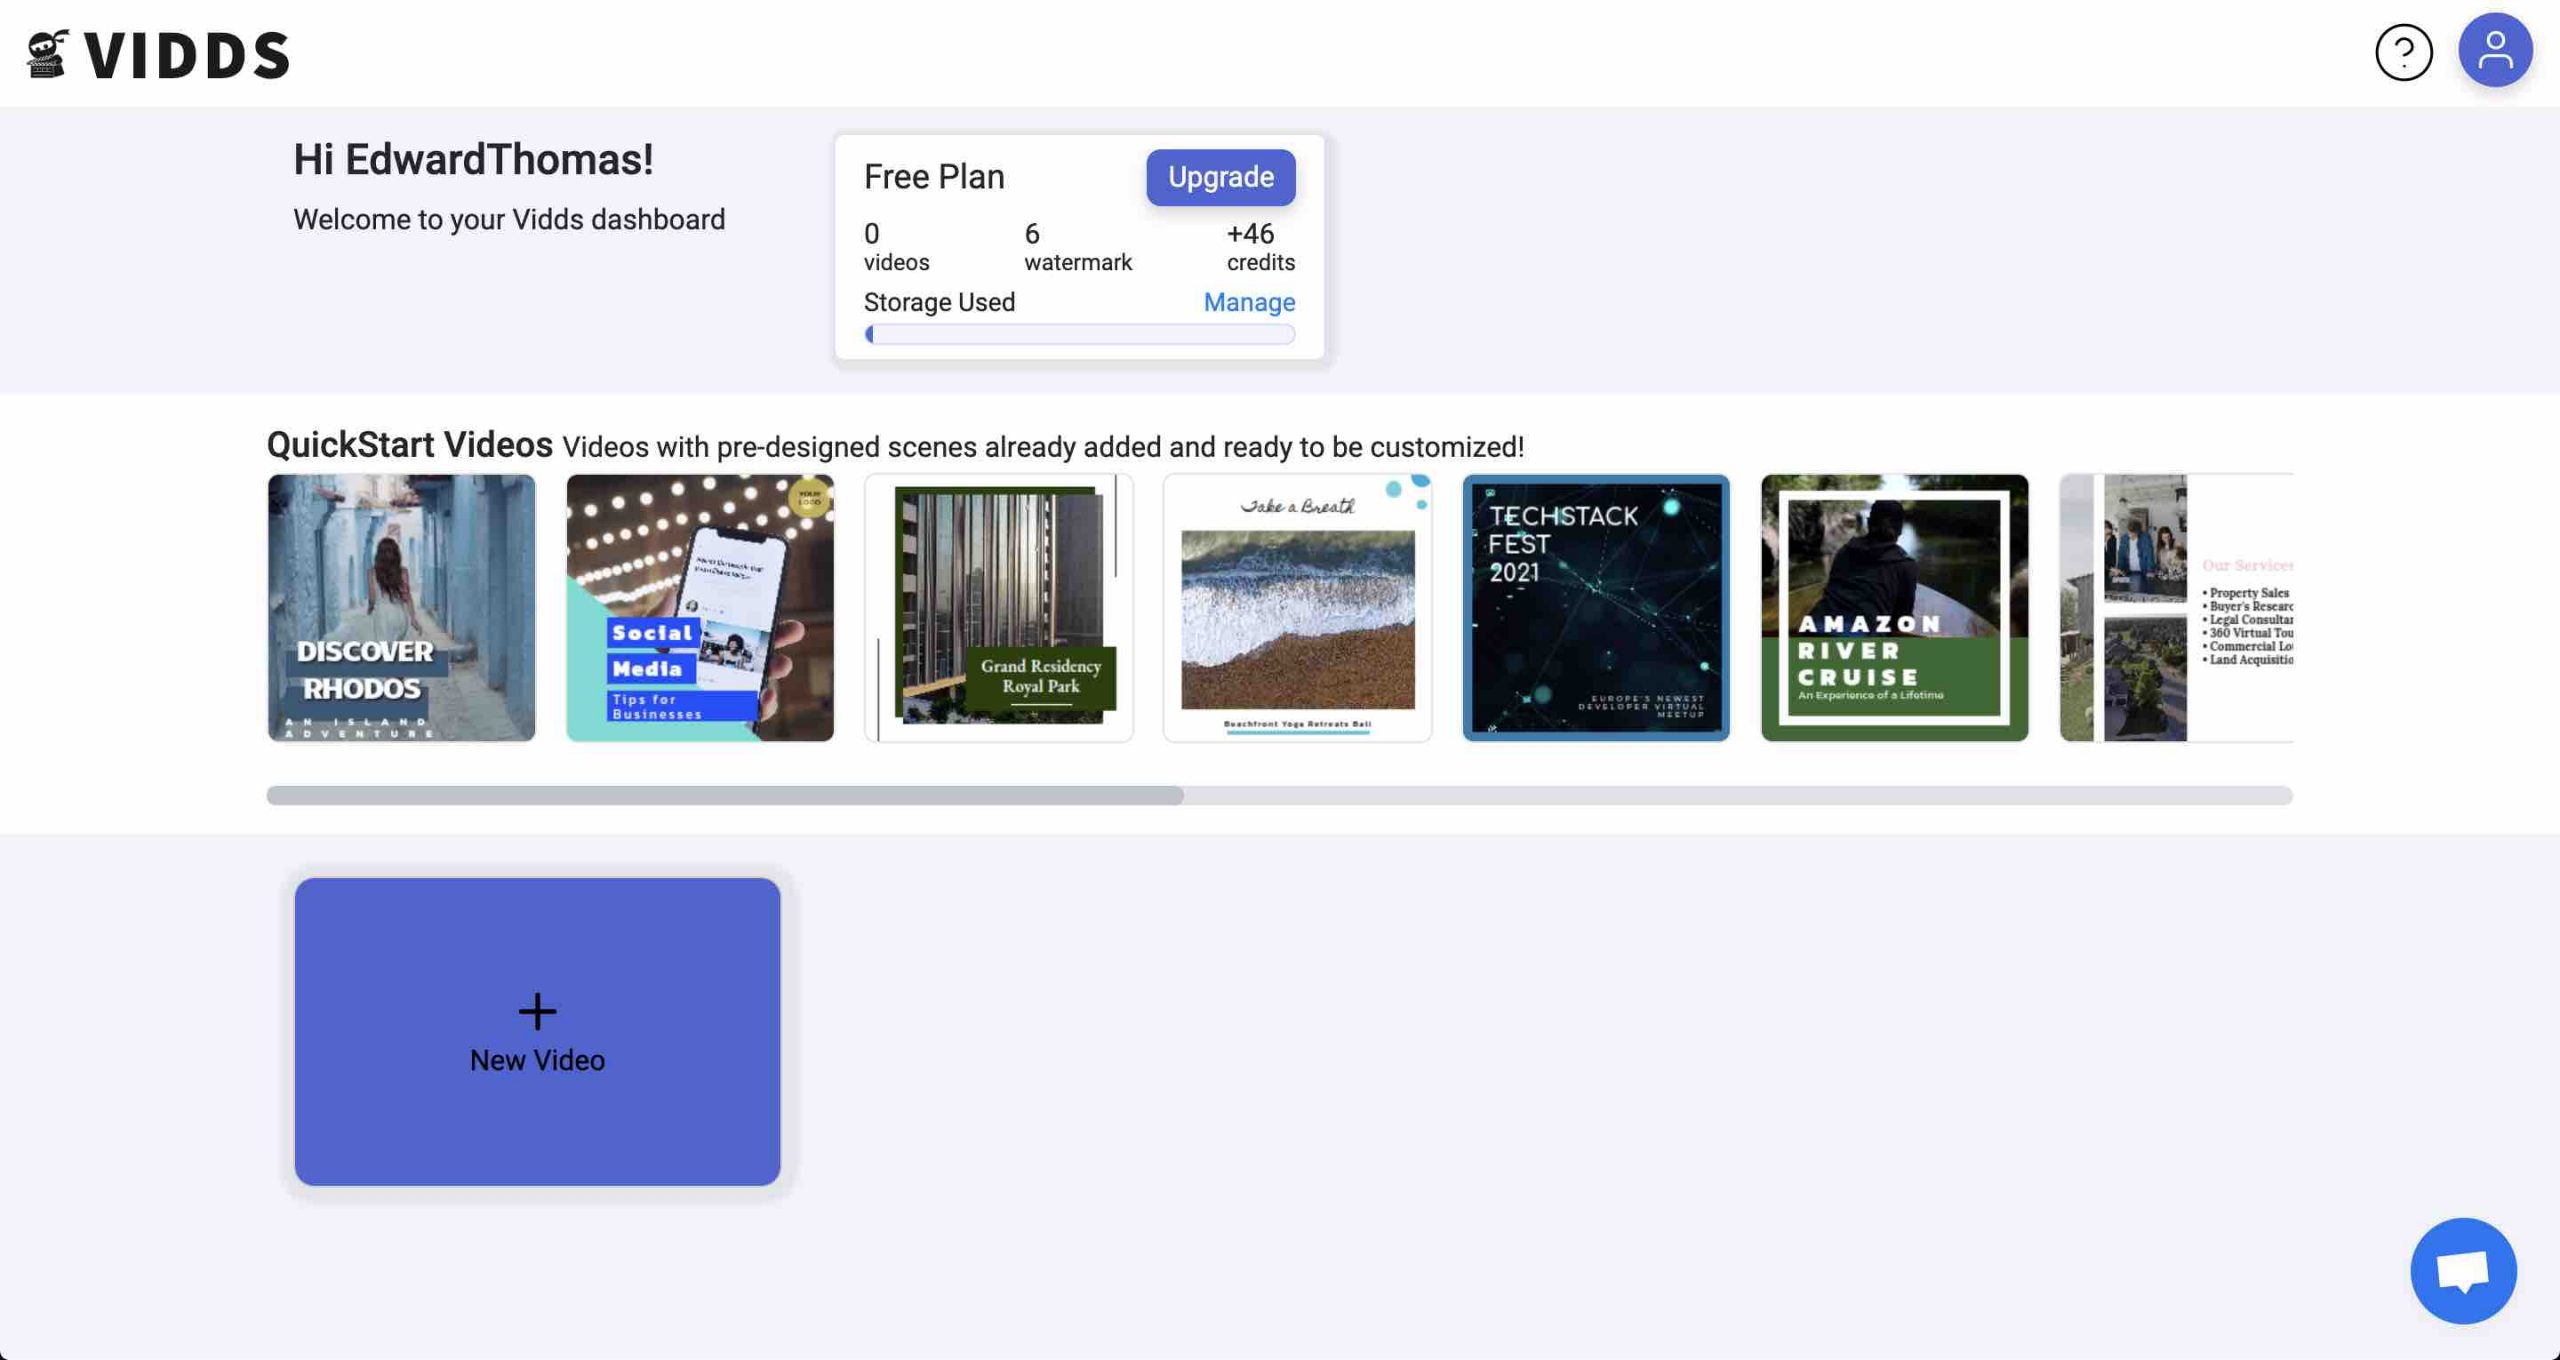
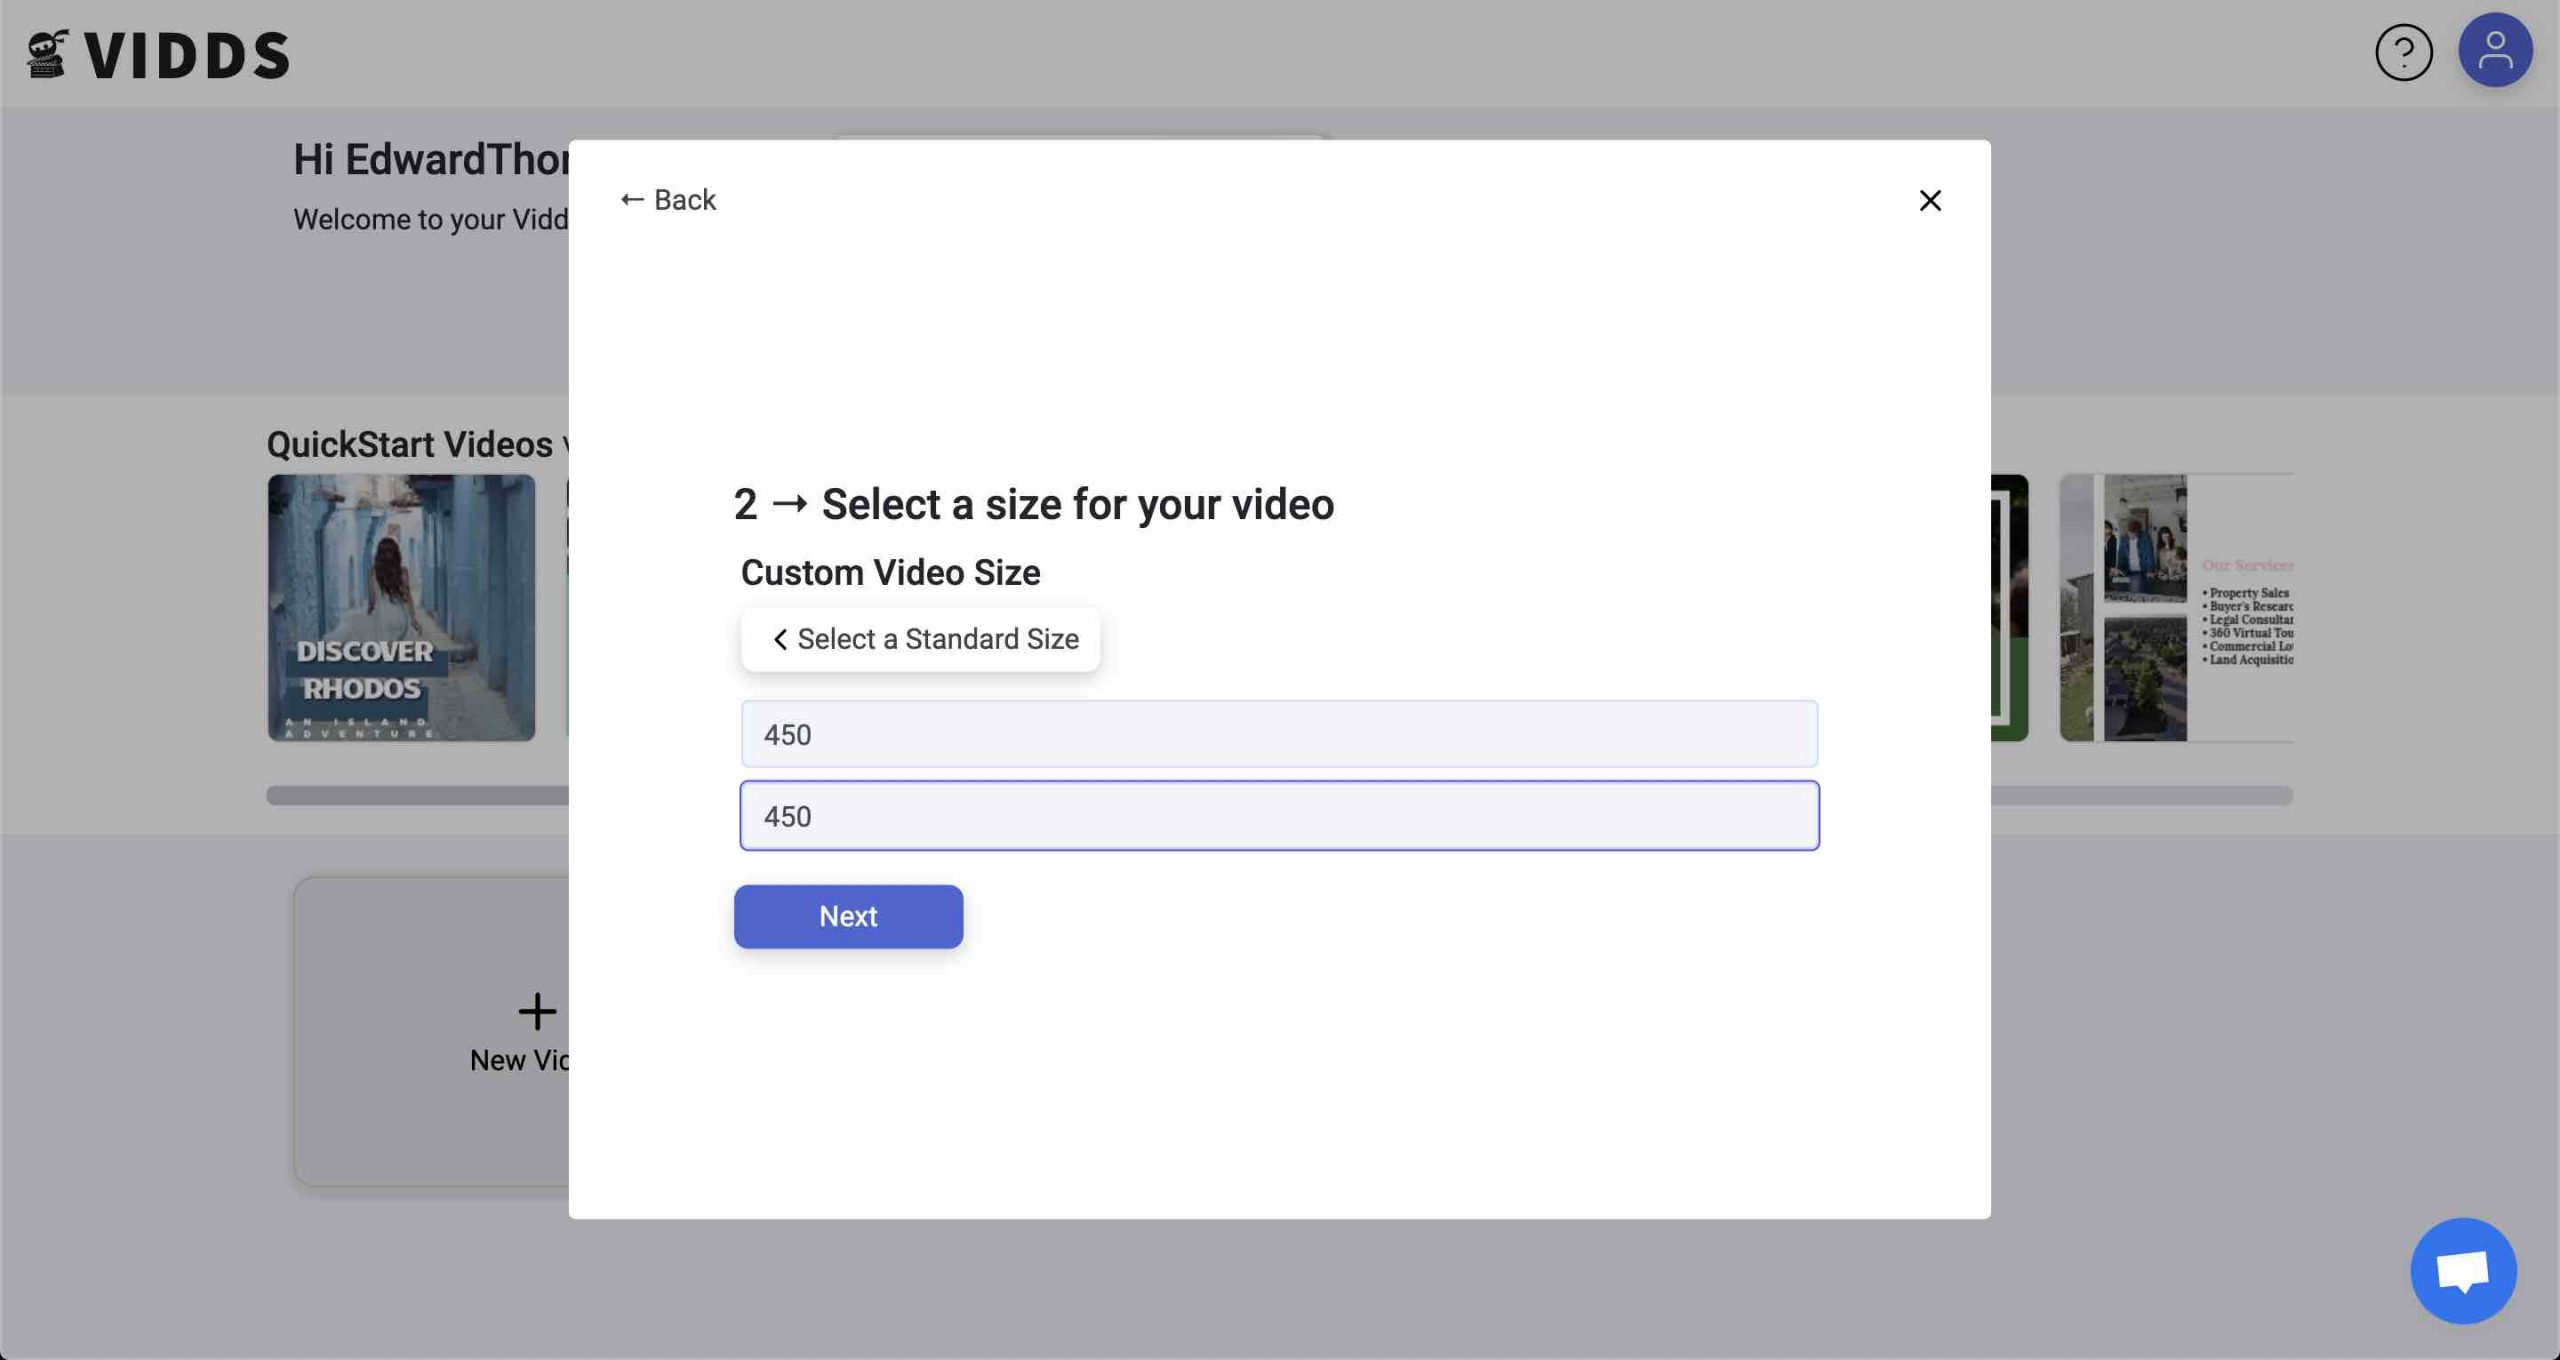
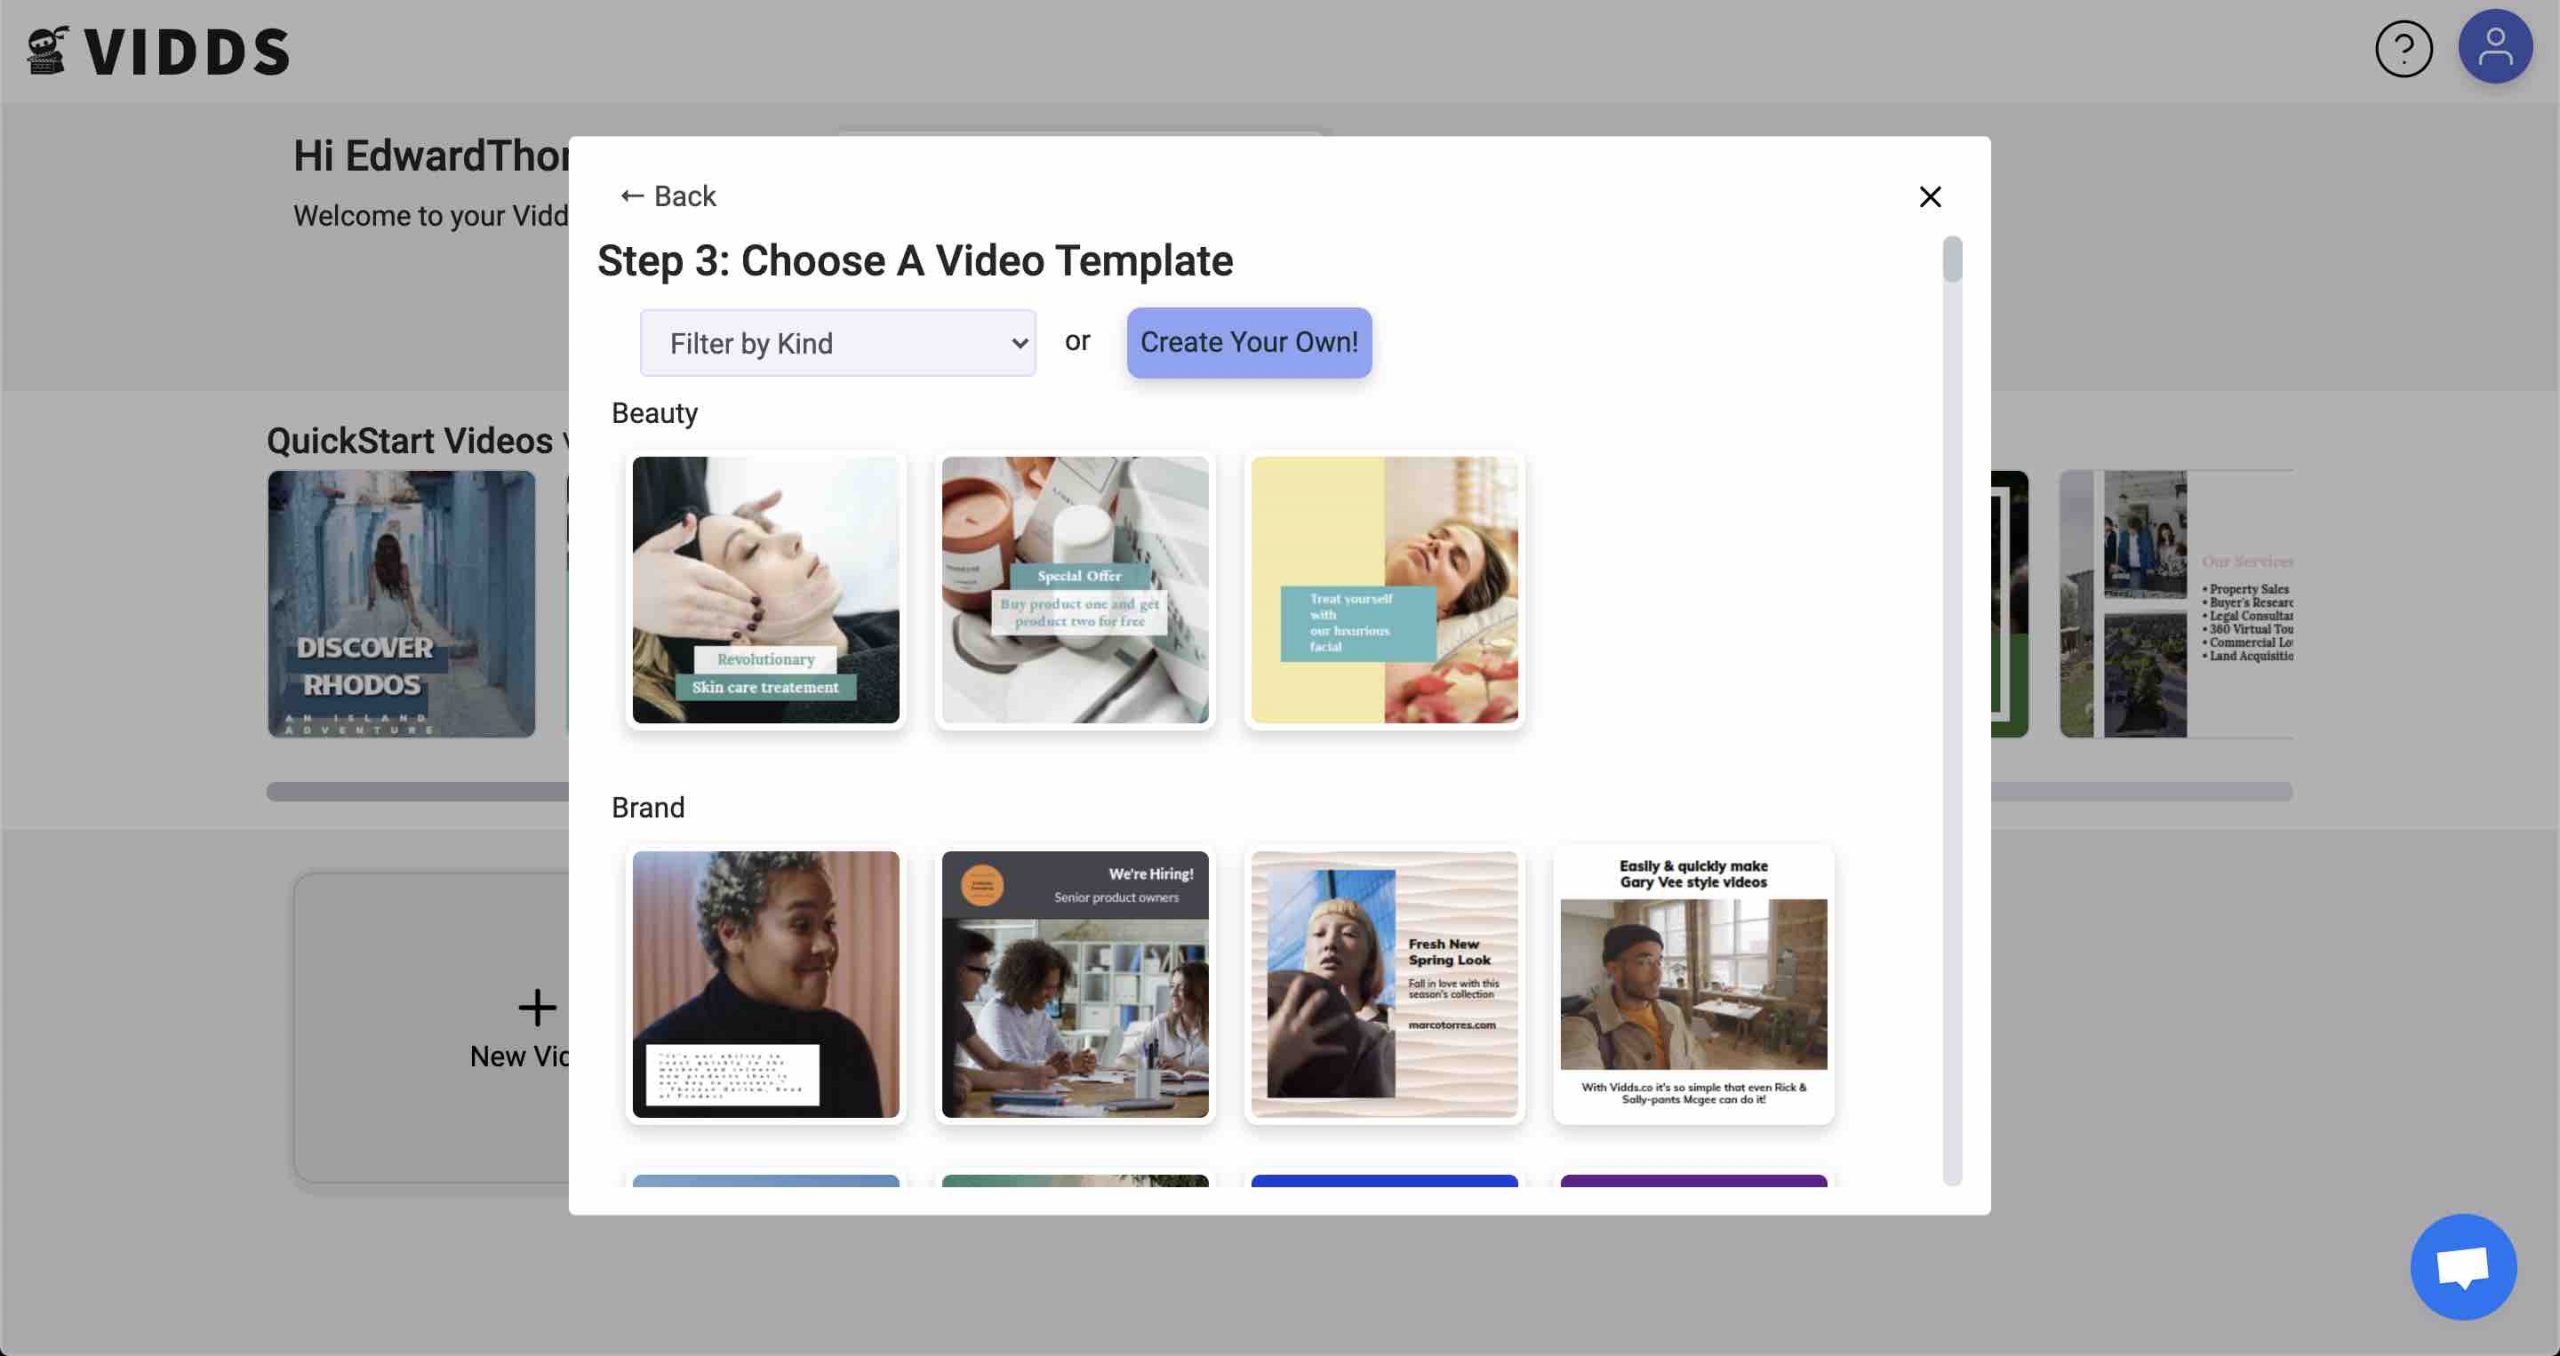
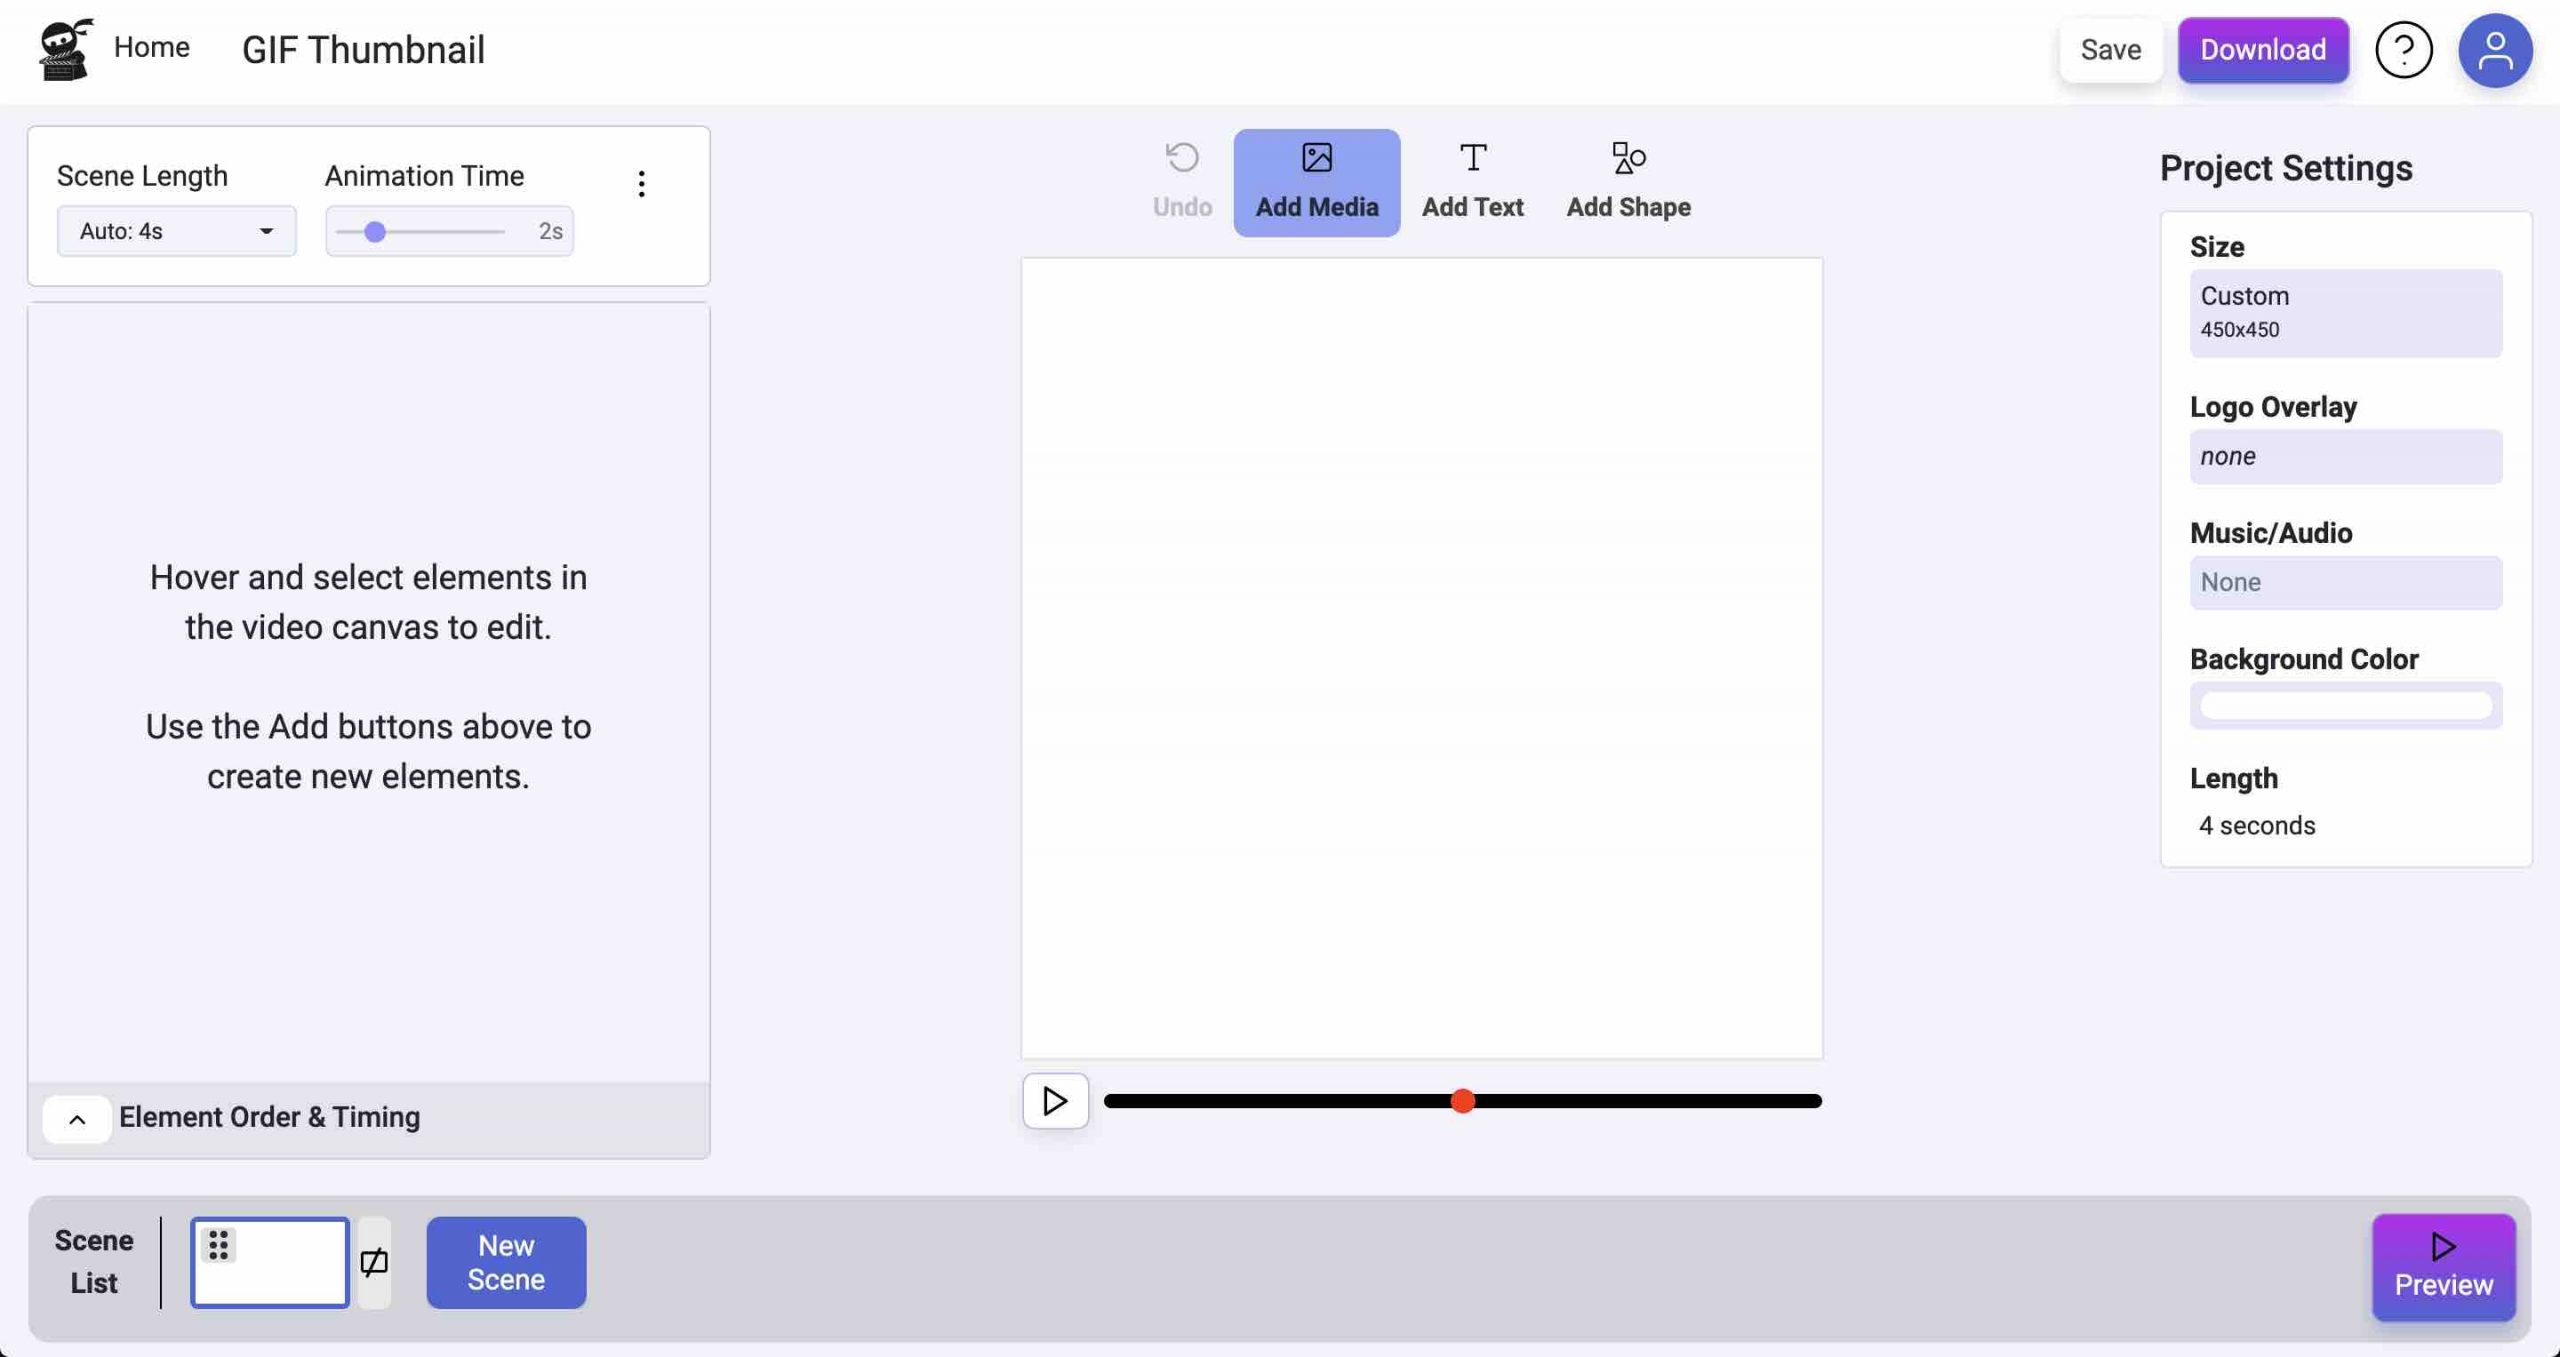
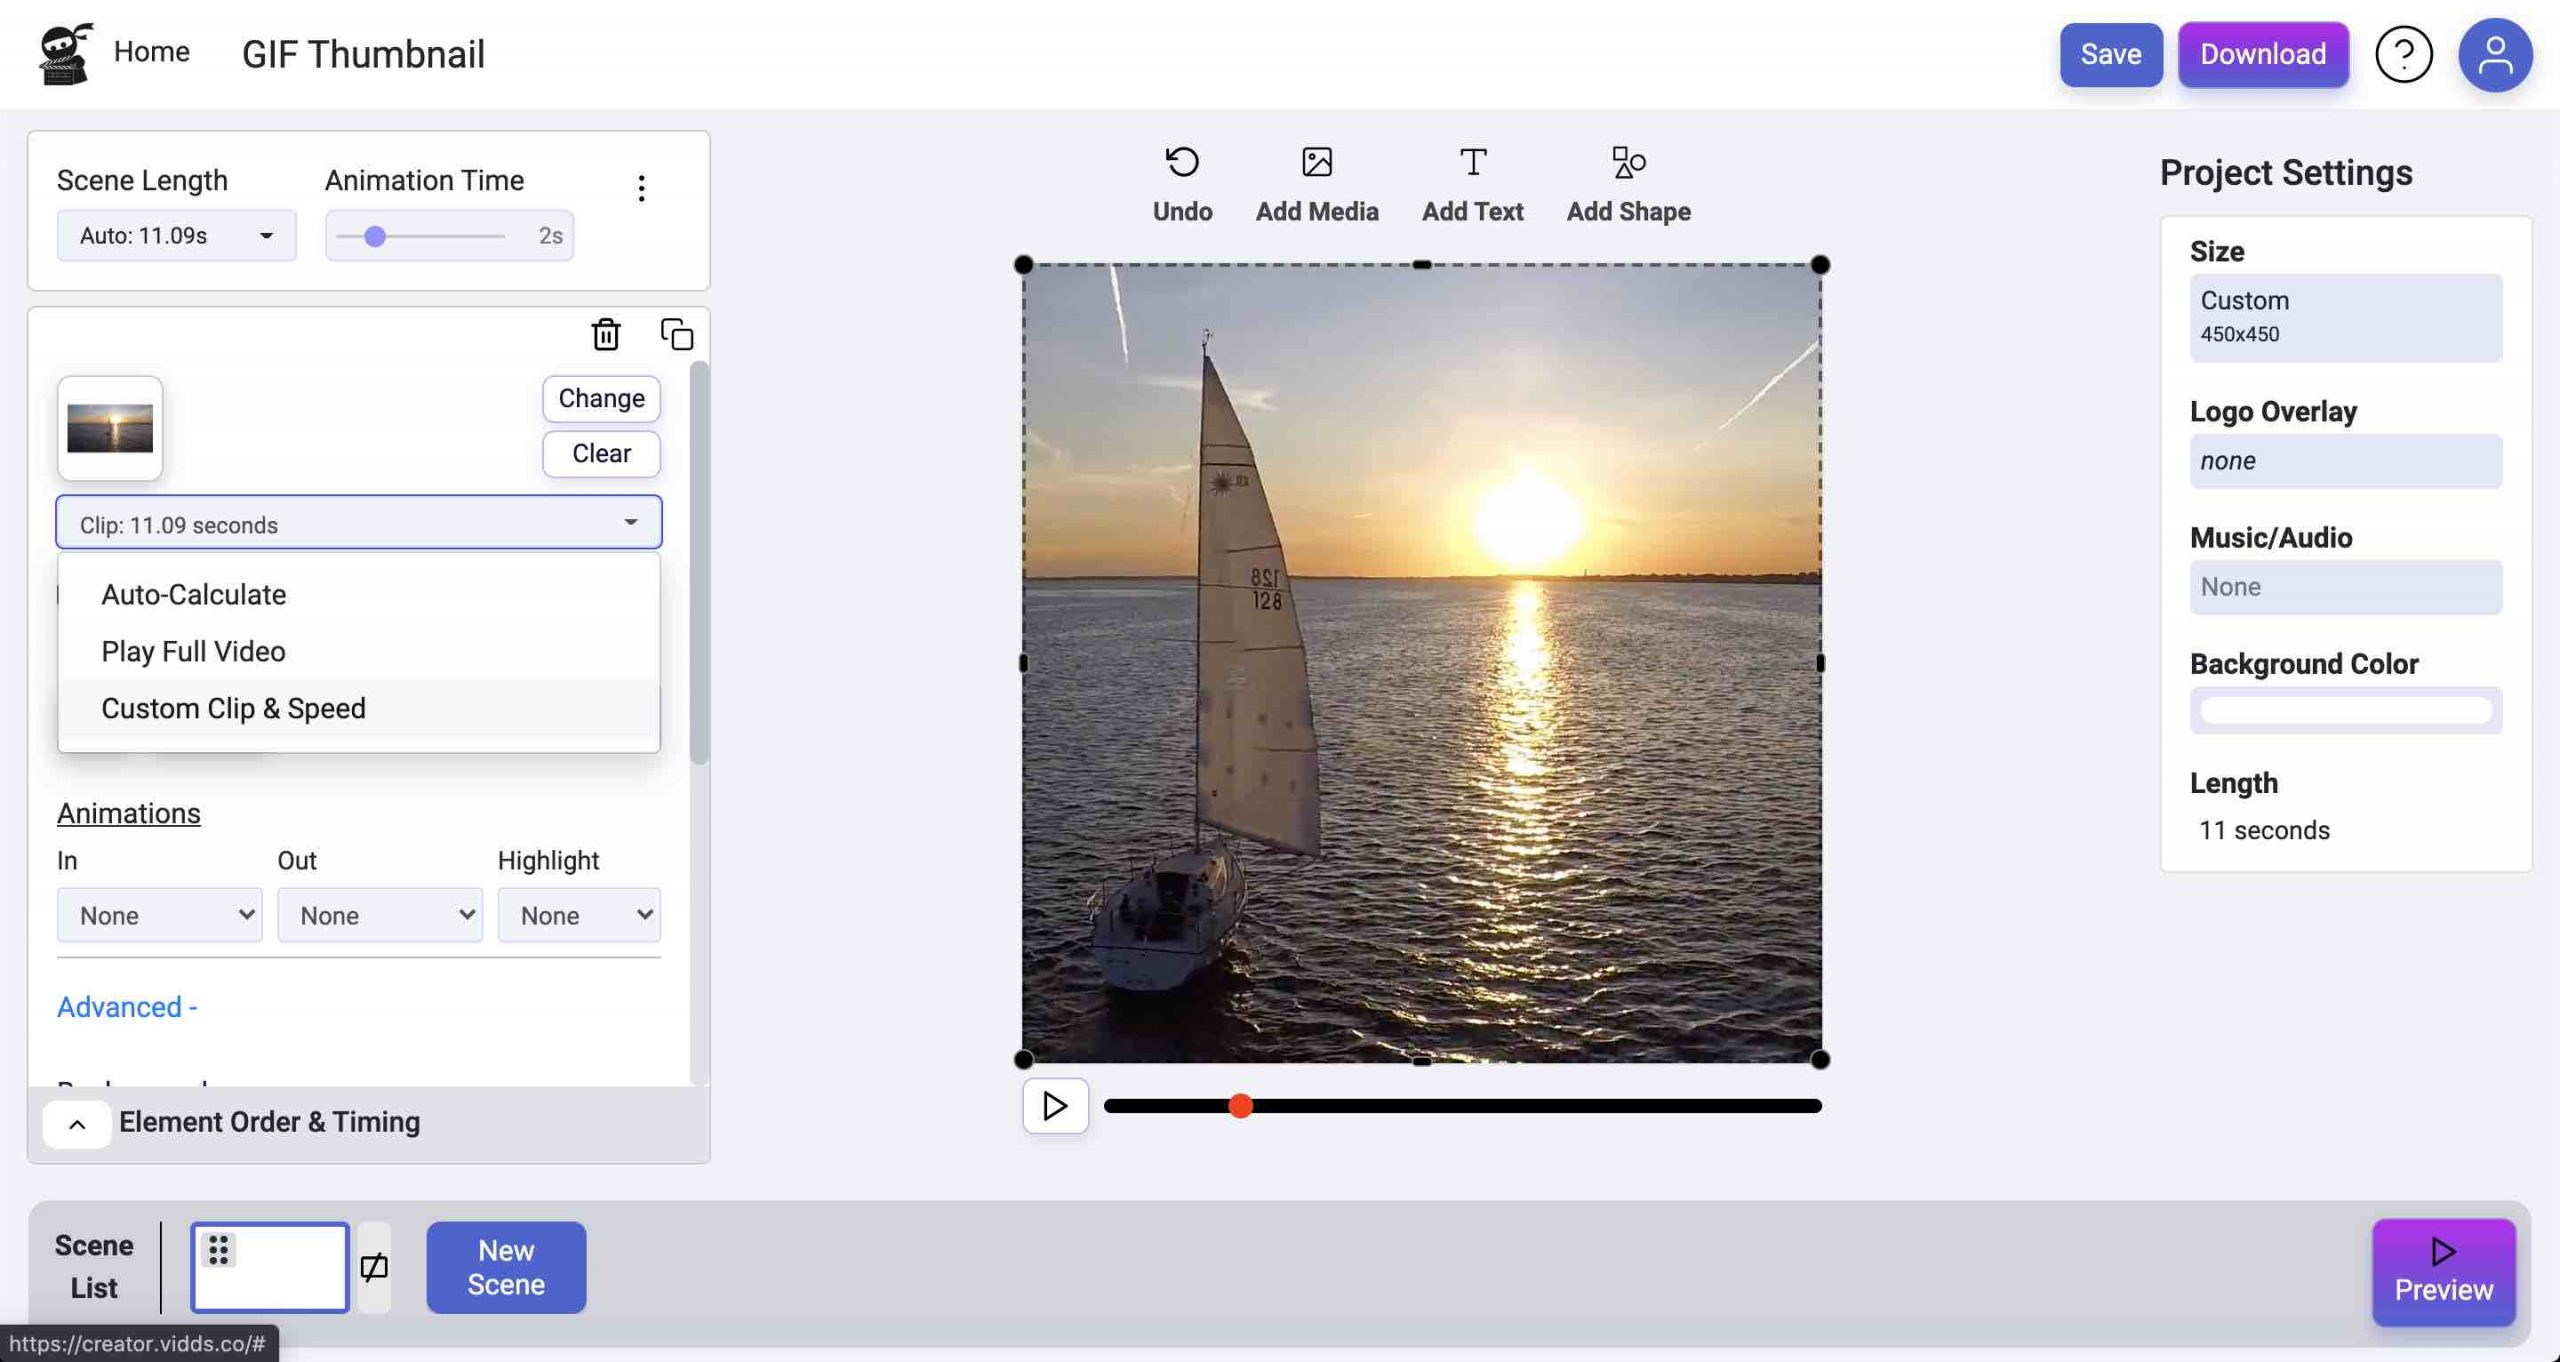
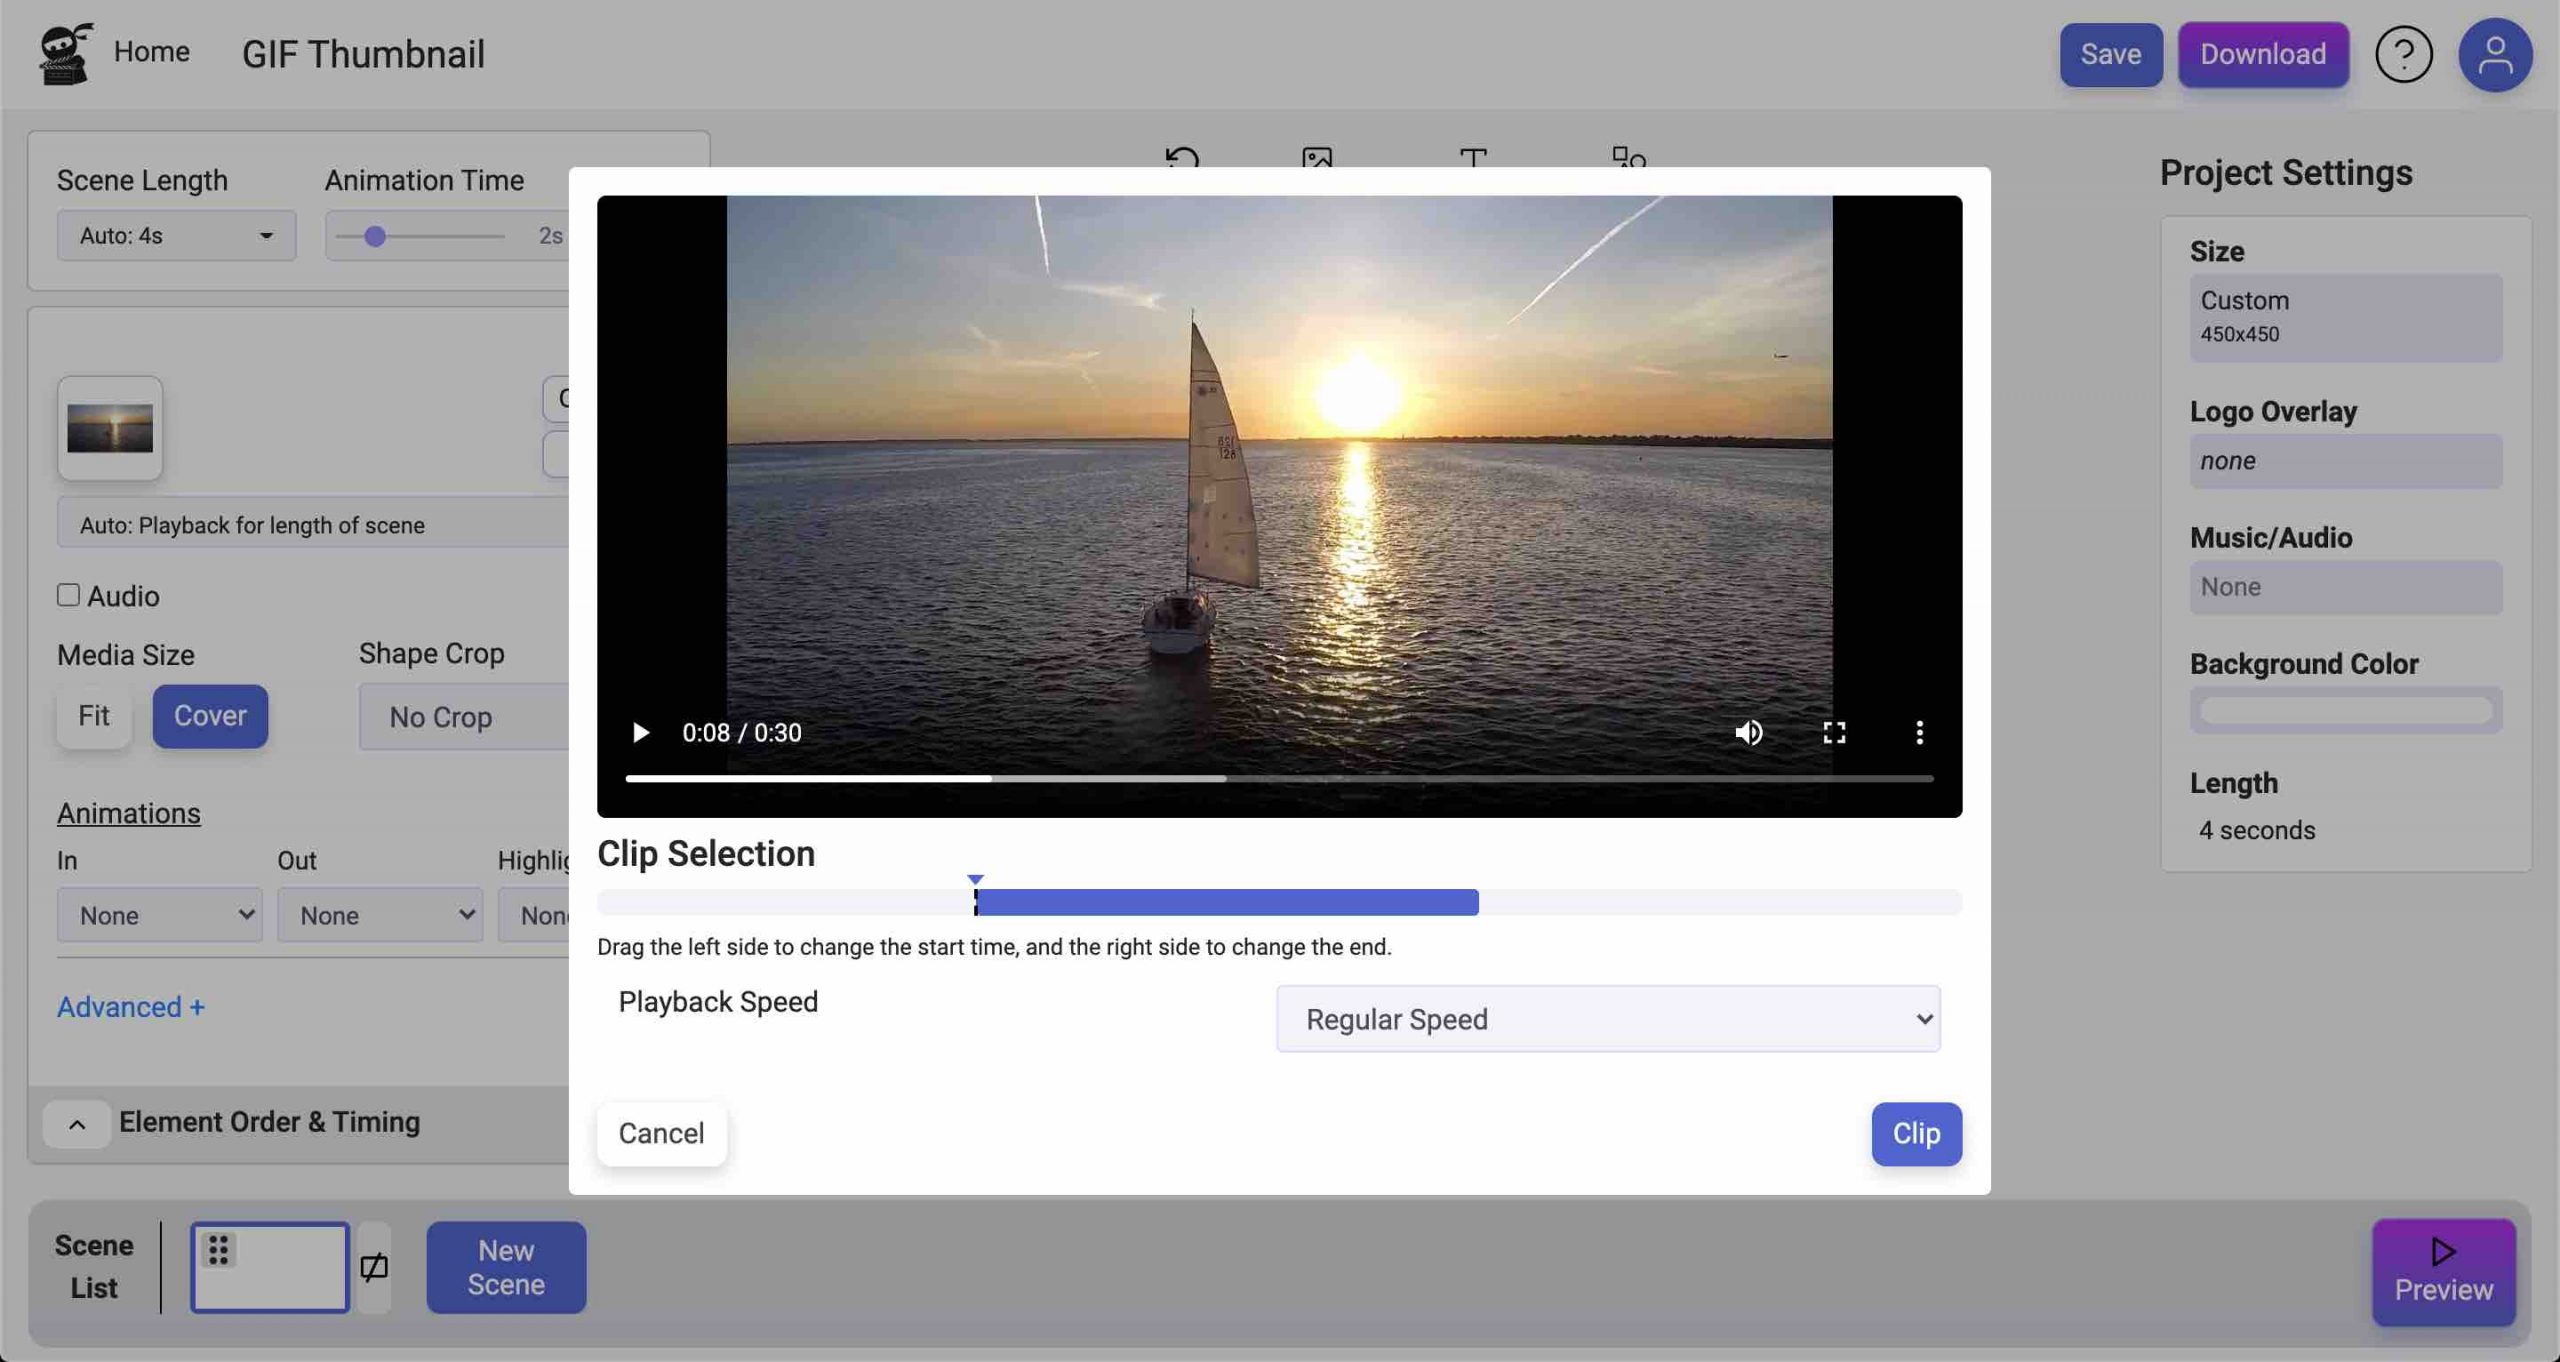
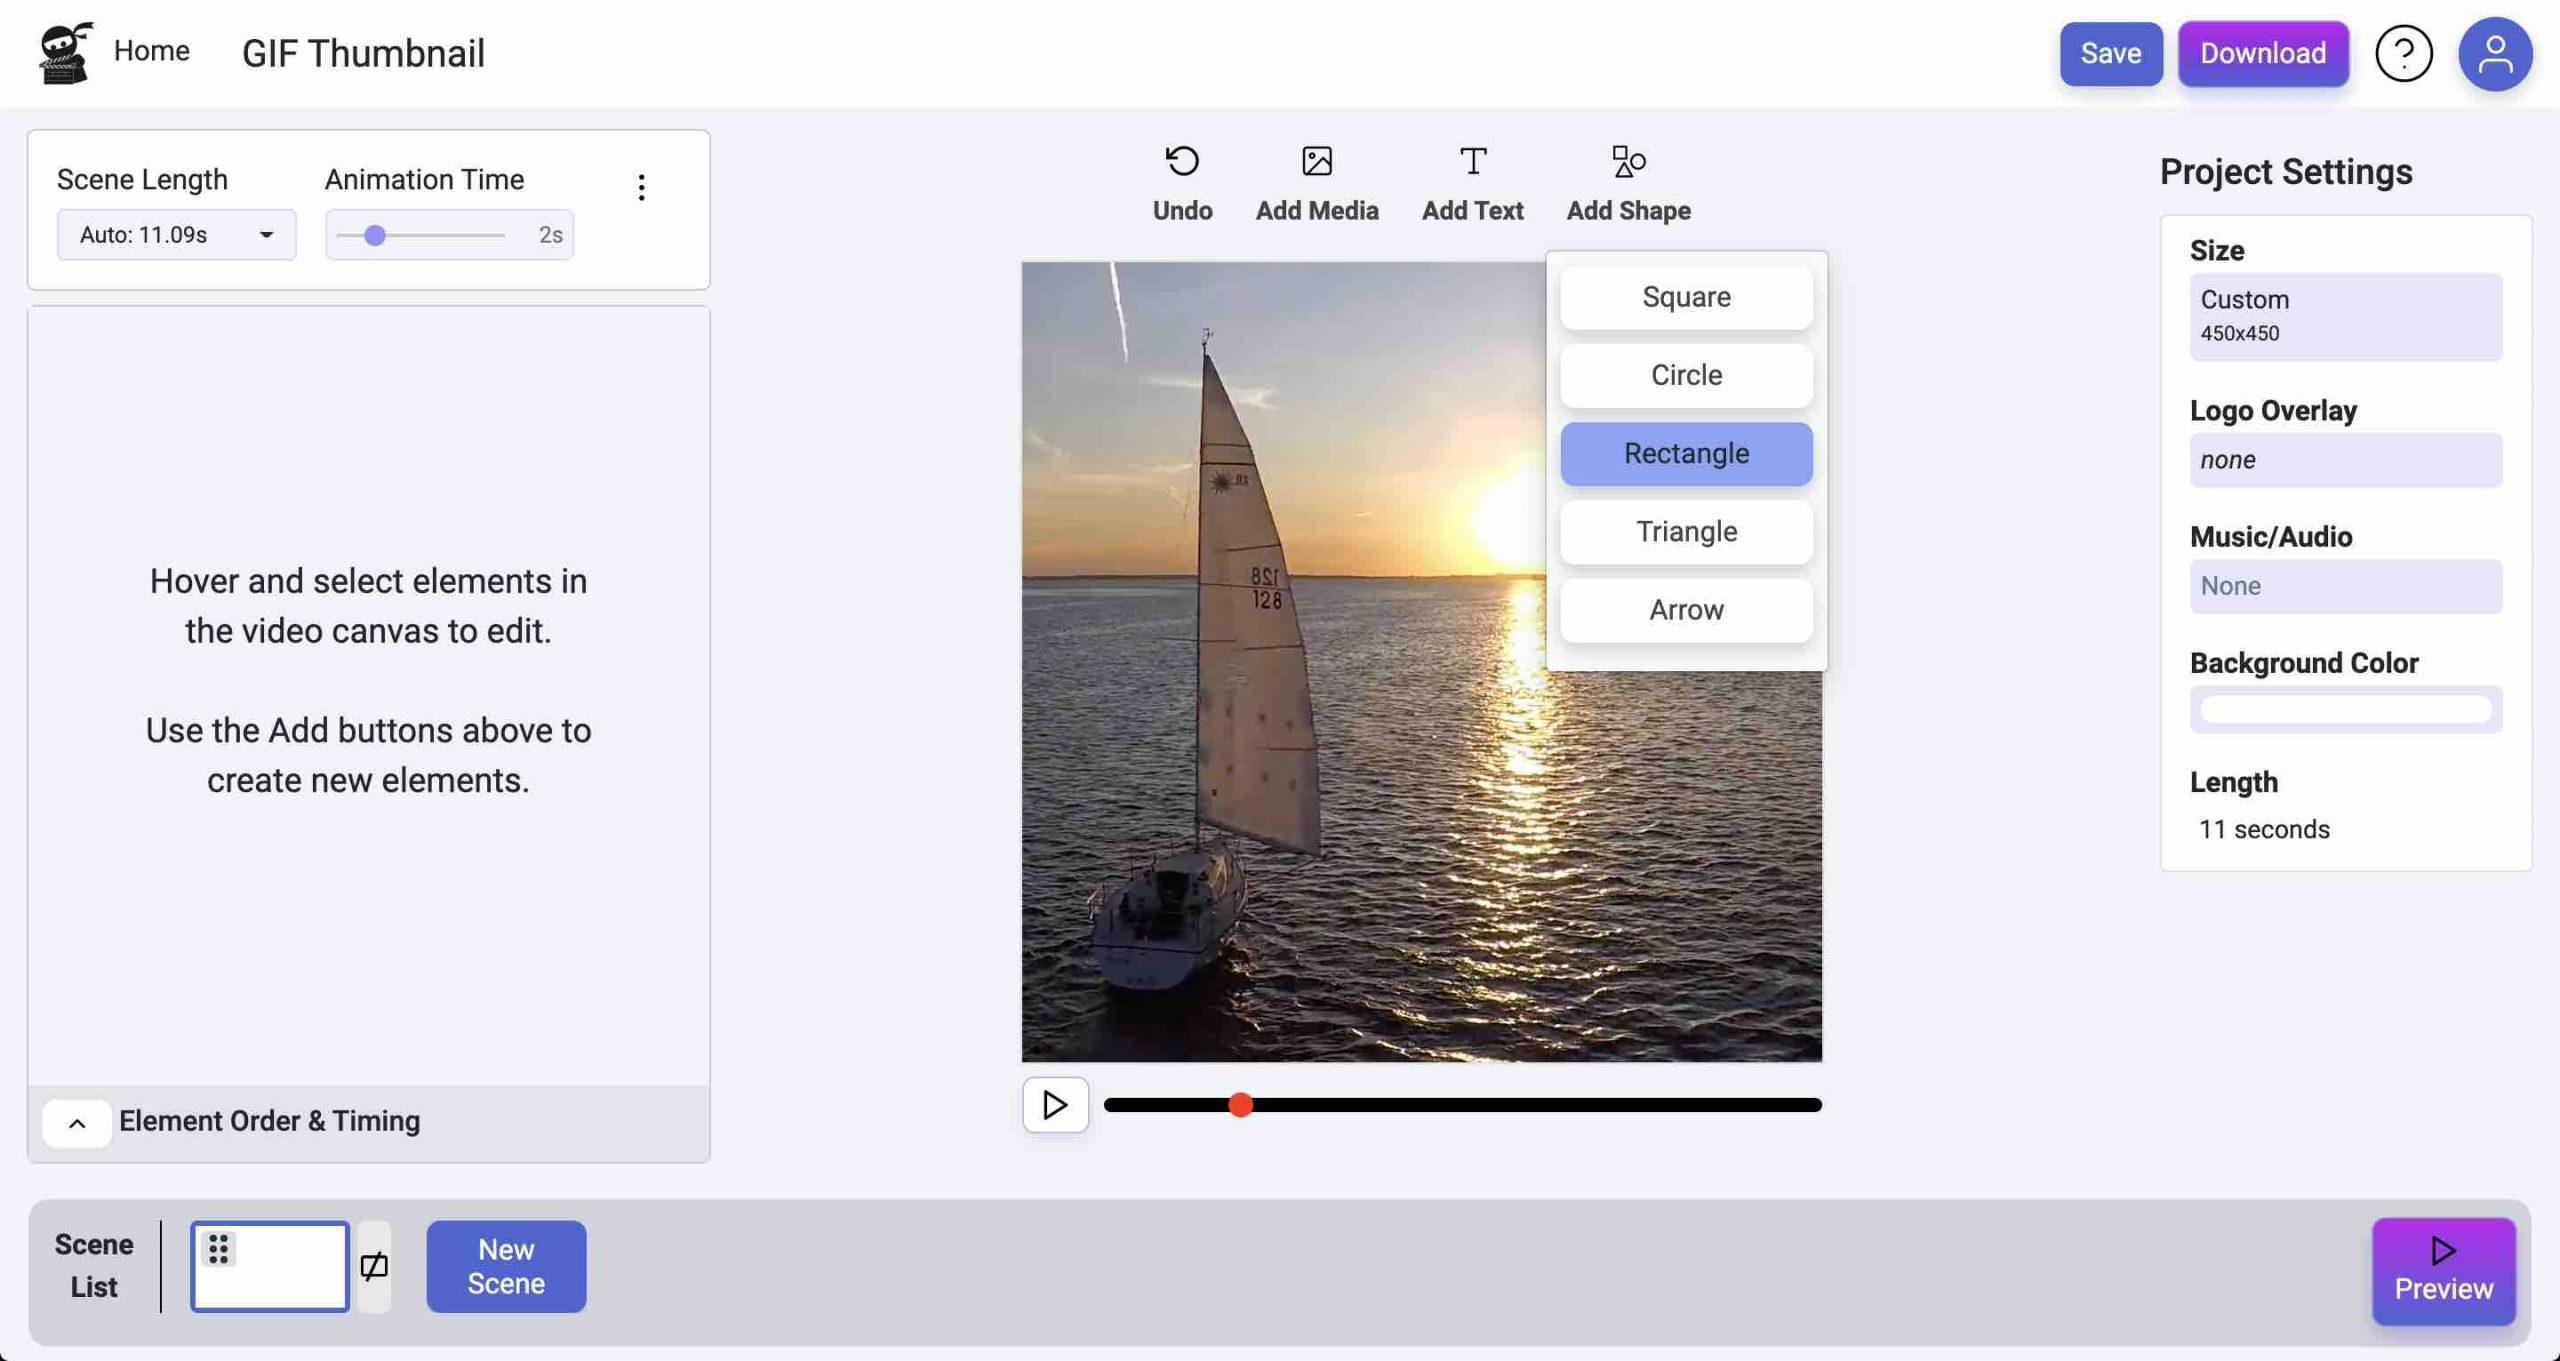
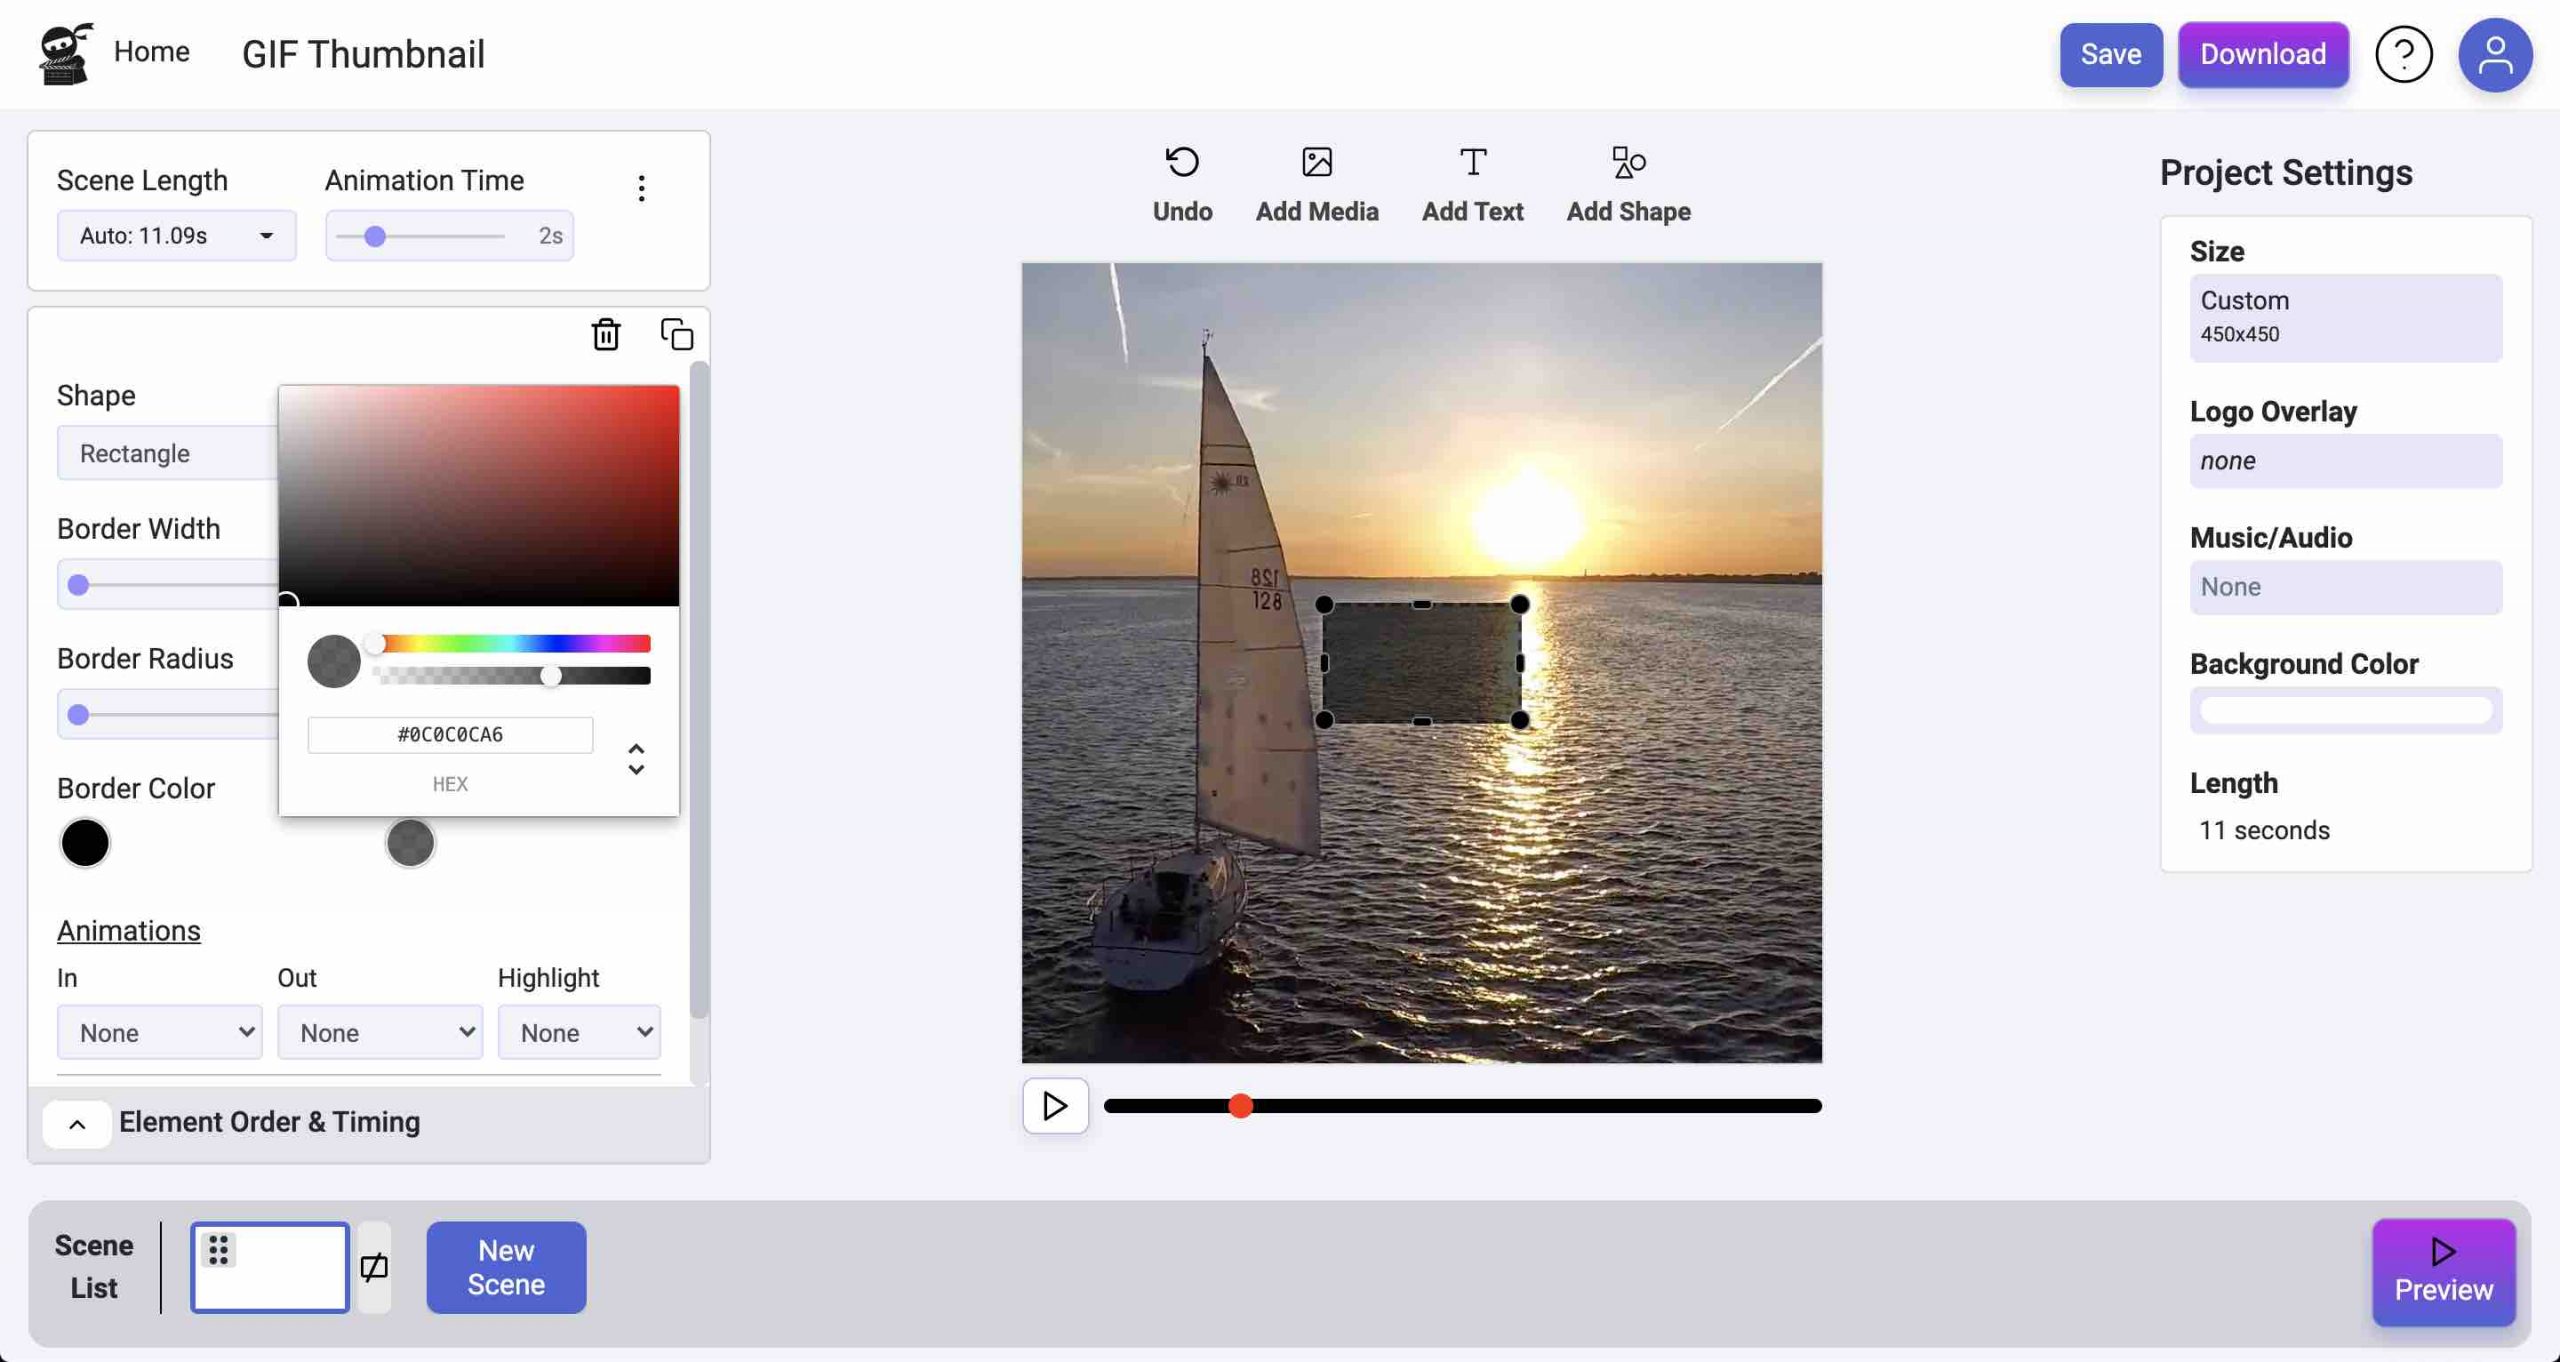
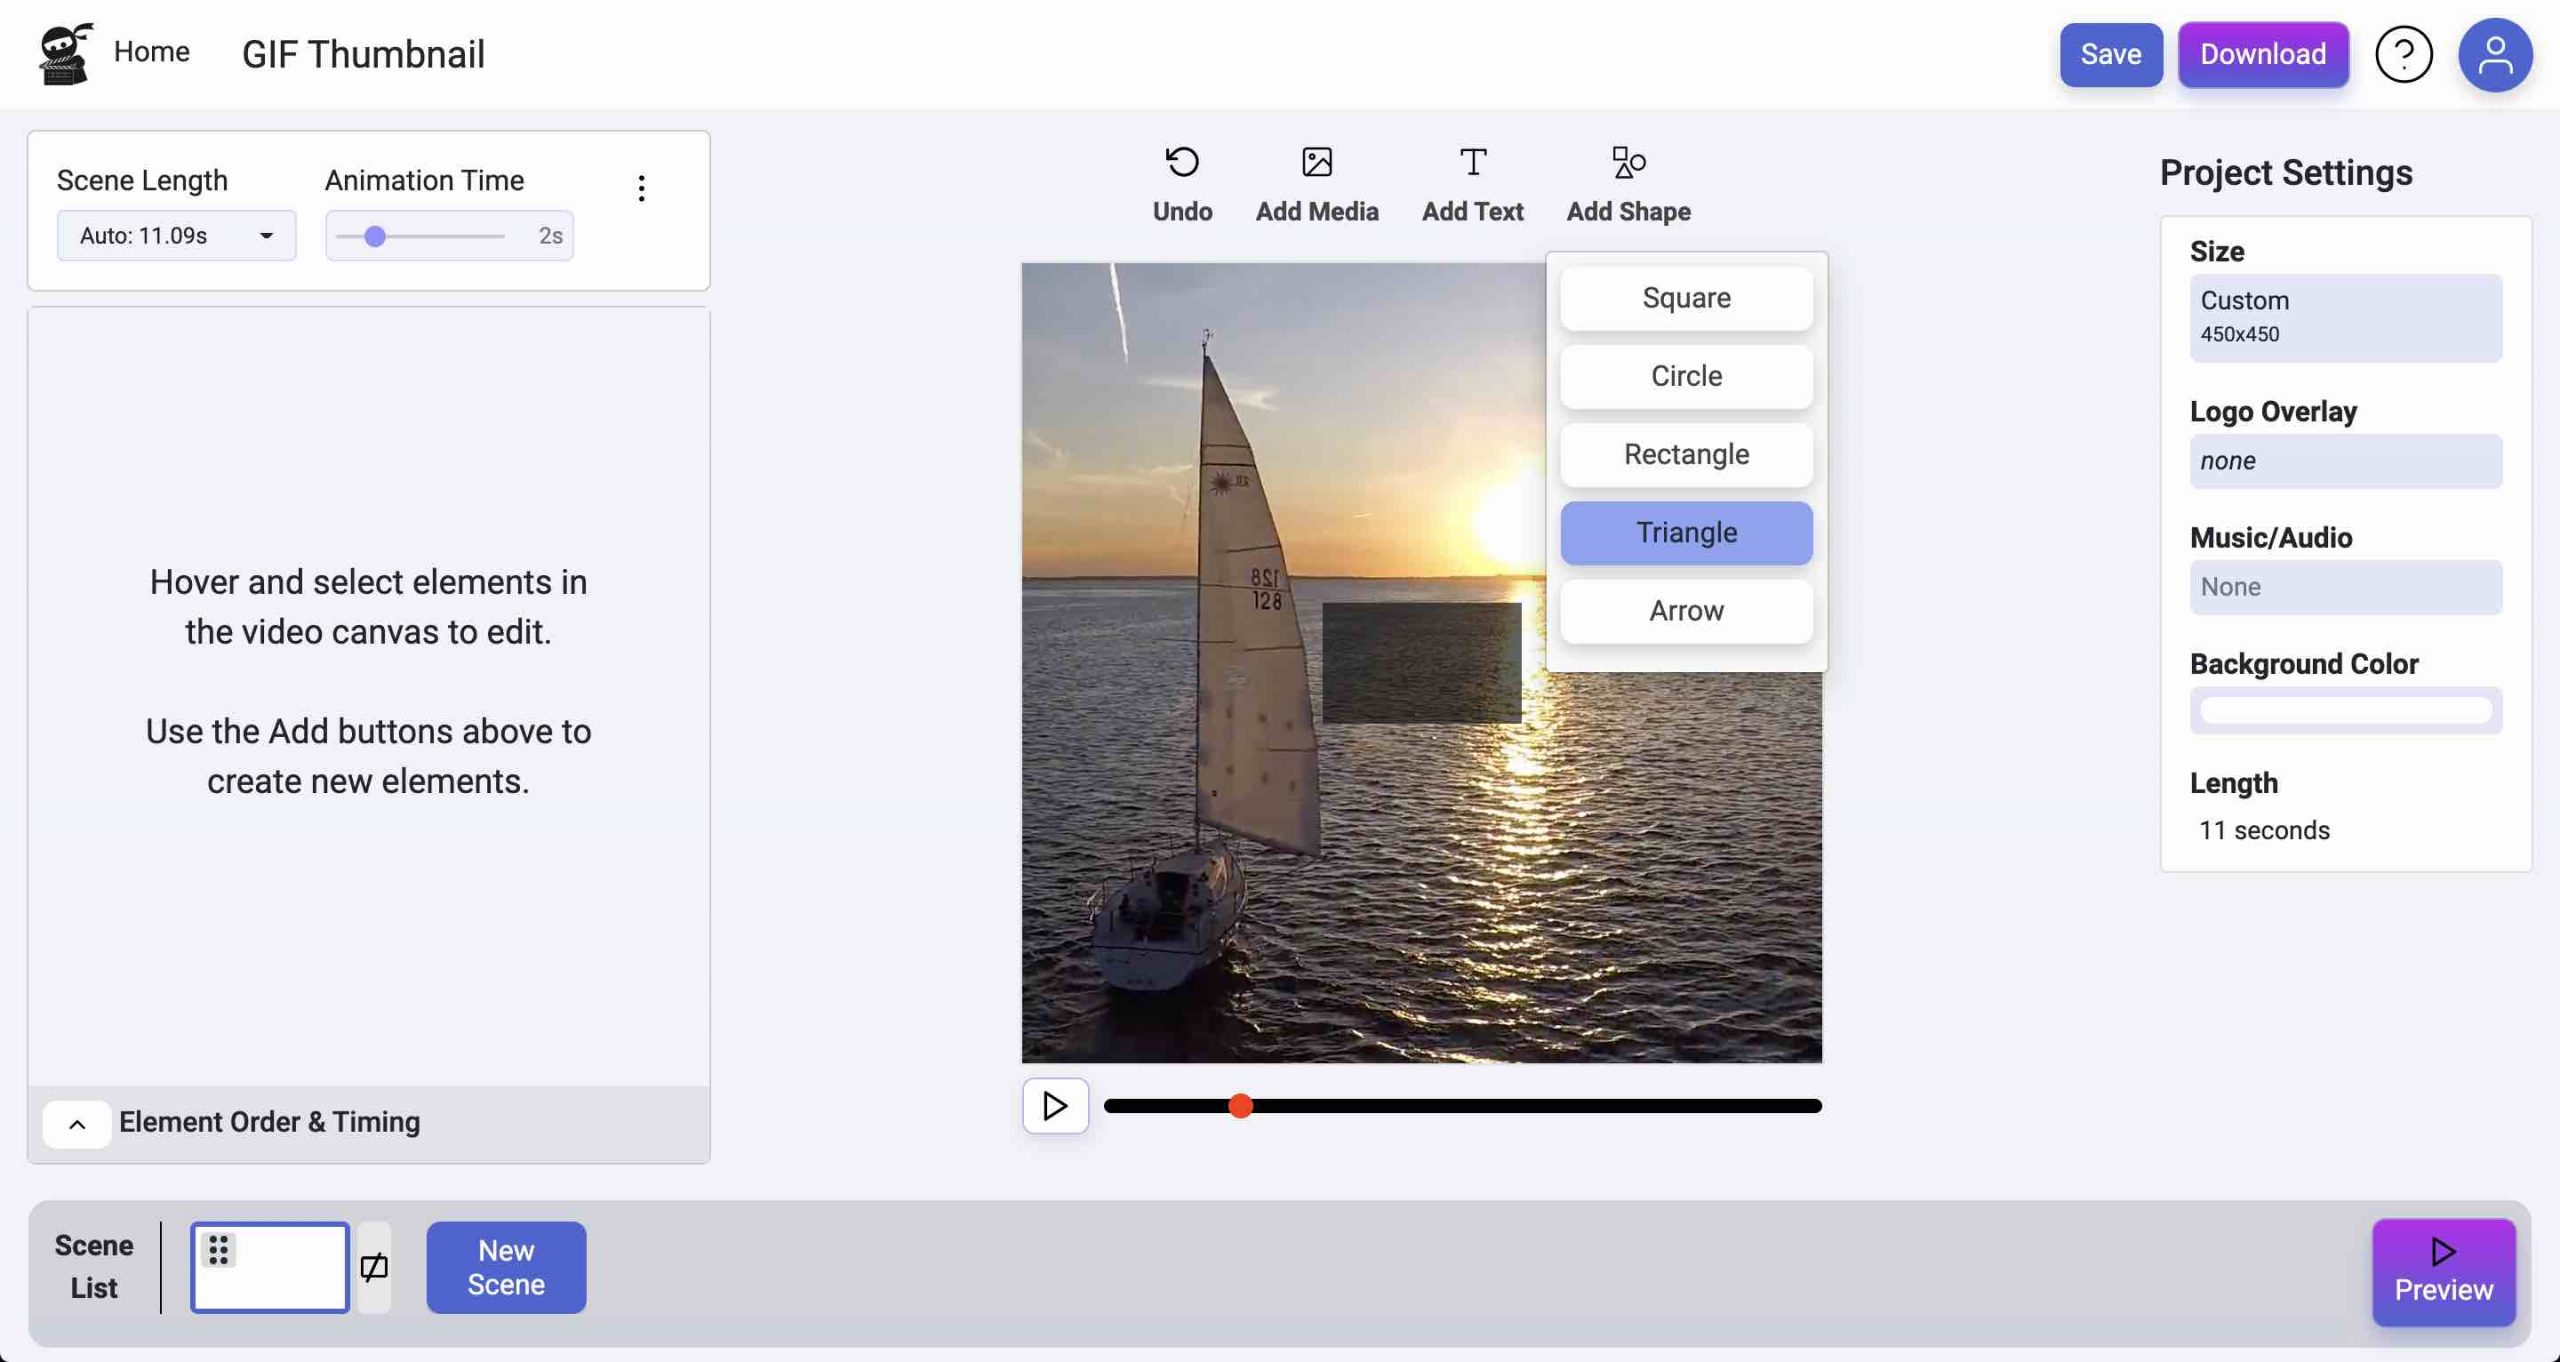
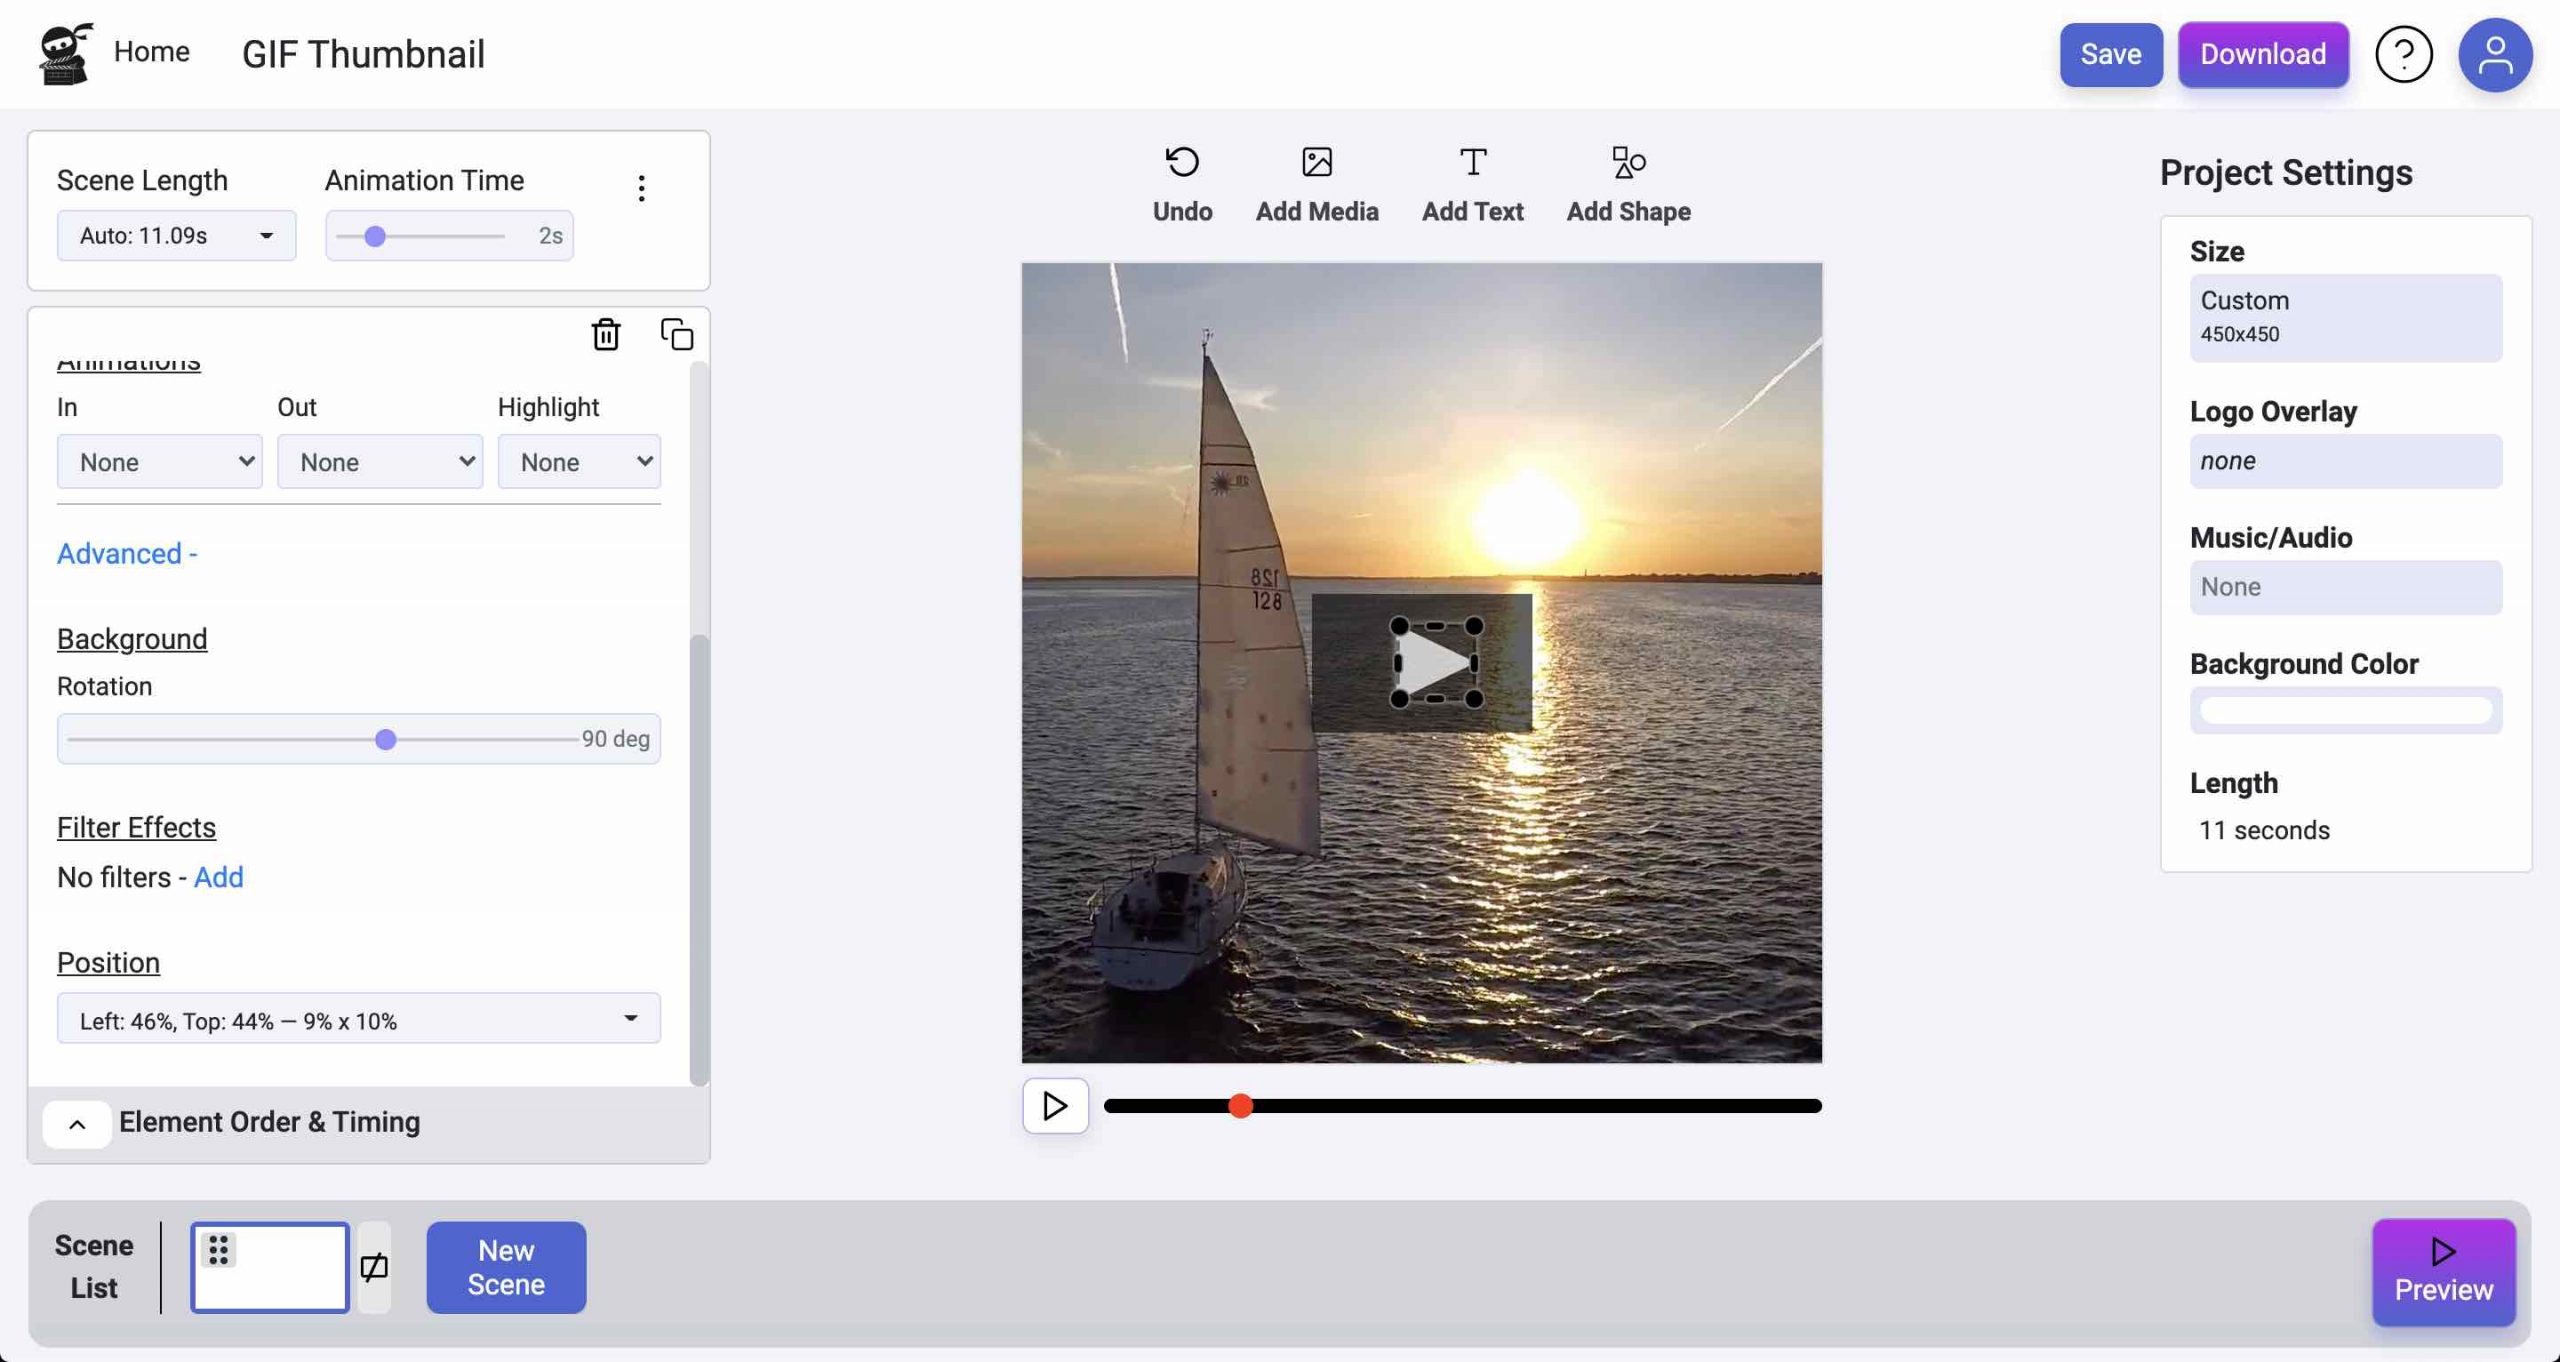
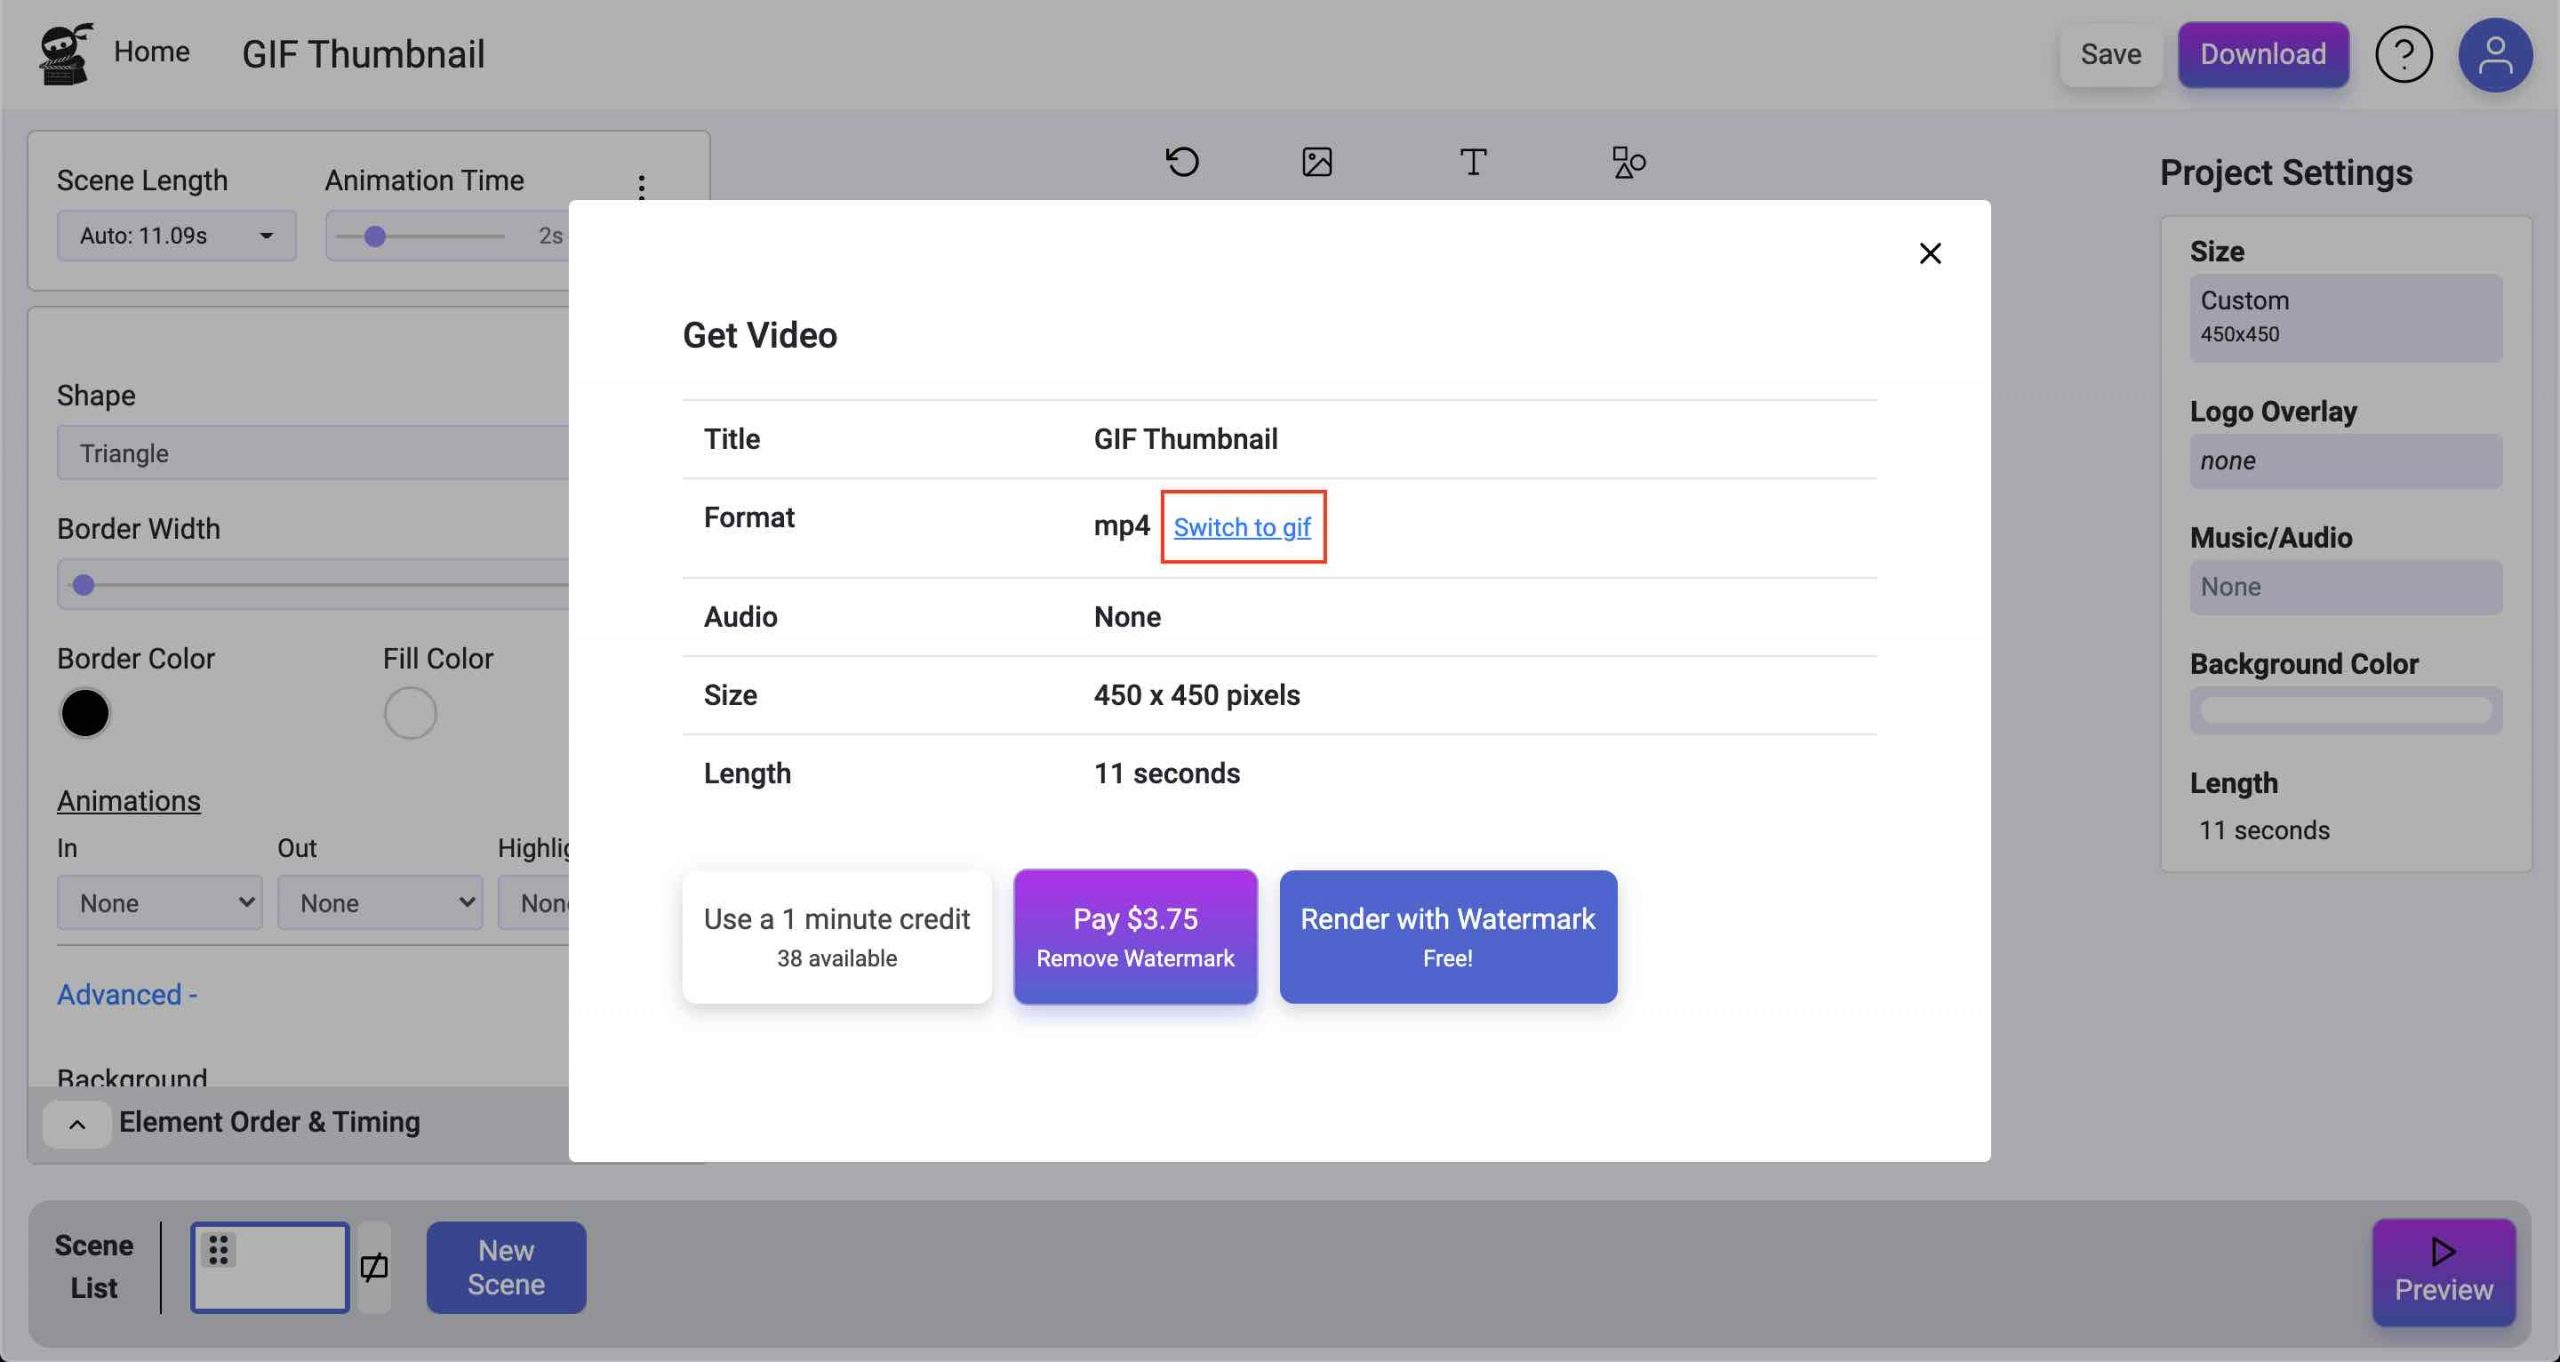
How to Create an Animated GIF Thumbnail Introduction I received a great email from my friend, Rufus the other day. He makes a YouTube series
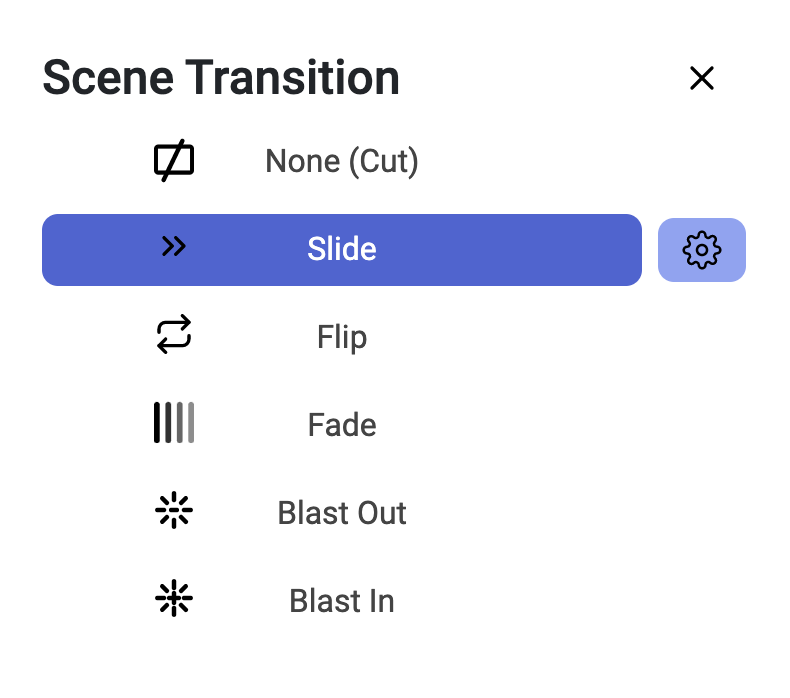
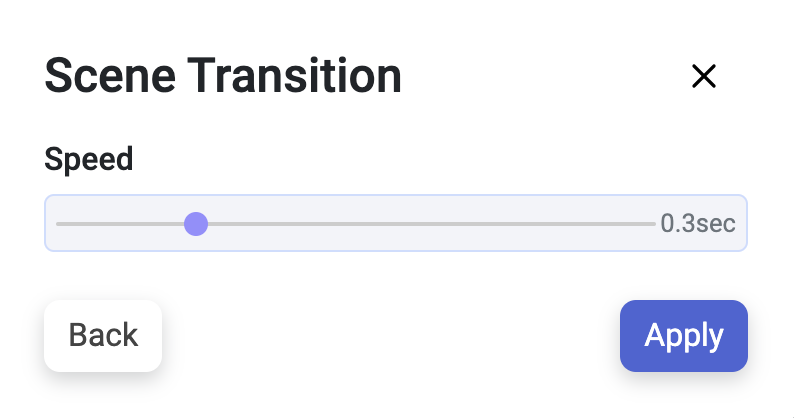
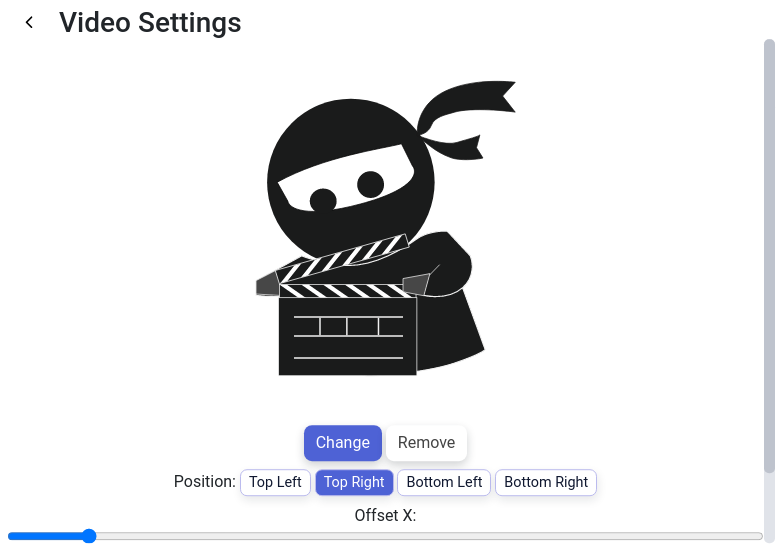
How to Add Scene Transitions Adding scene transitions to your videos is a piece of cake with Vidds, simply follow the steps below to find
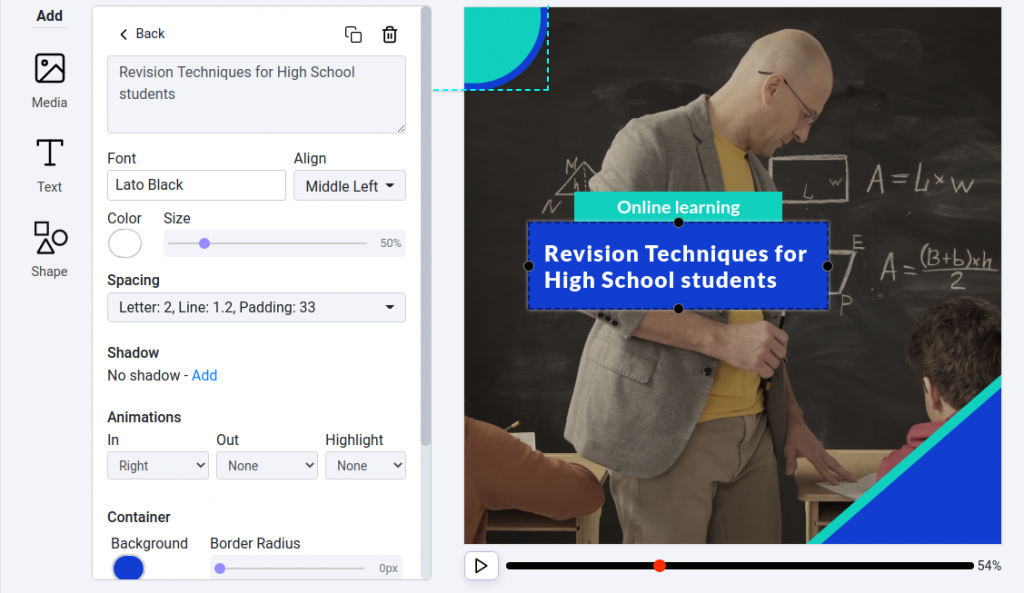
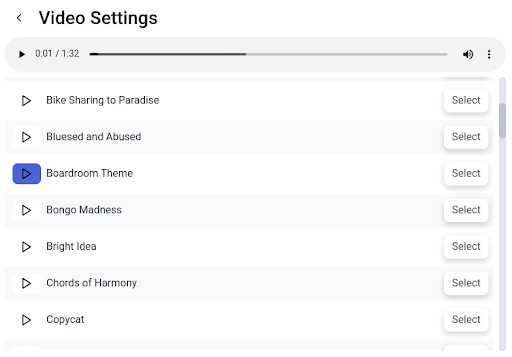
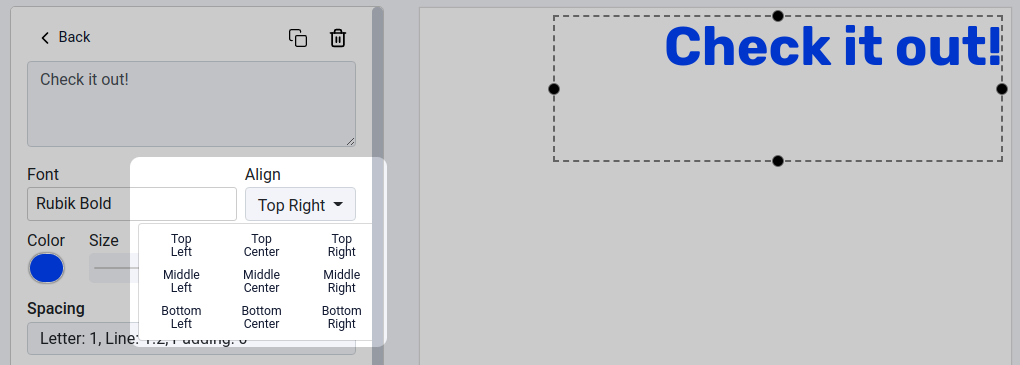
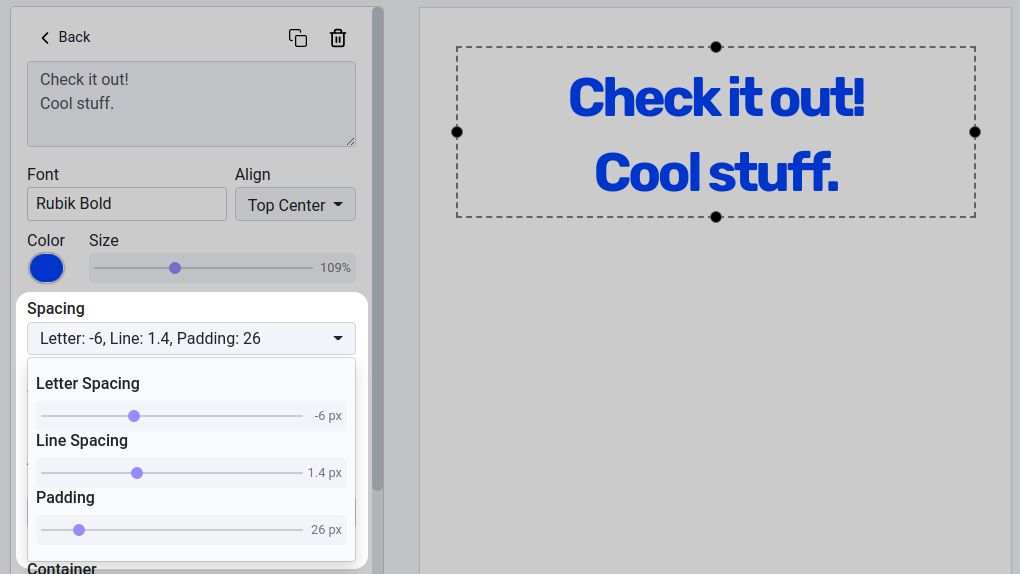
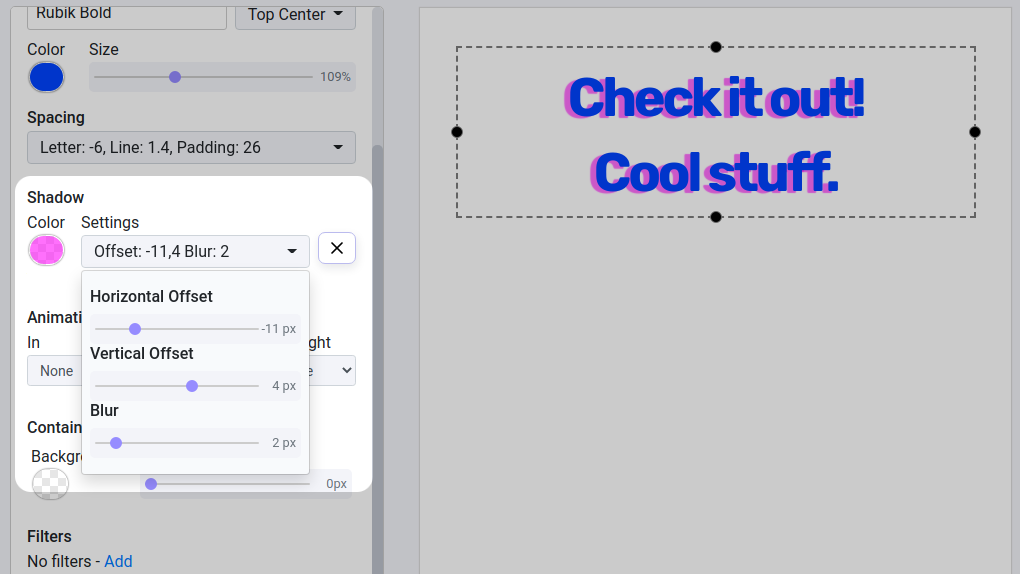
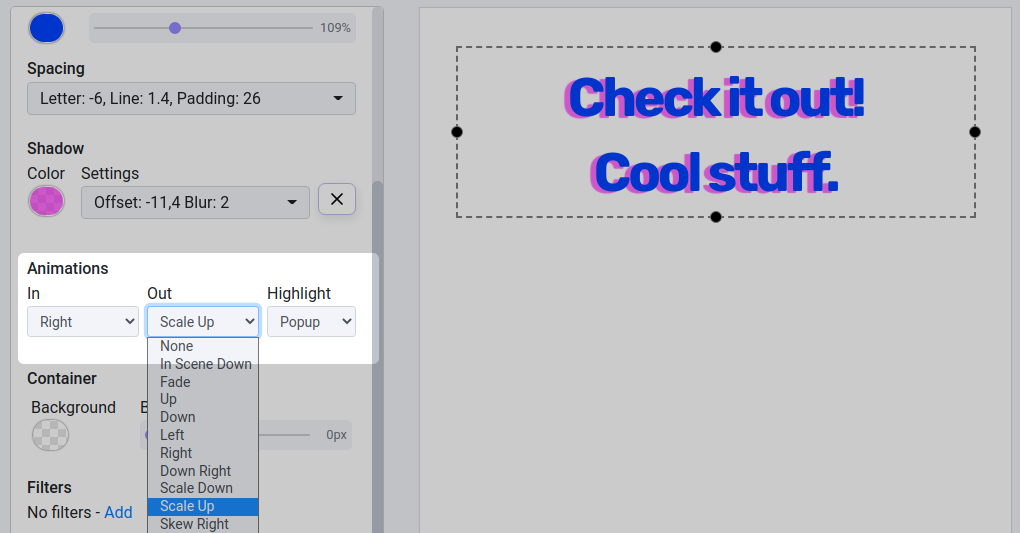
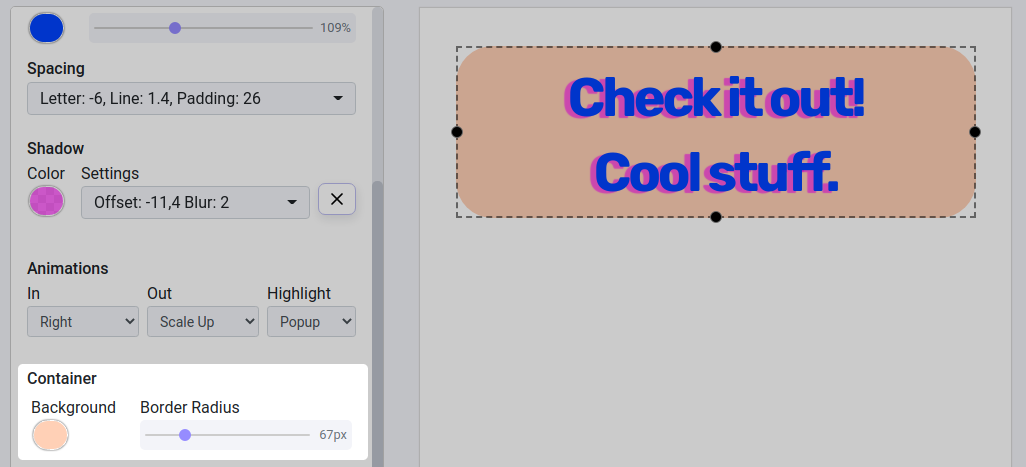
How To Animate Text in Videos How to Animate Text in Videos with Vidds Animating text in Videos is one of the most common reasons

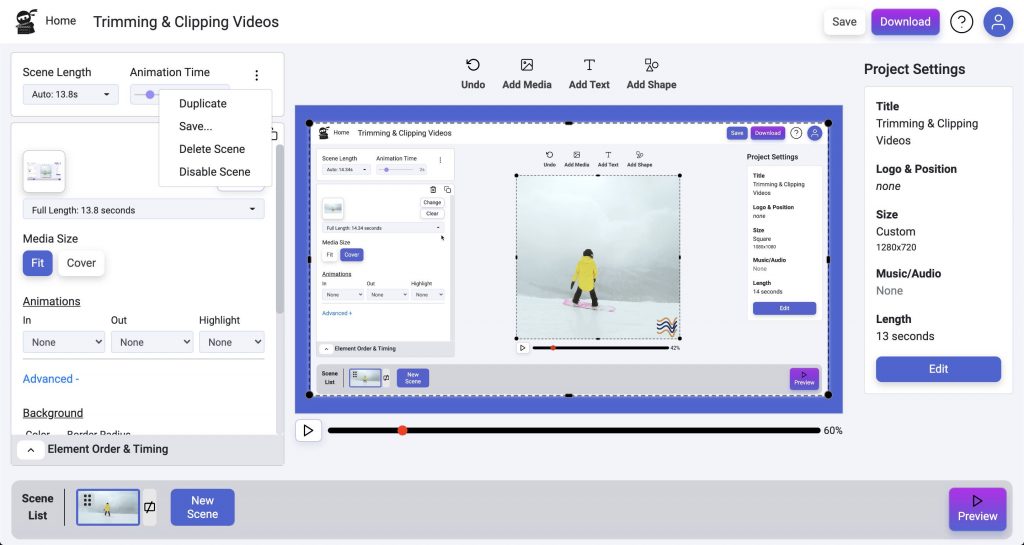

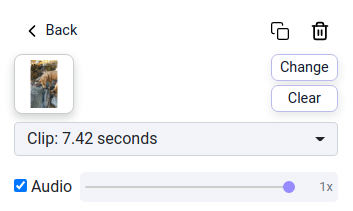
Trimming and Cutting Up Videos Online How to Trim and Cut up Videos with Vidds.co online Vidds is a simple but powerful editing tool, so
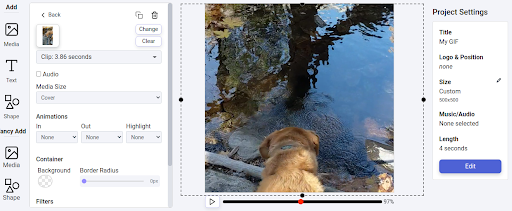
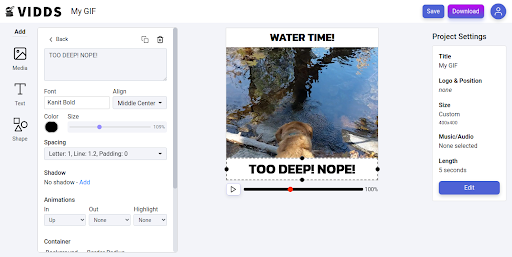
How to Create GIFs from Videos and Clips The Vidds “how-to” on creating GIFs from your videos and clips Vidds makes it easy to create
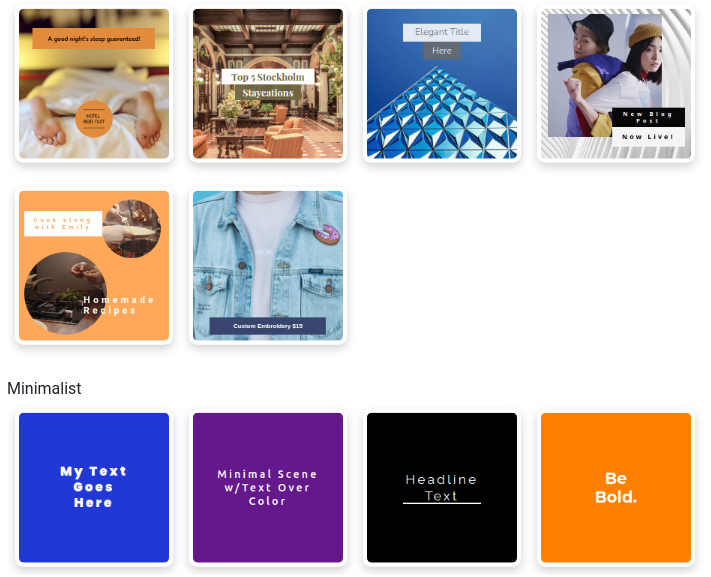
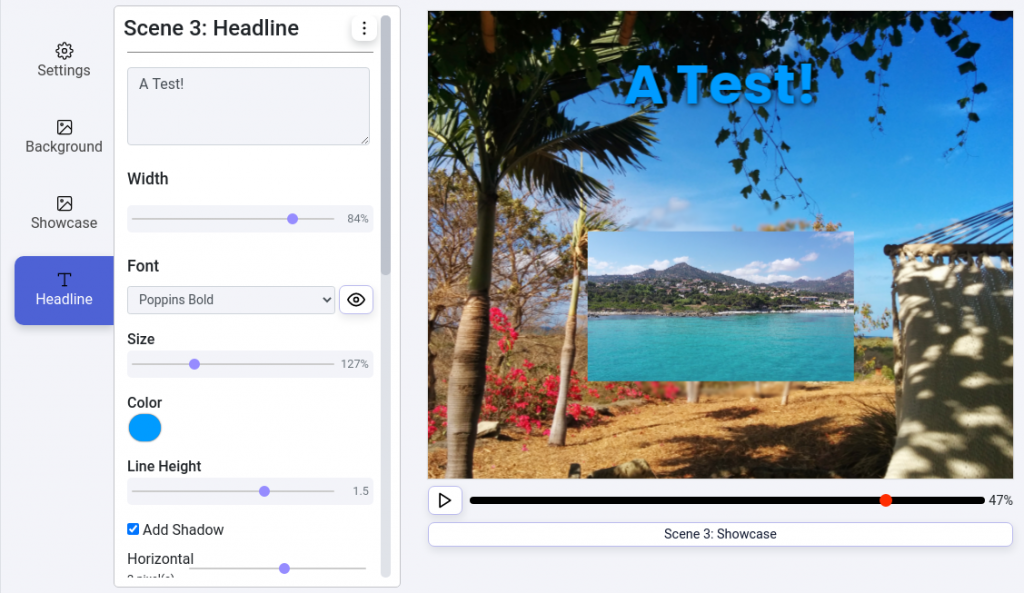
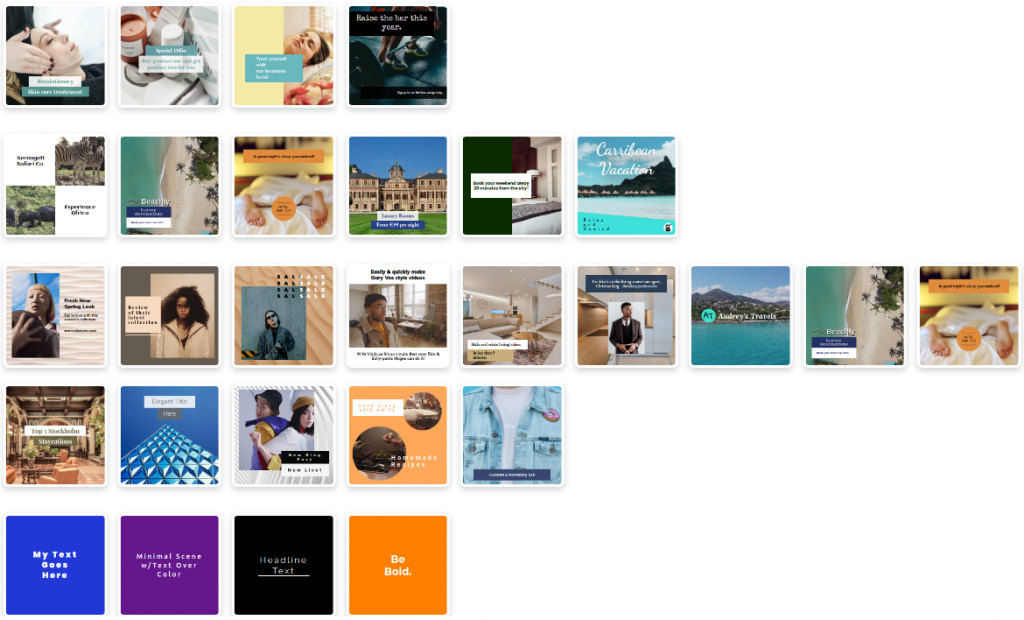
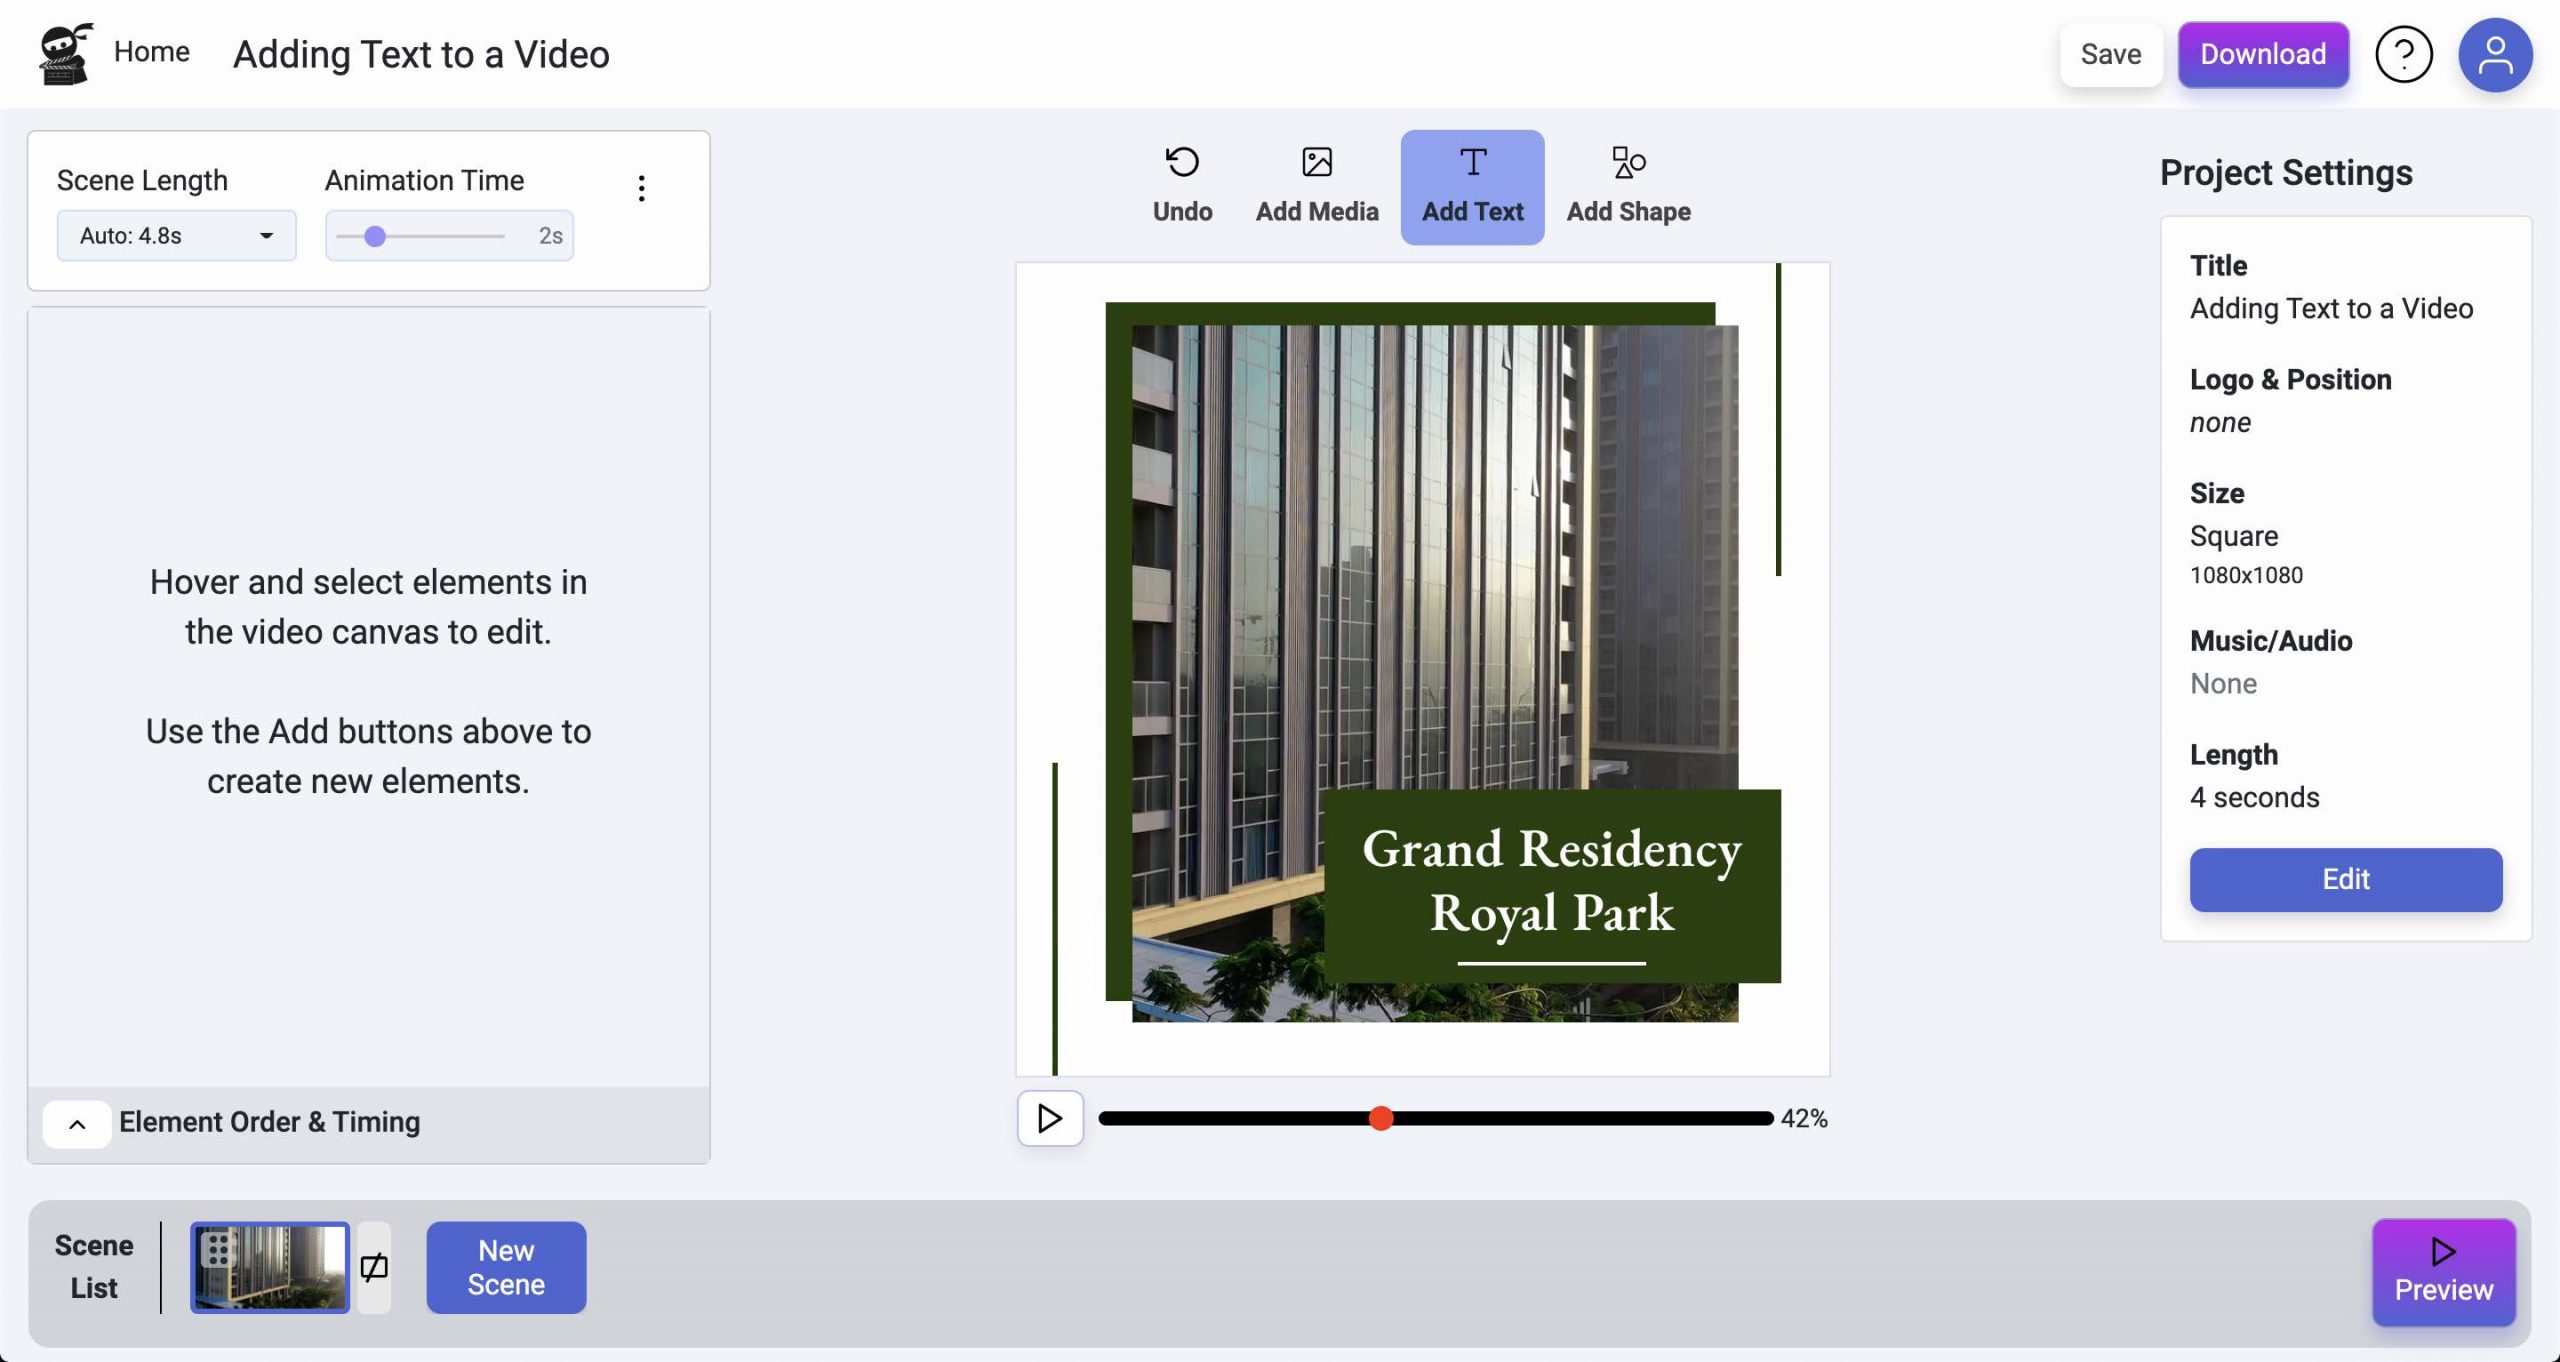
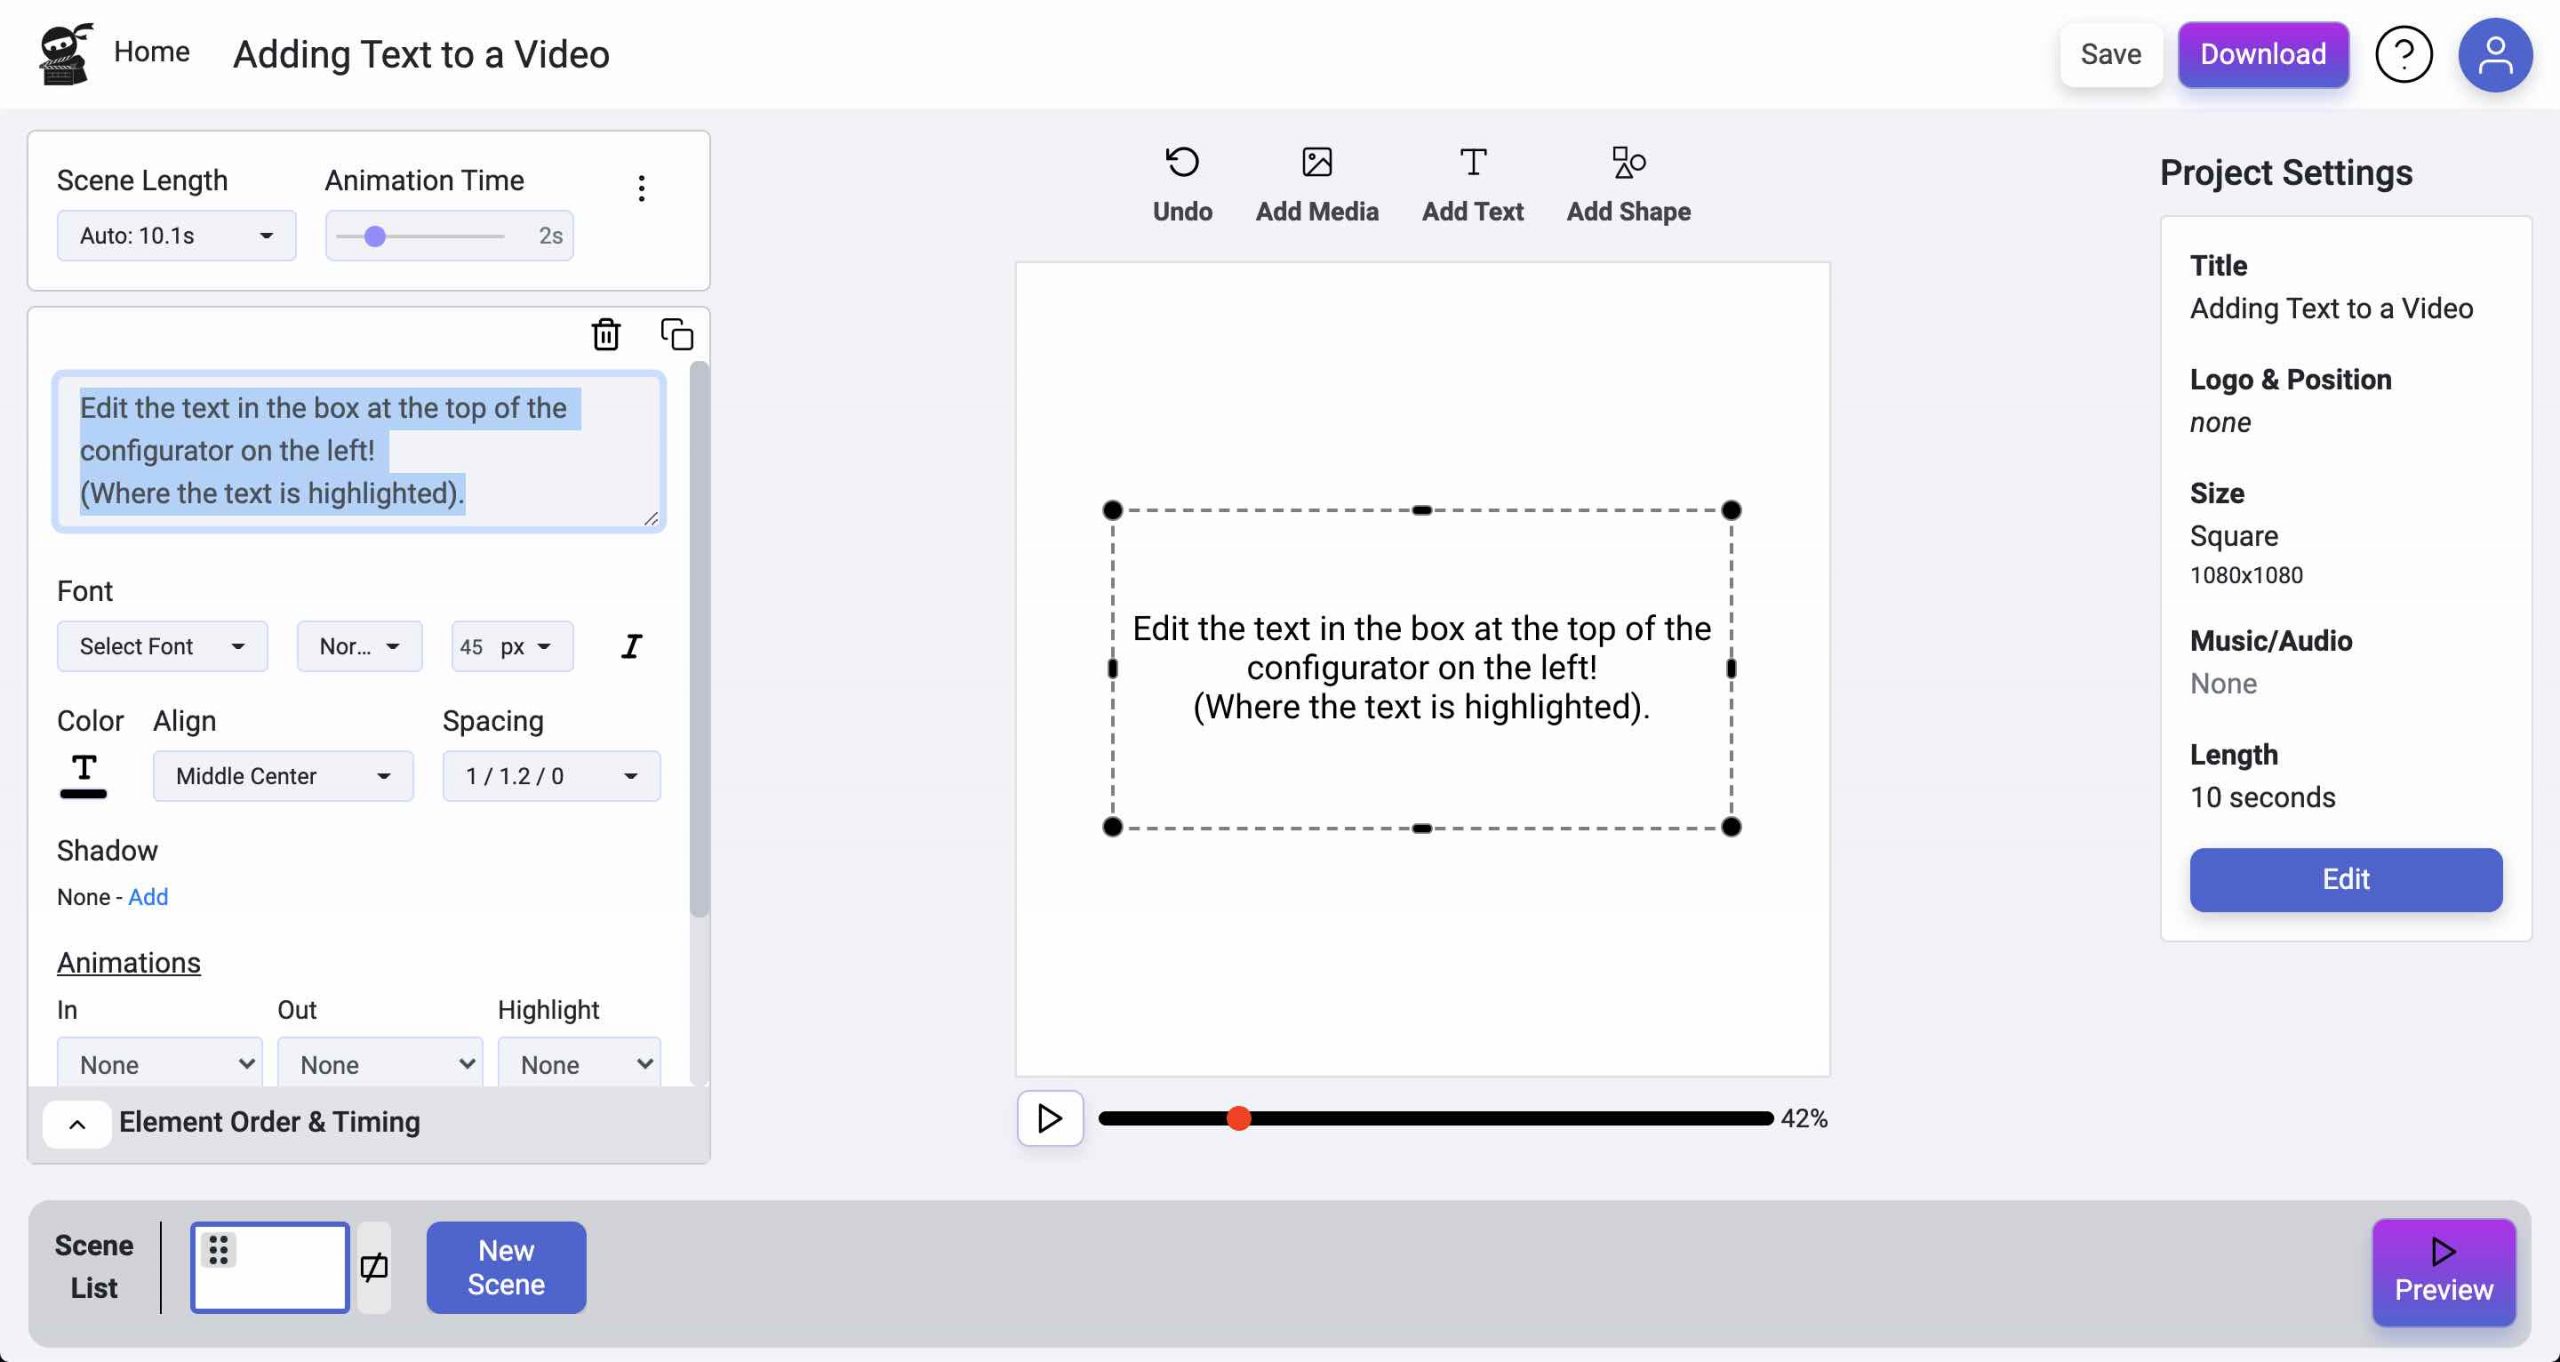
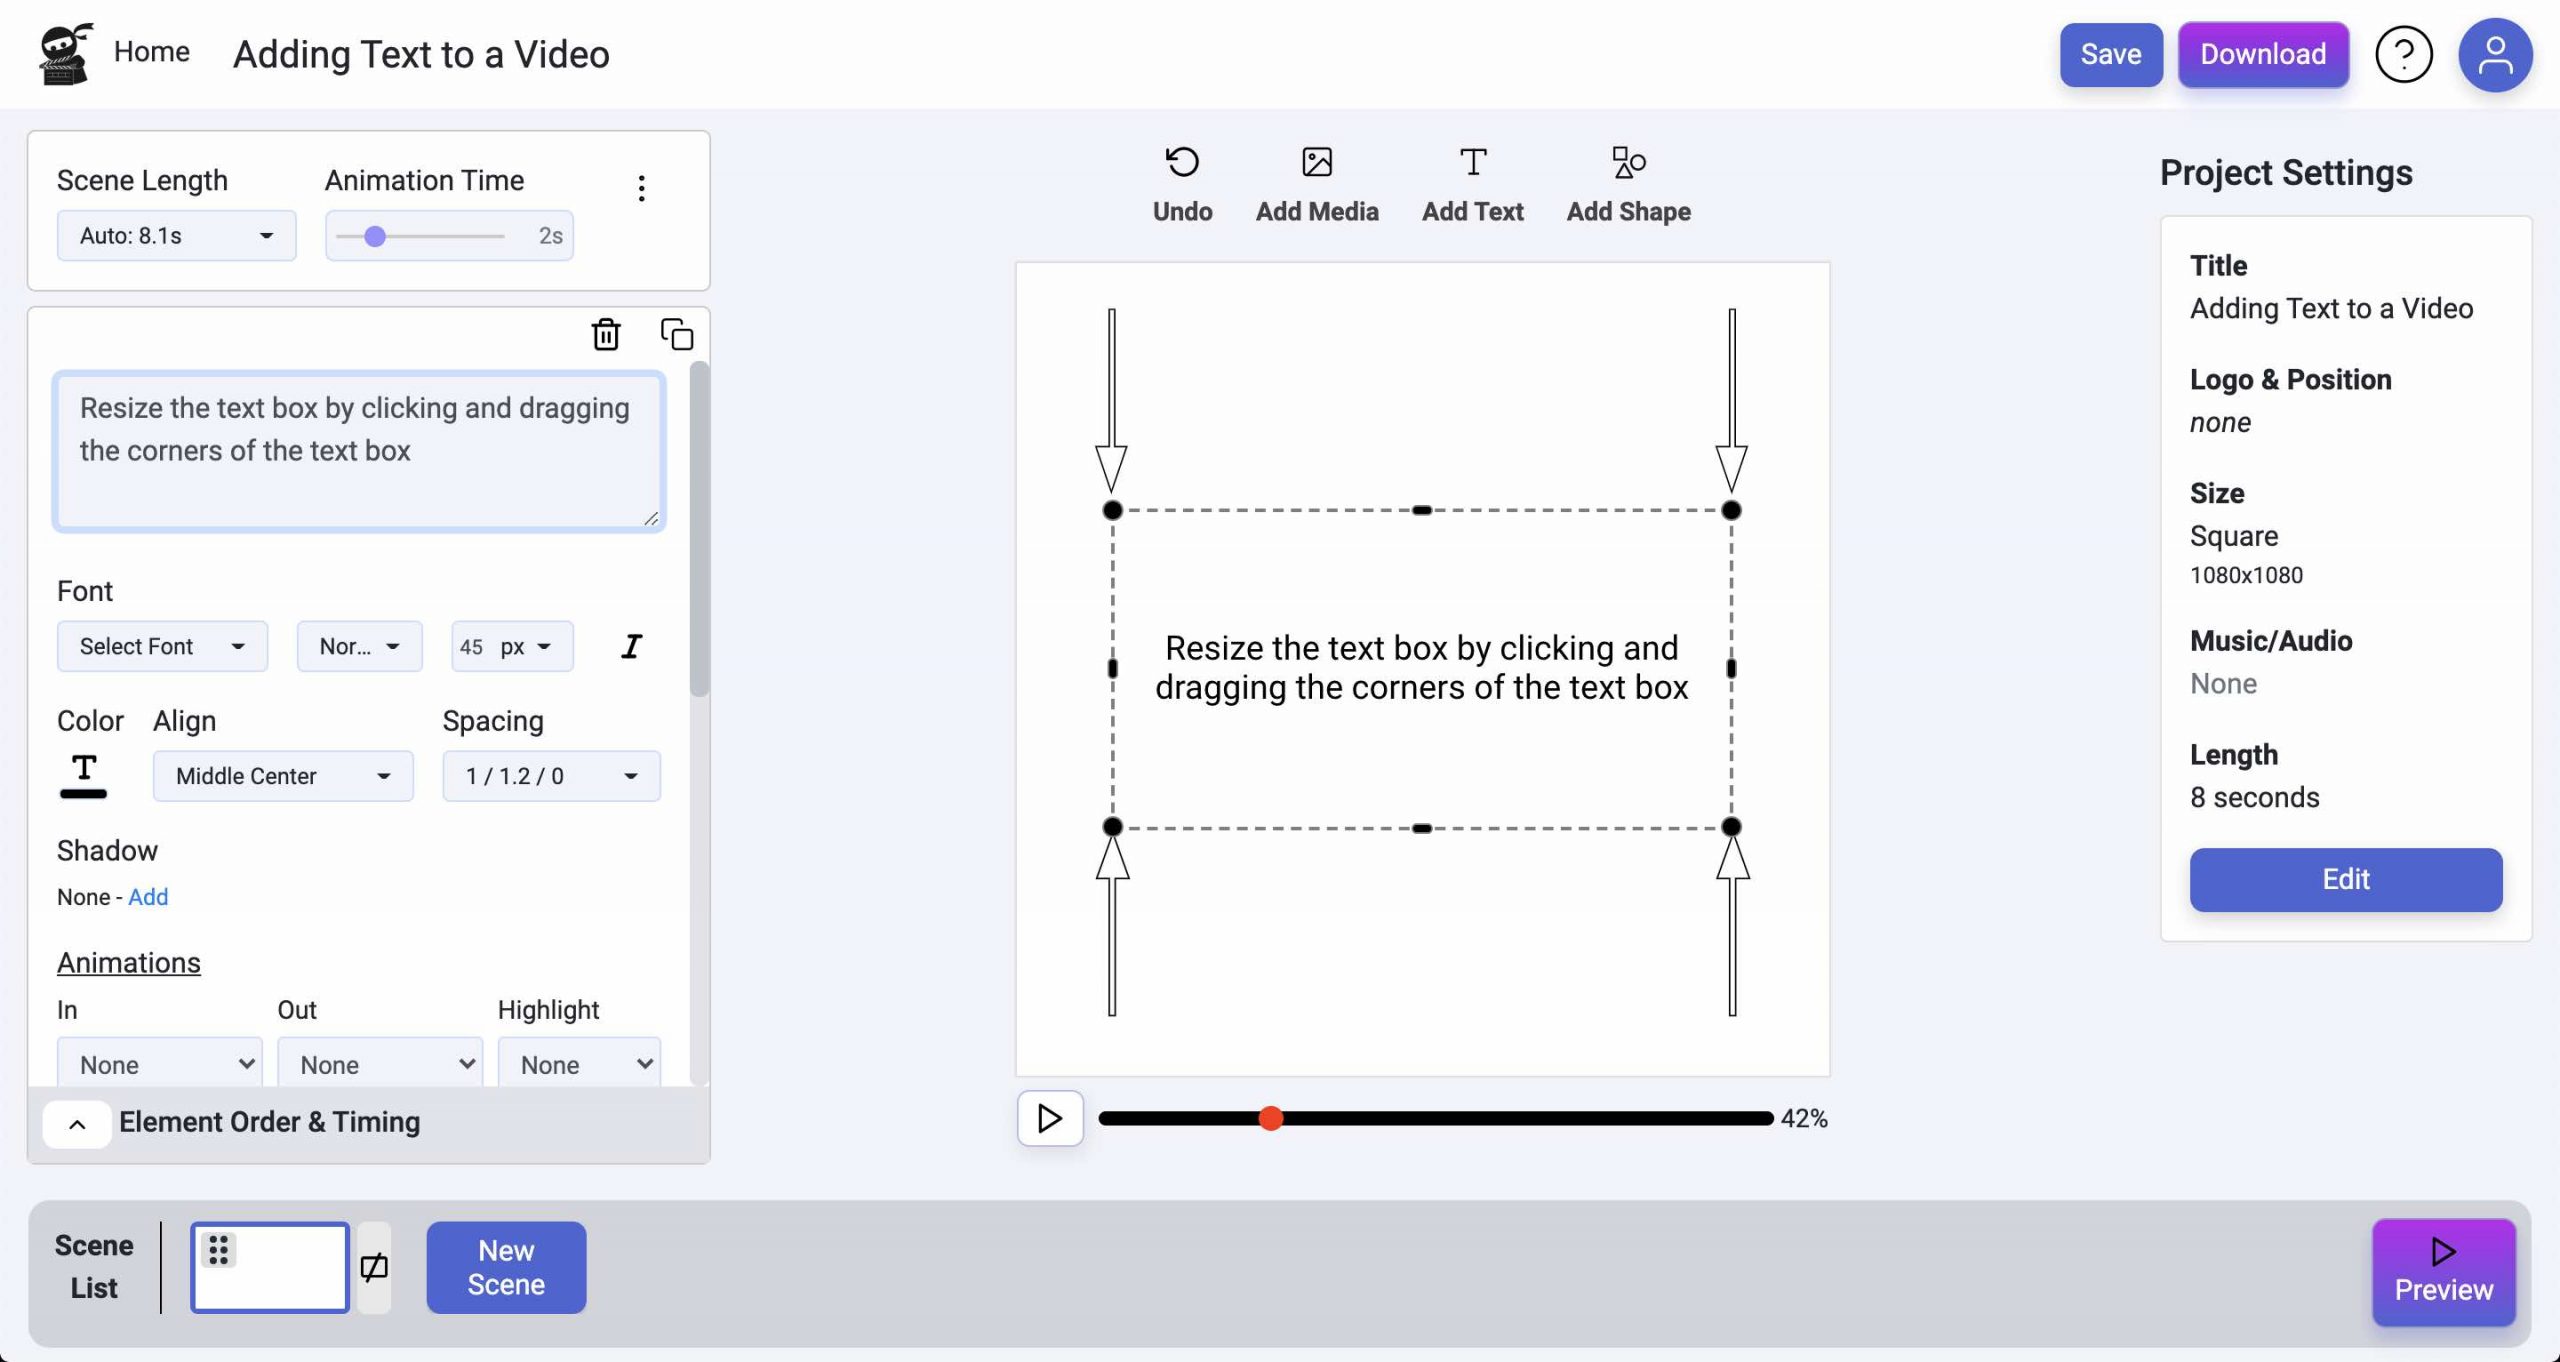
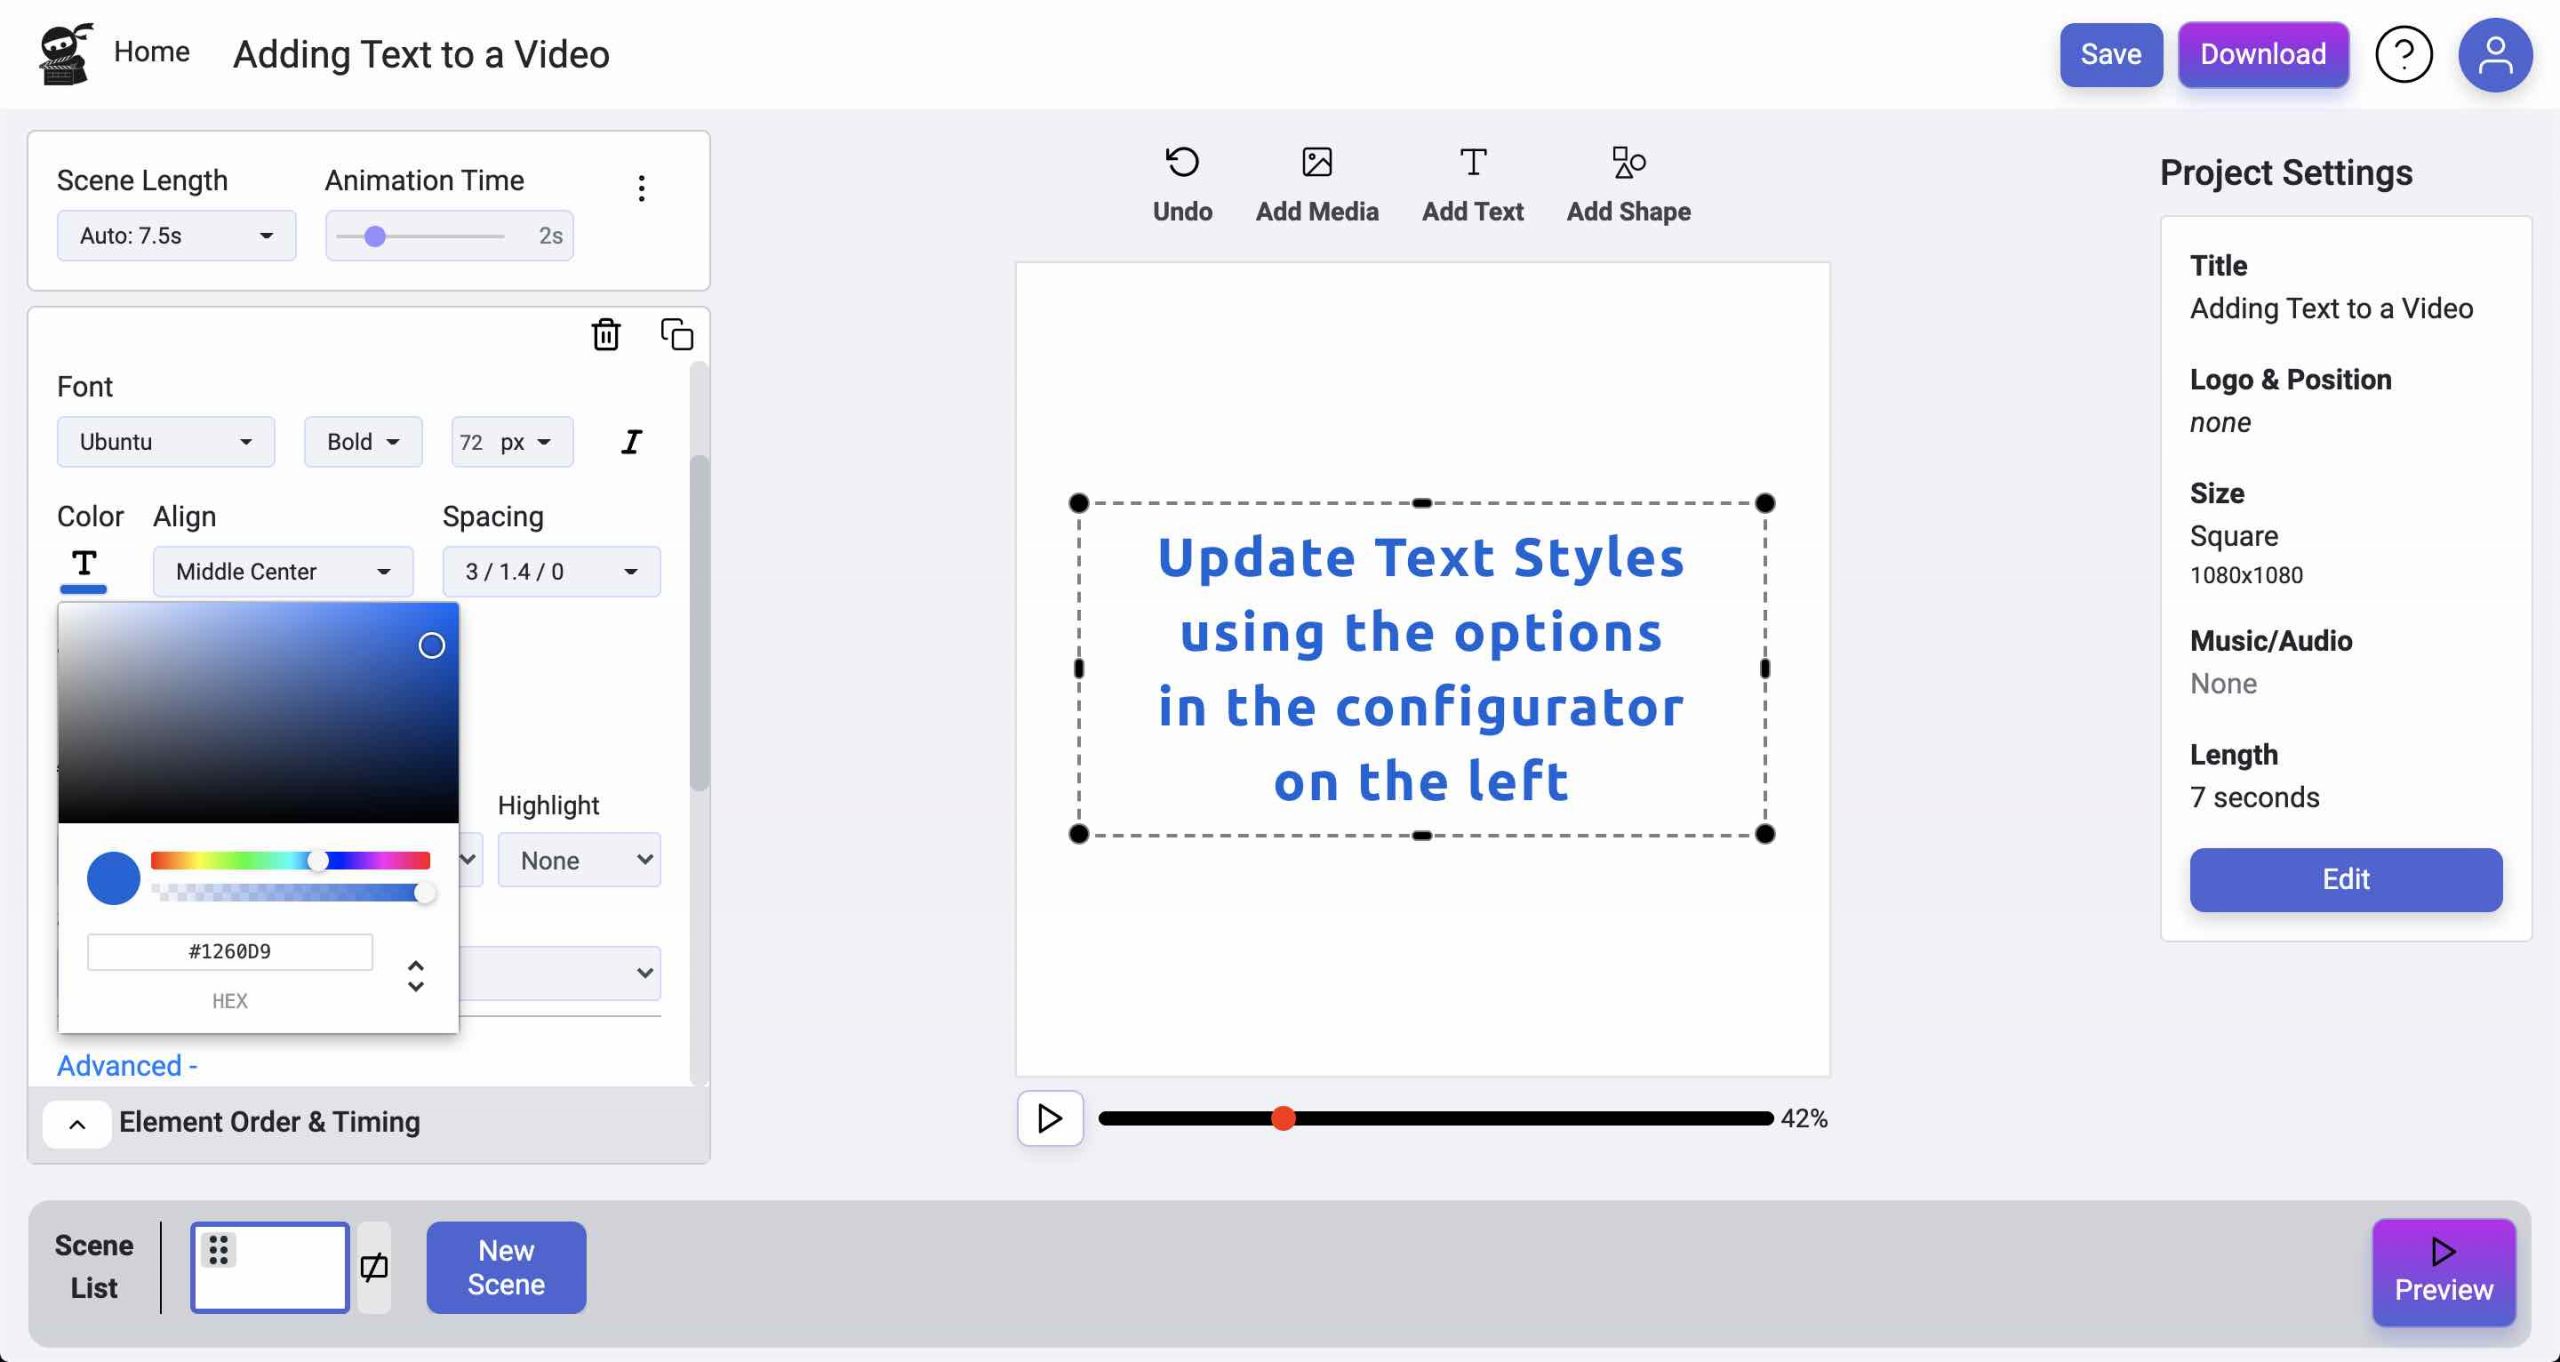
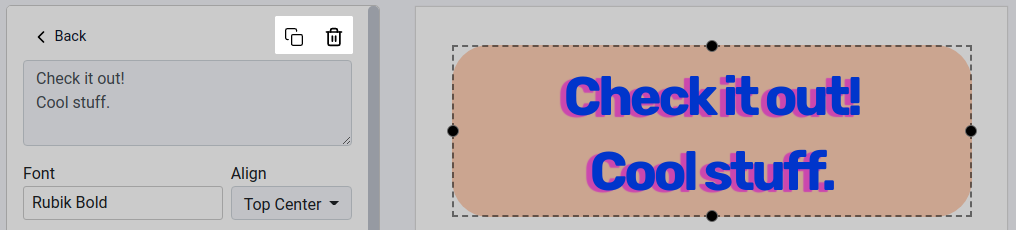
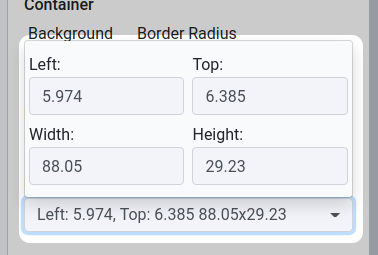
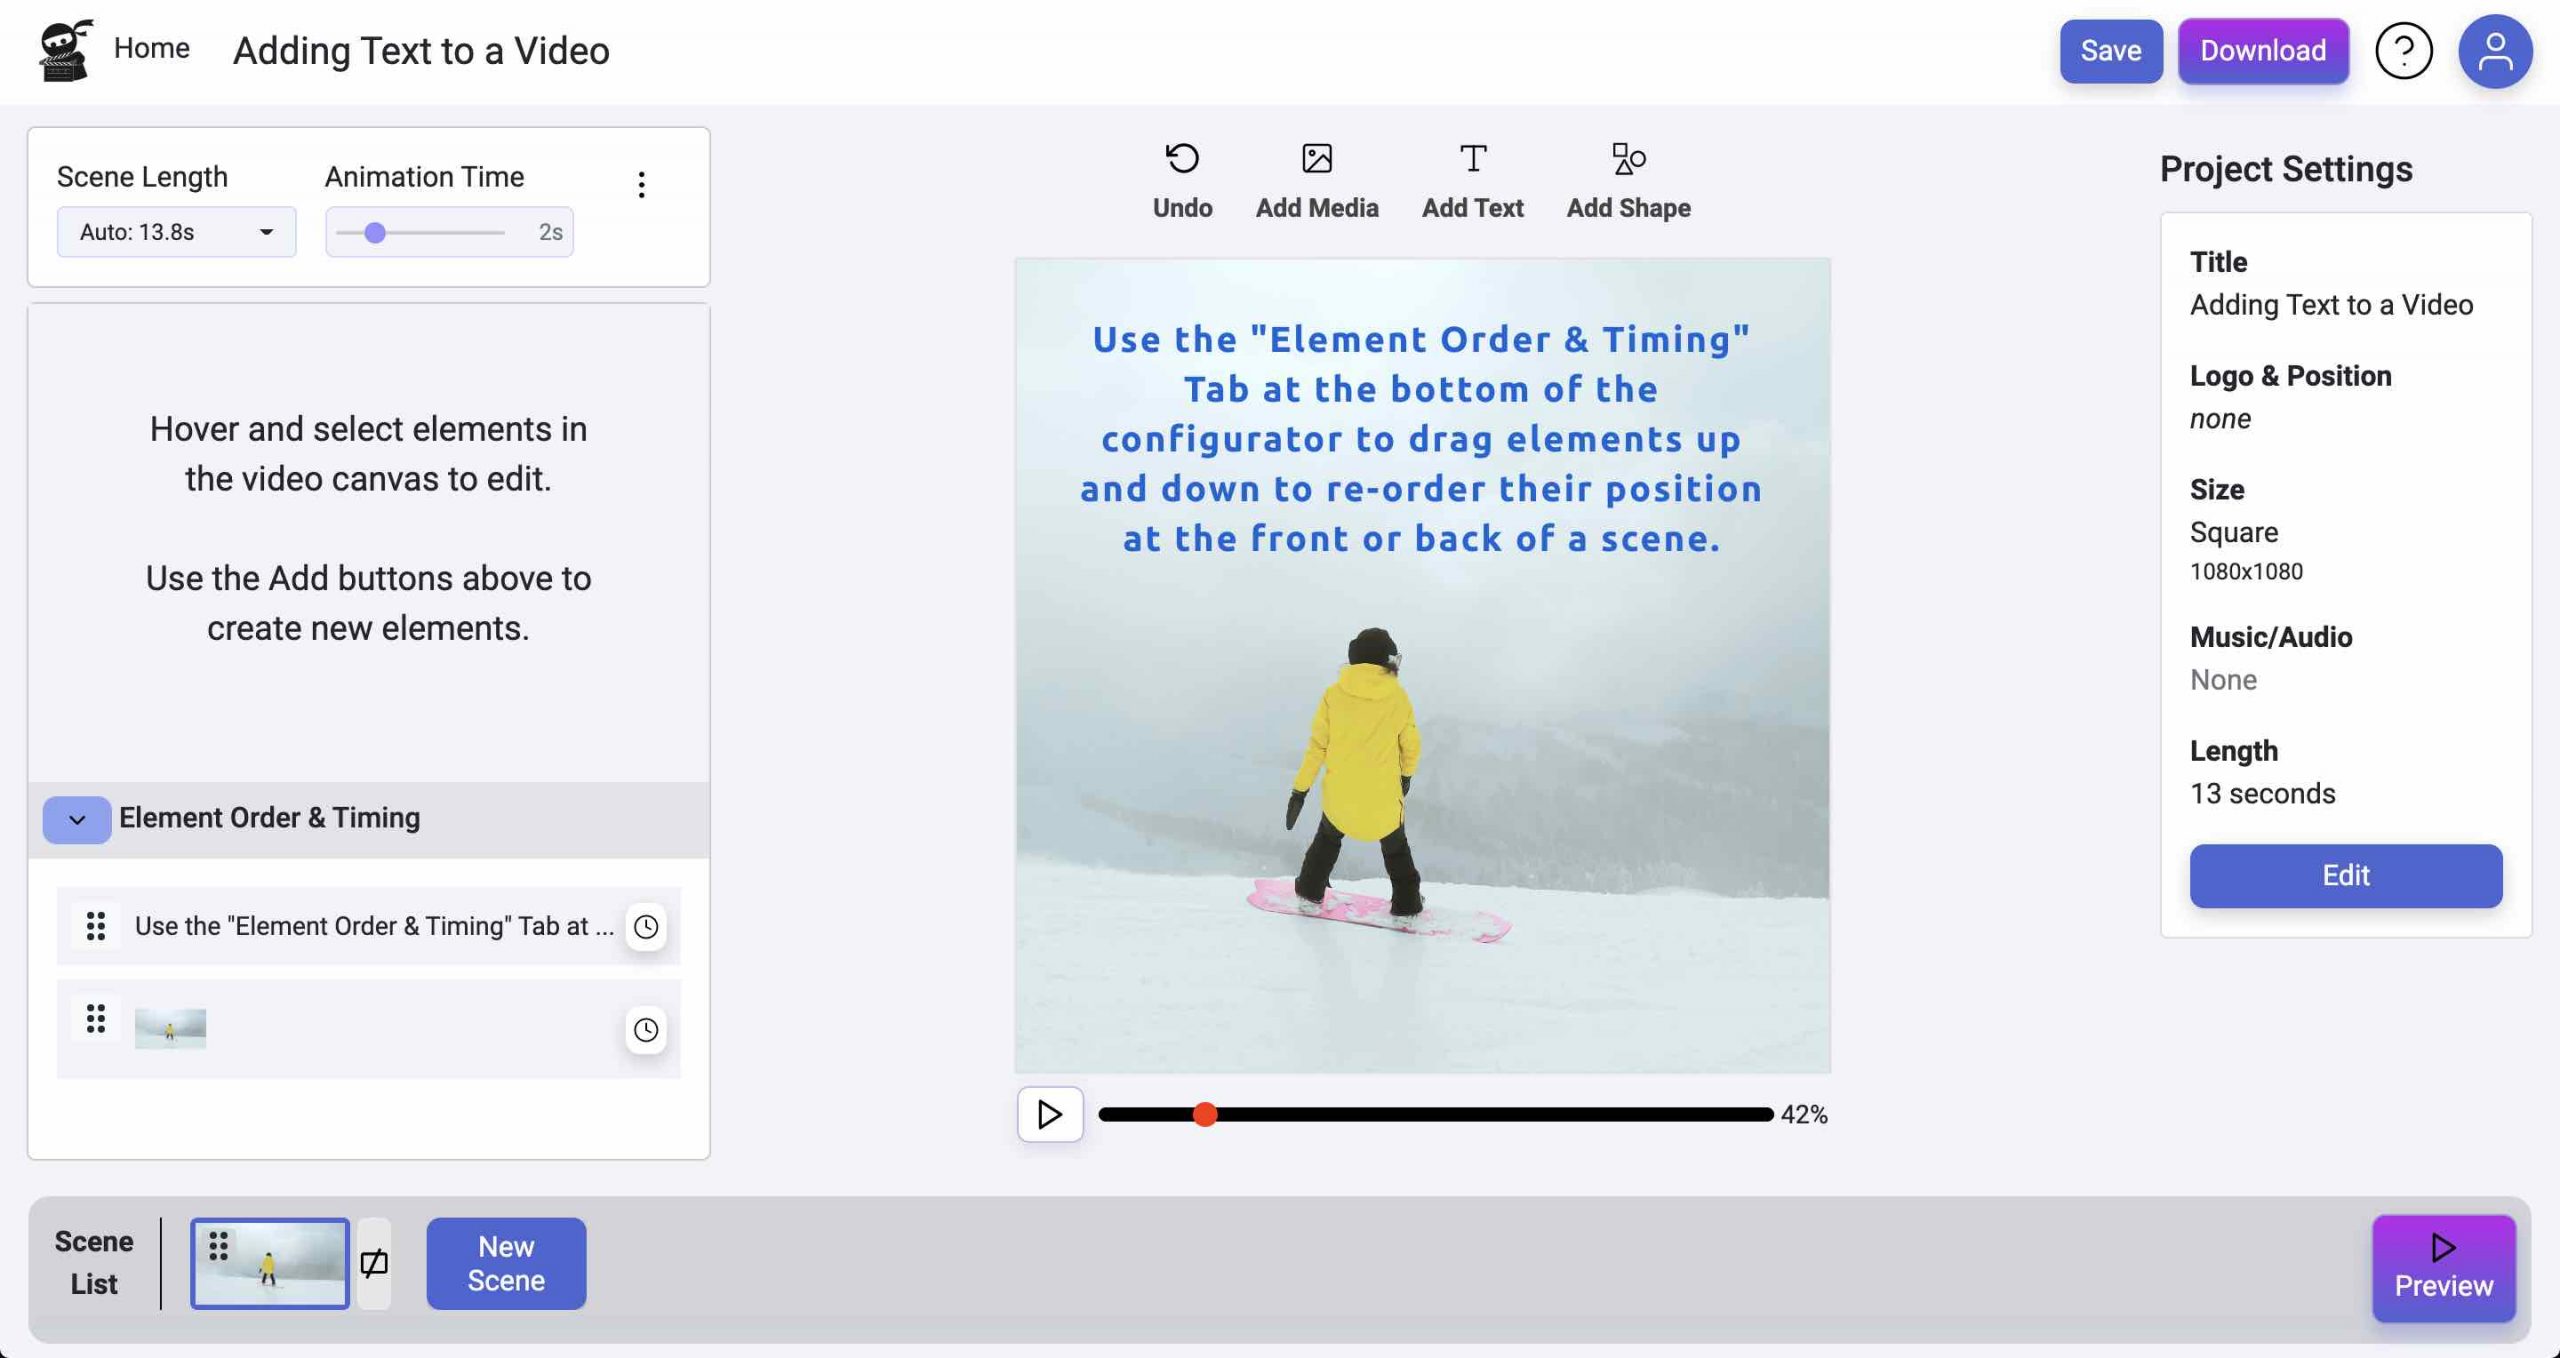
How to Add Text to a Video Adding text to a video is easy in Vidds. Often, you’ll simply select one of our existing scenes,

How to make videos when you don’t have content A guide to help you make videos when you don’t have any of your own content!
Facebook Ad Video Sizes Up to date Facebook Ad Video Sizes Facebook Ads are a powerful tool for any brand or business. Not only can

Best Stock Video Sites 2021 A complete guide to the Best Stock Video Sites in 2021 (original content from VReel.co) Twenty-twenty was a year filled

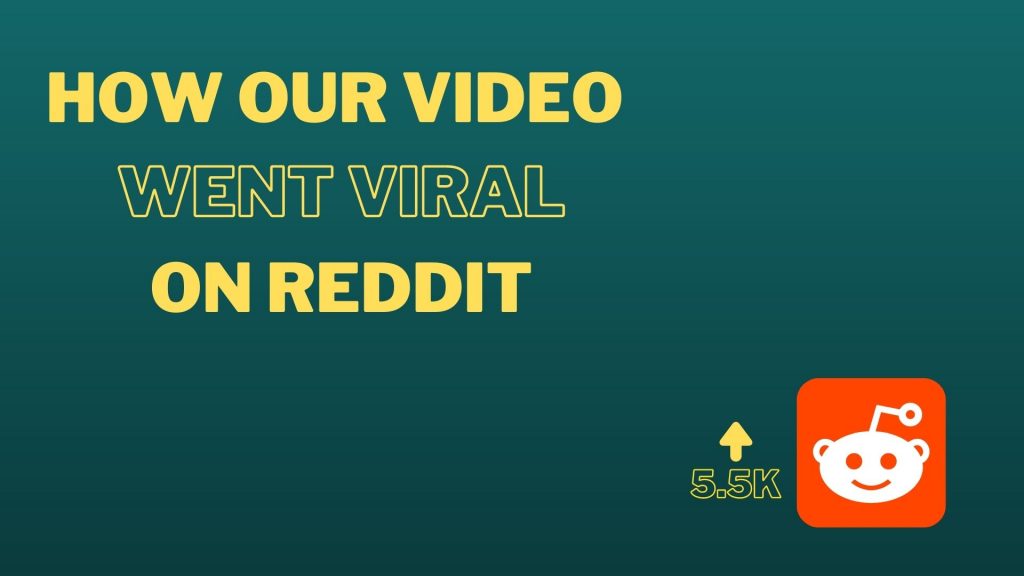
How our Video went Viral on Reddit How I took the #1 spot in r/bitcoin N.B. Don’t read this if you’re not willing to experiment

Top Video Trends and Ideas 2021 A complete guide to the top video trends and ideas for 2021 It’s been true on the web for
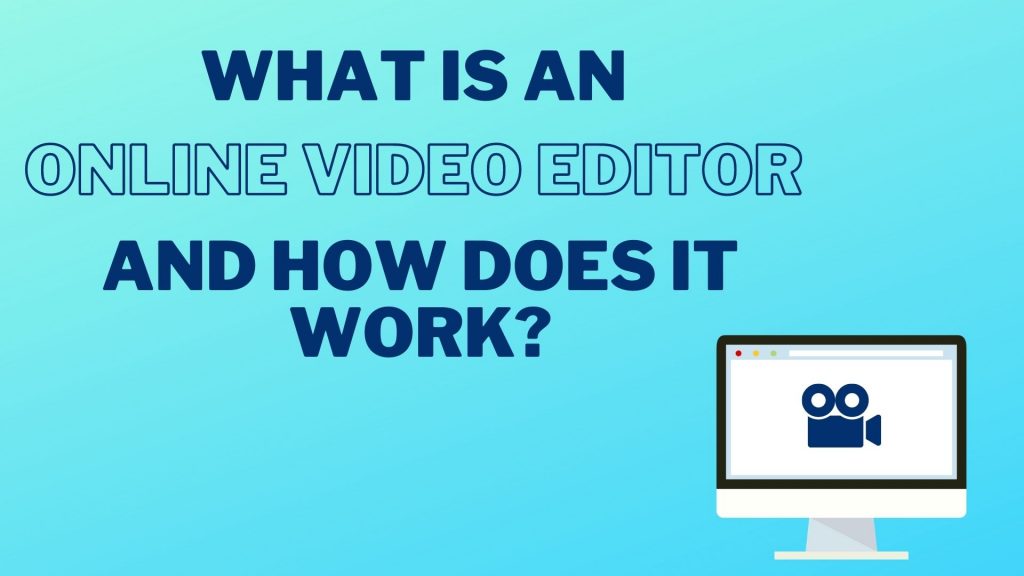
What is an online video editor and how does it work? A complete guide: Discover what an online video editor is and how does it


How to Create an Animated GIF Thumbnail Introduction I received a great email from my friend, Rufus the other day. He makes a YouTube series

How to Add Scene Transitions Adding scene transitions to your videos is a piece of cake with Vidds, simply follow the steps below to find

How To Animate Text in Videos How to Animate Text in Videos with Vidds Animating text in Videos is one of the most common reasons