How to Use AI to Video Generator
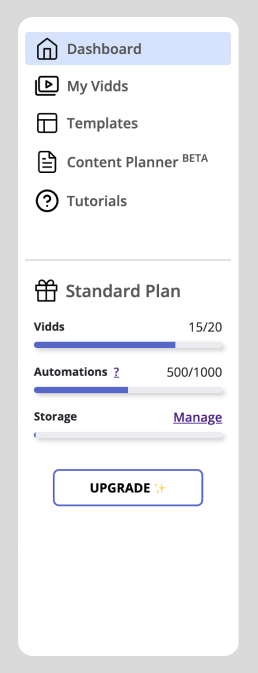
Click "AI to Video" in the Automations section
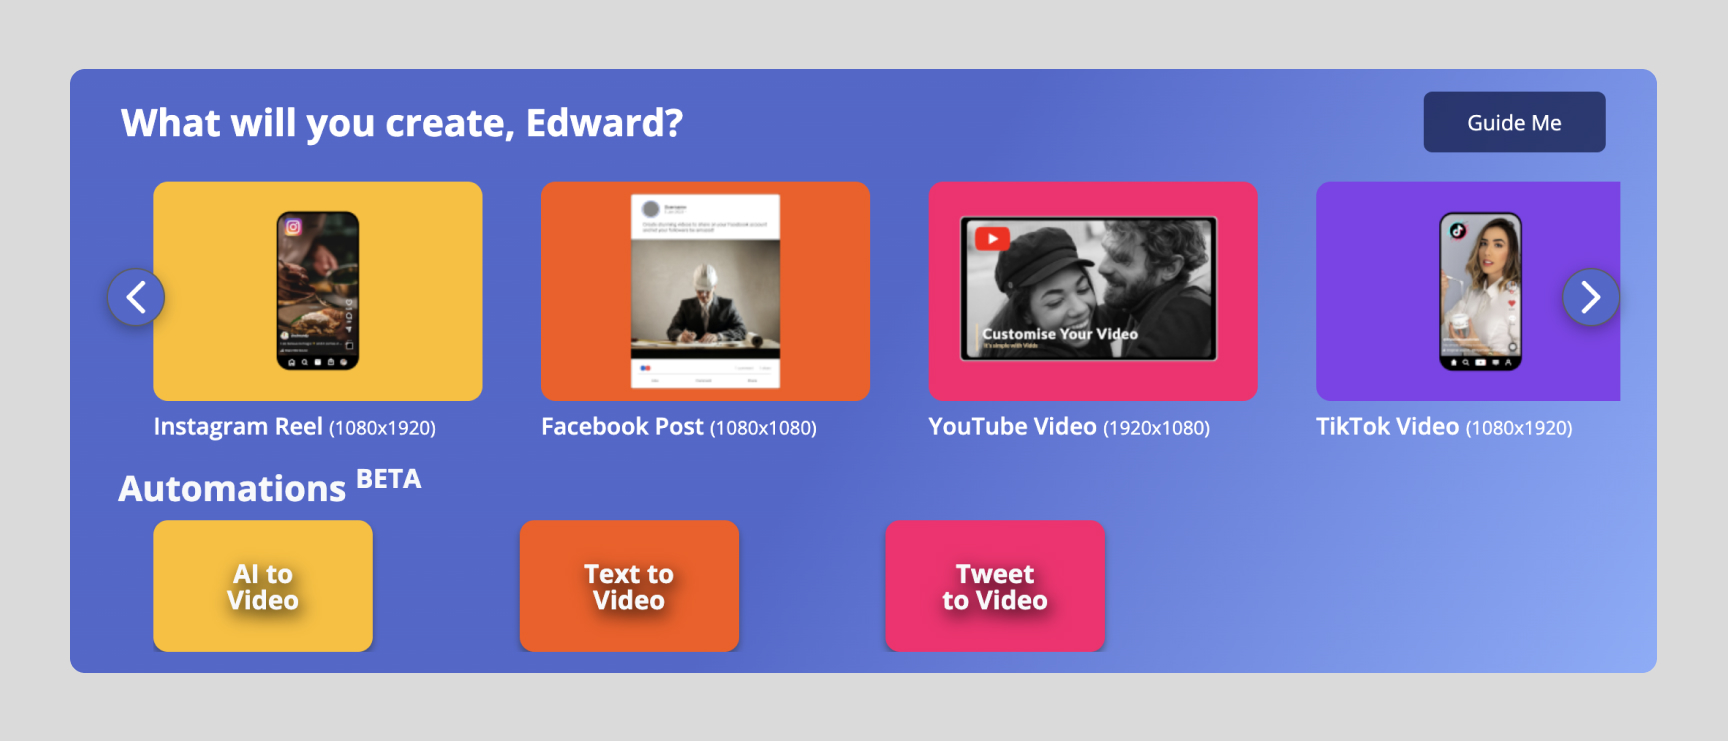
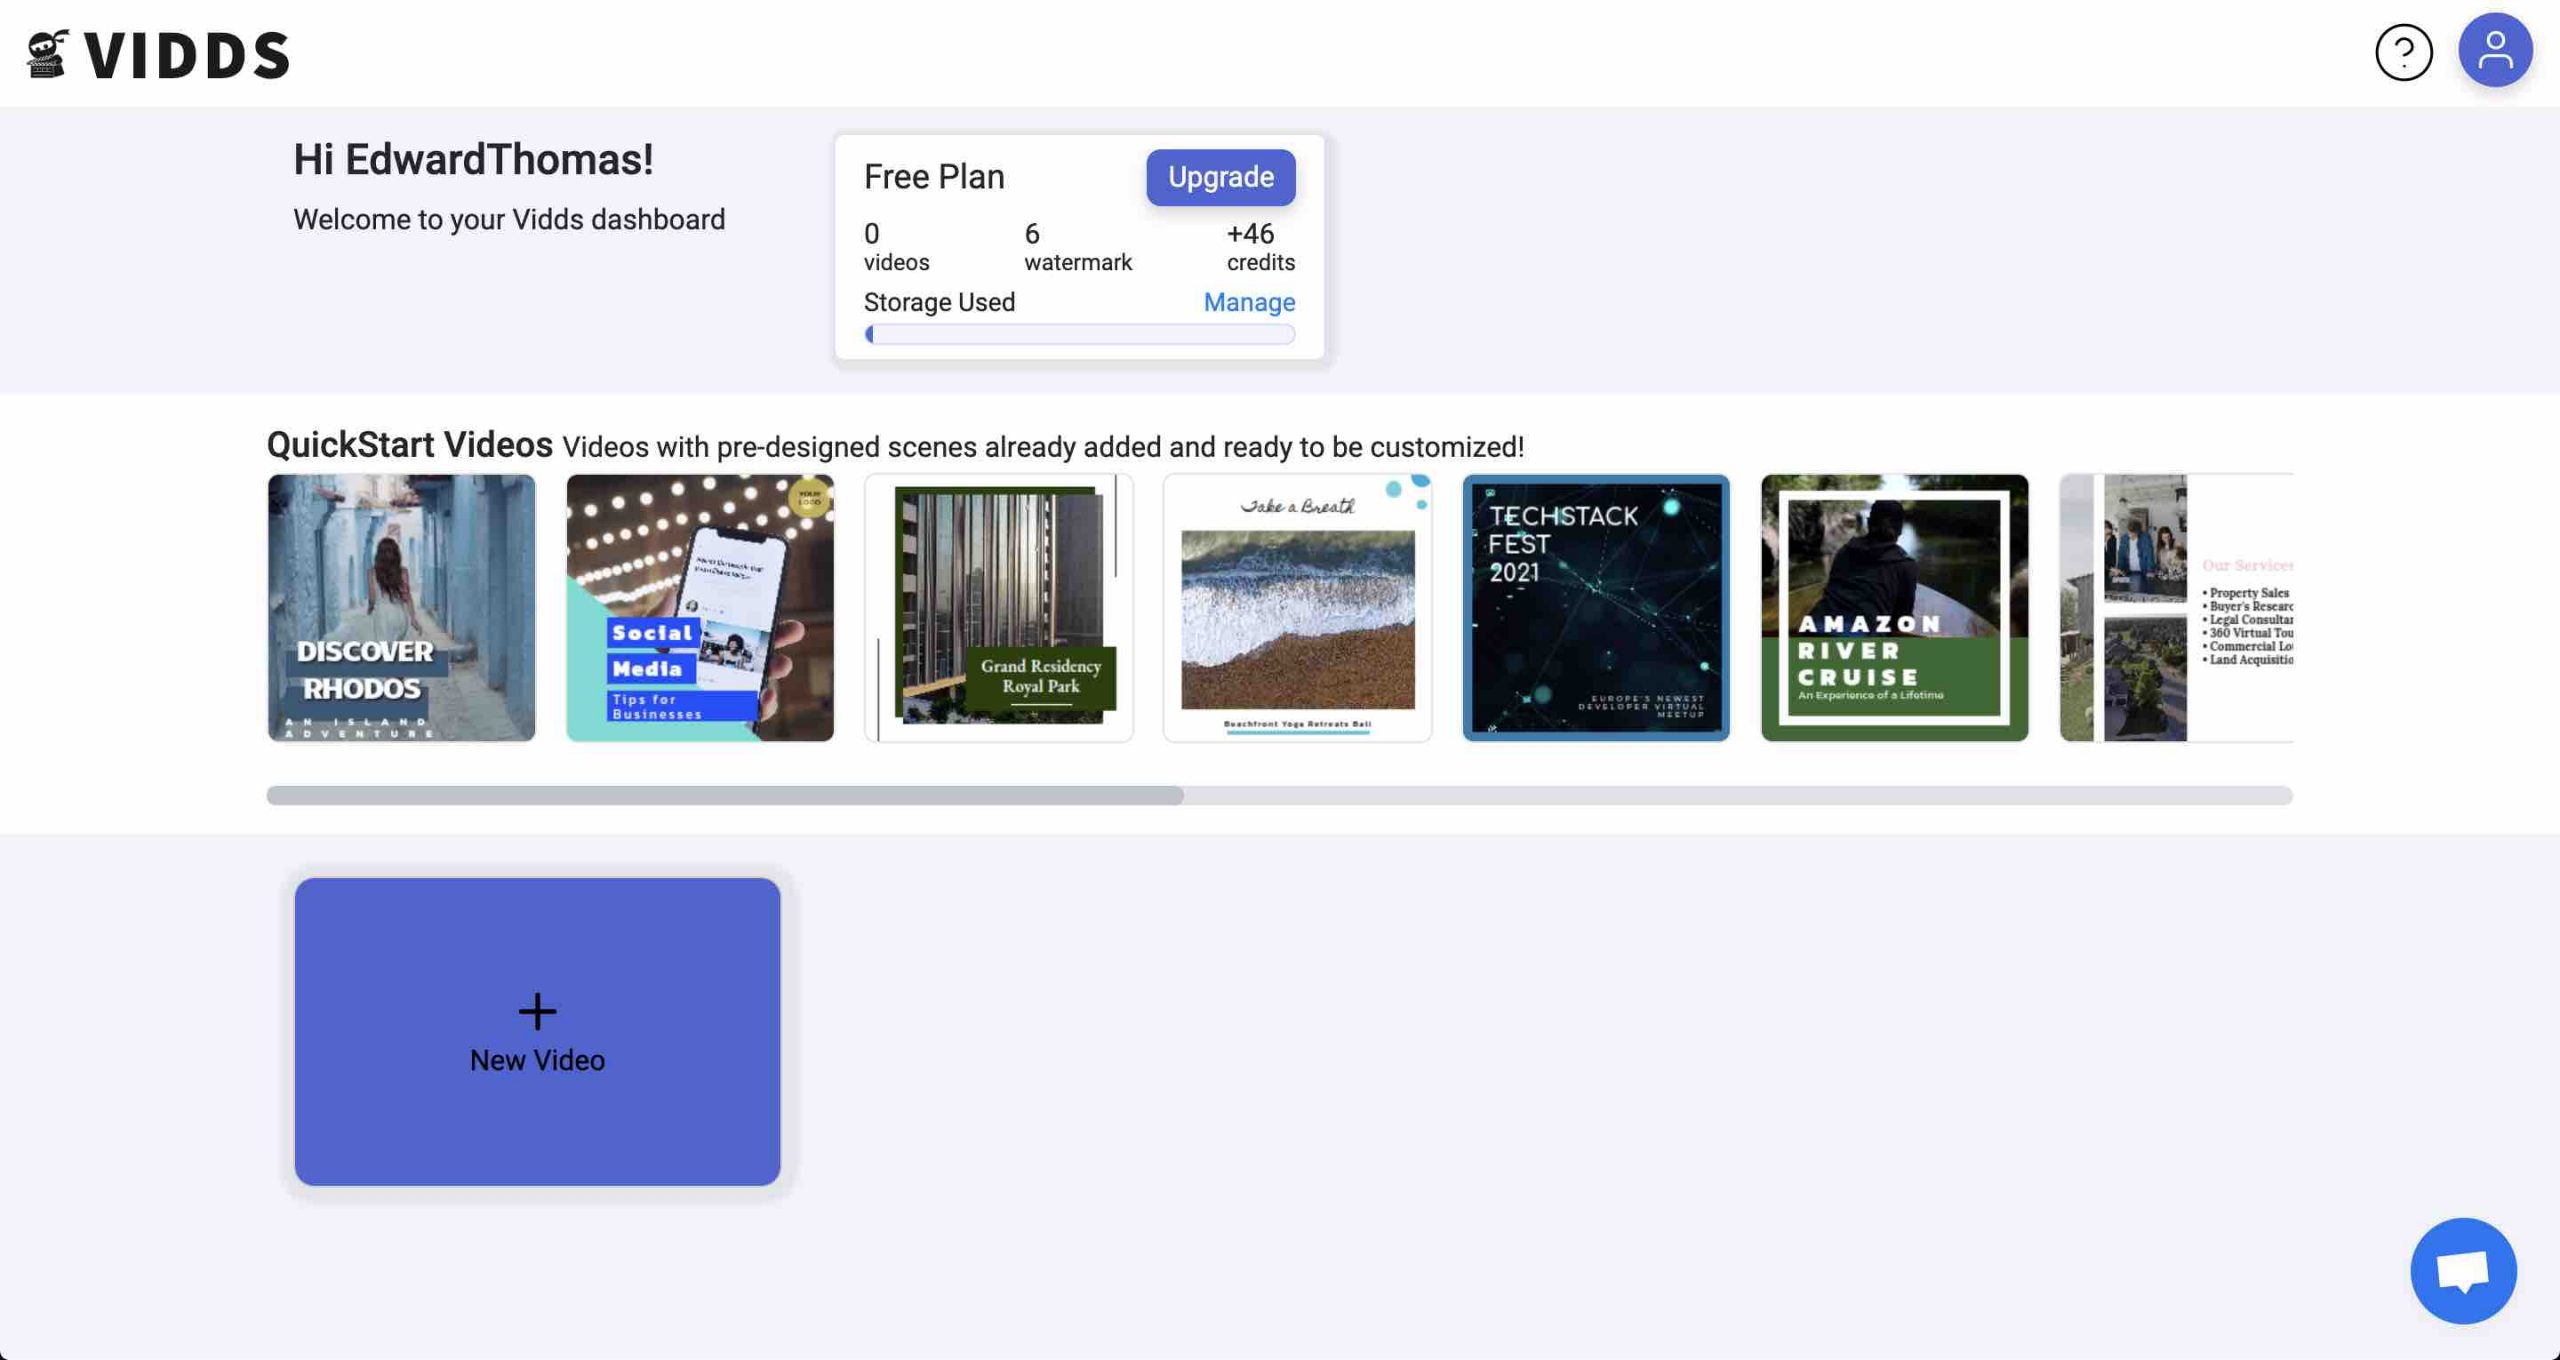
To use the Vidds AI Video Generator, click the “AI to Video” button in the Dashboard. As seen above in the “automations” section.
The AI to Video tool will open.
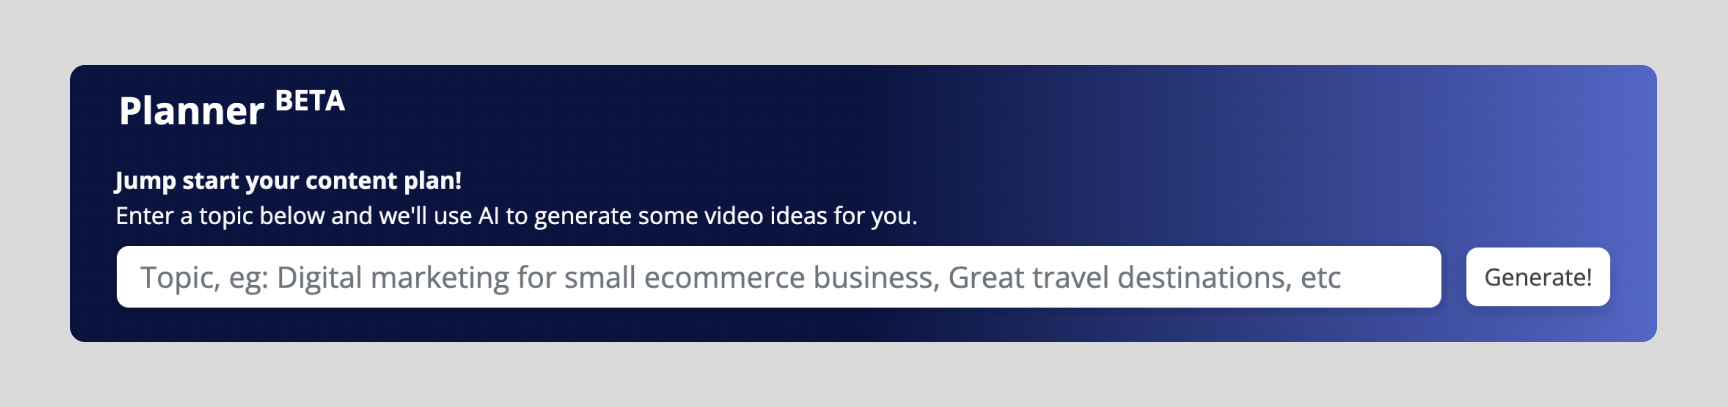
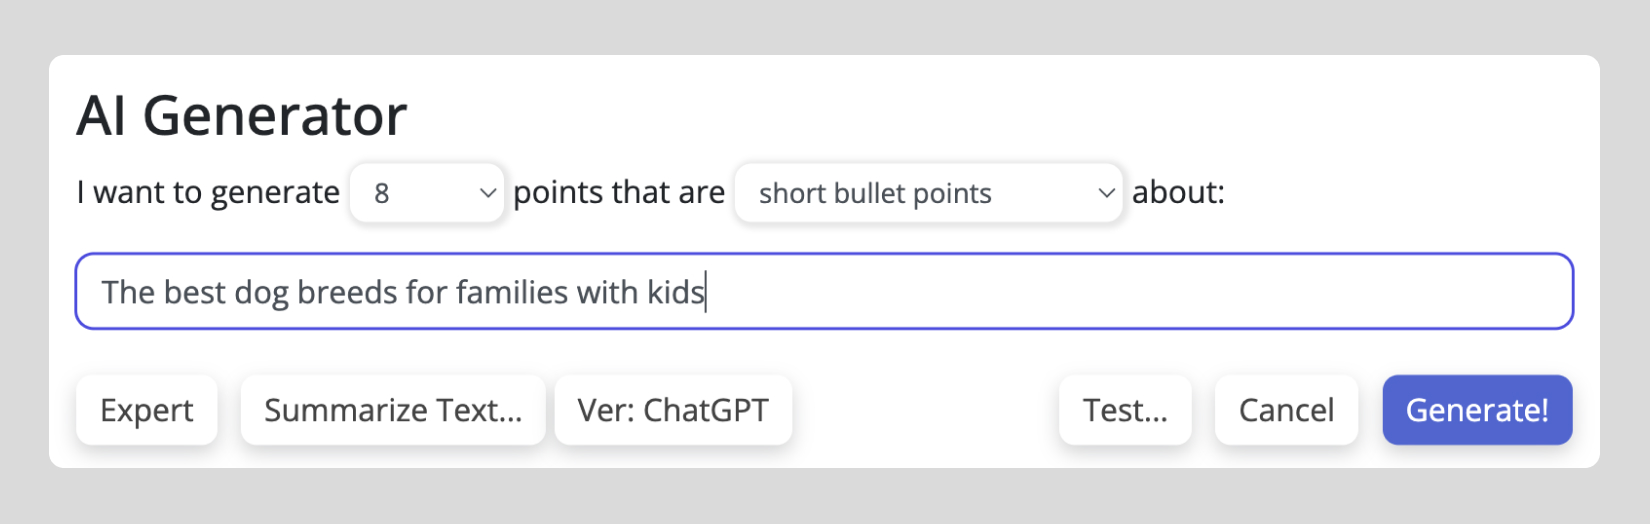
Use the prompt guides to build your prompt:
Set the number of points you would like – this will be the number of scenes in your video.
Choose between: short bullet points, headlines, paragraphs or how-to points for the text.
Add keywords into the empty text box to set the topic of the video.
Click “Generate”
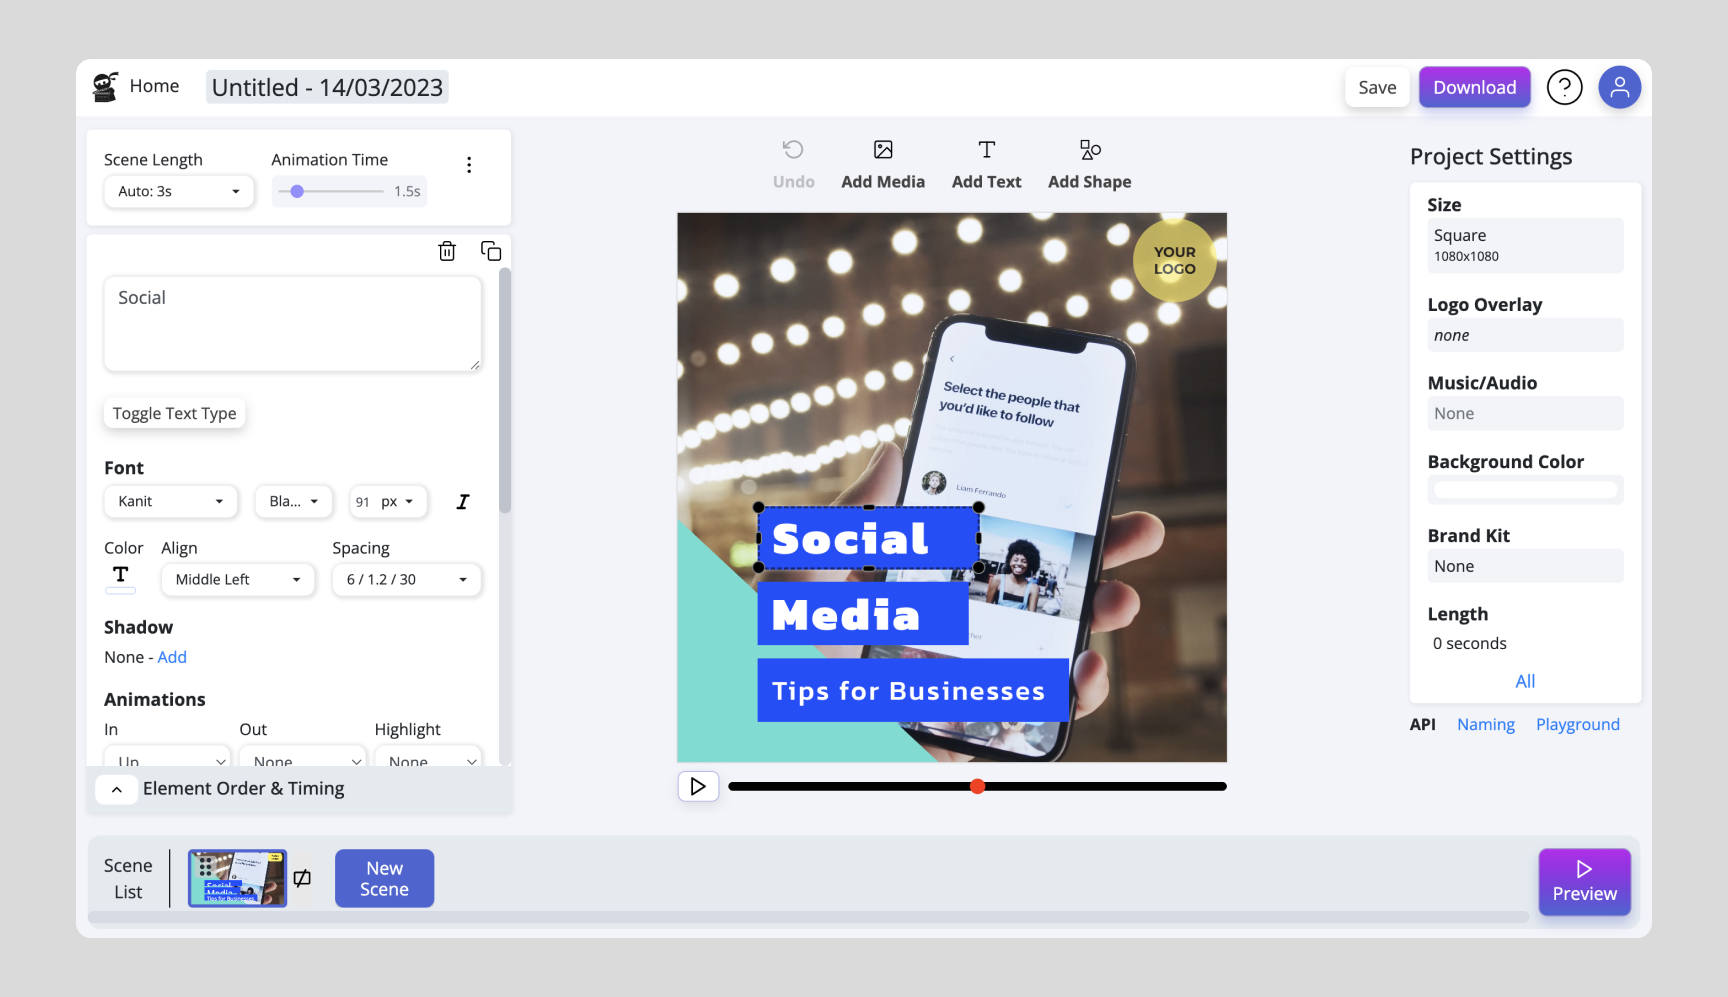
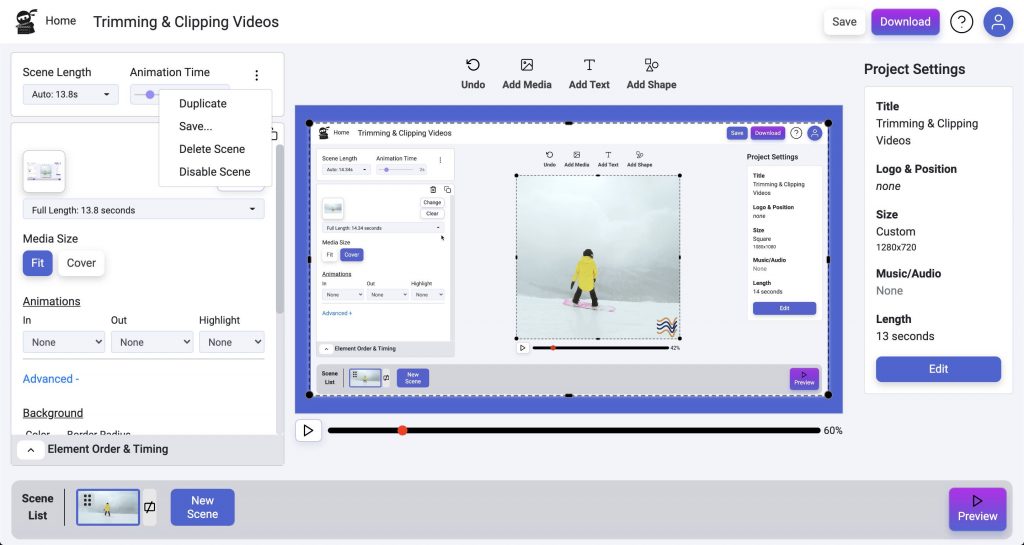
Video Wizard - Customise Your Video
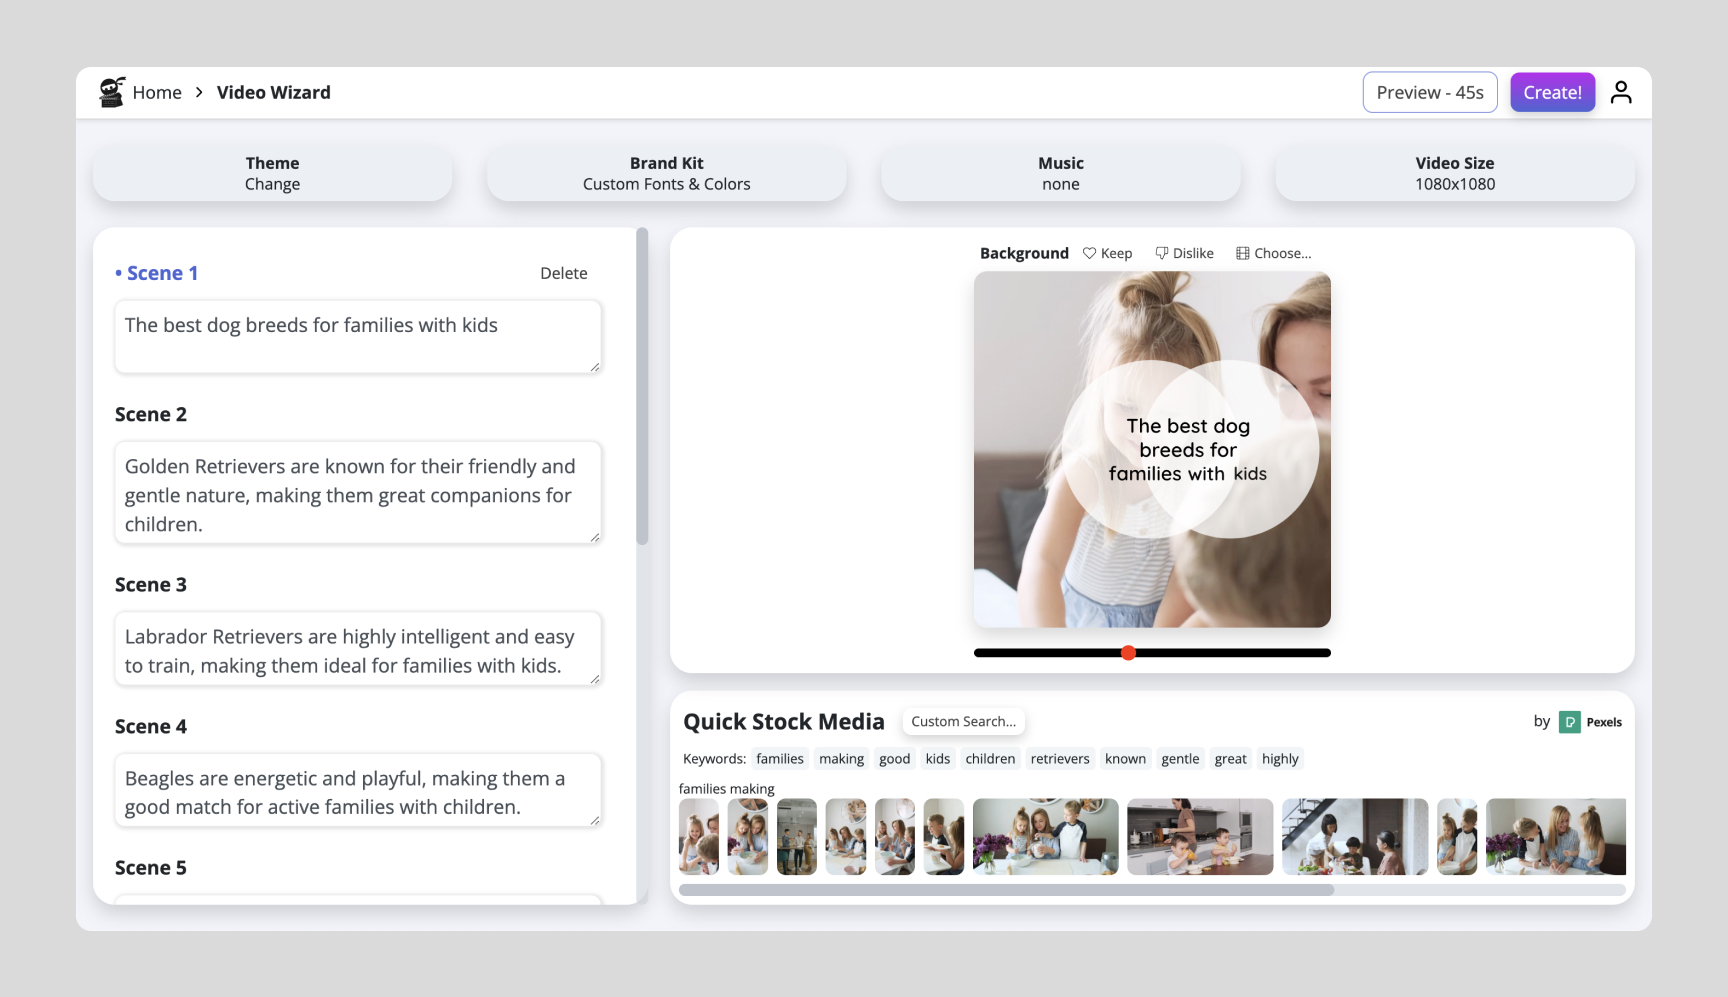
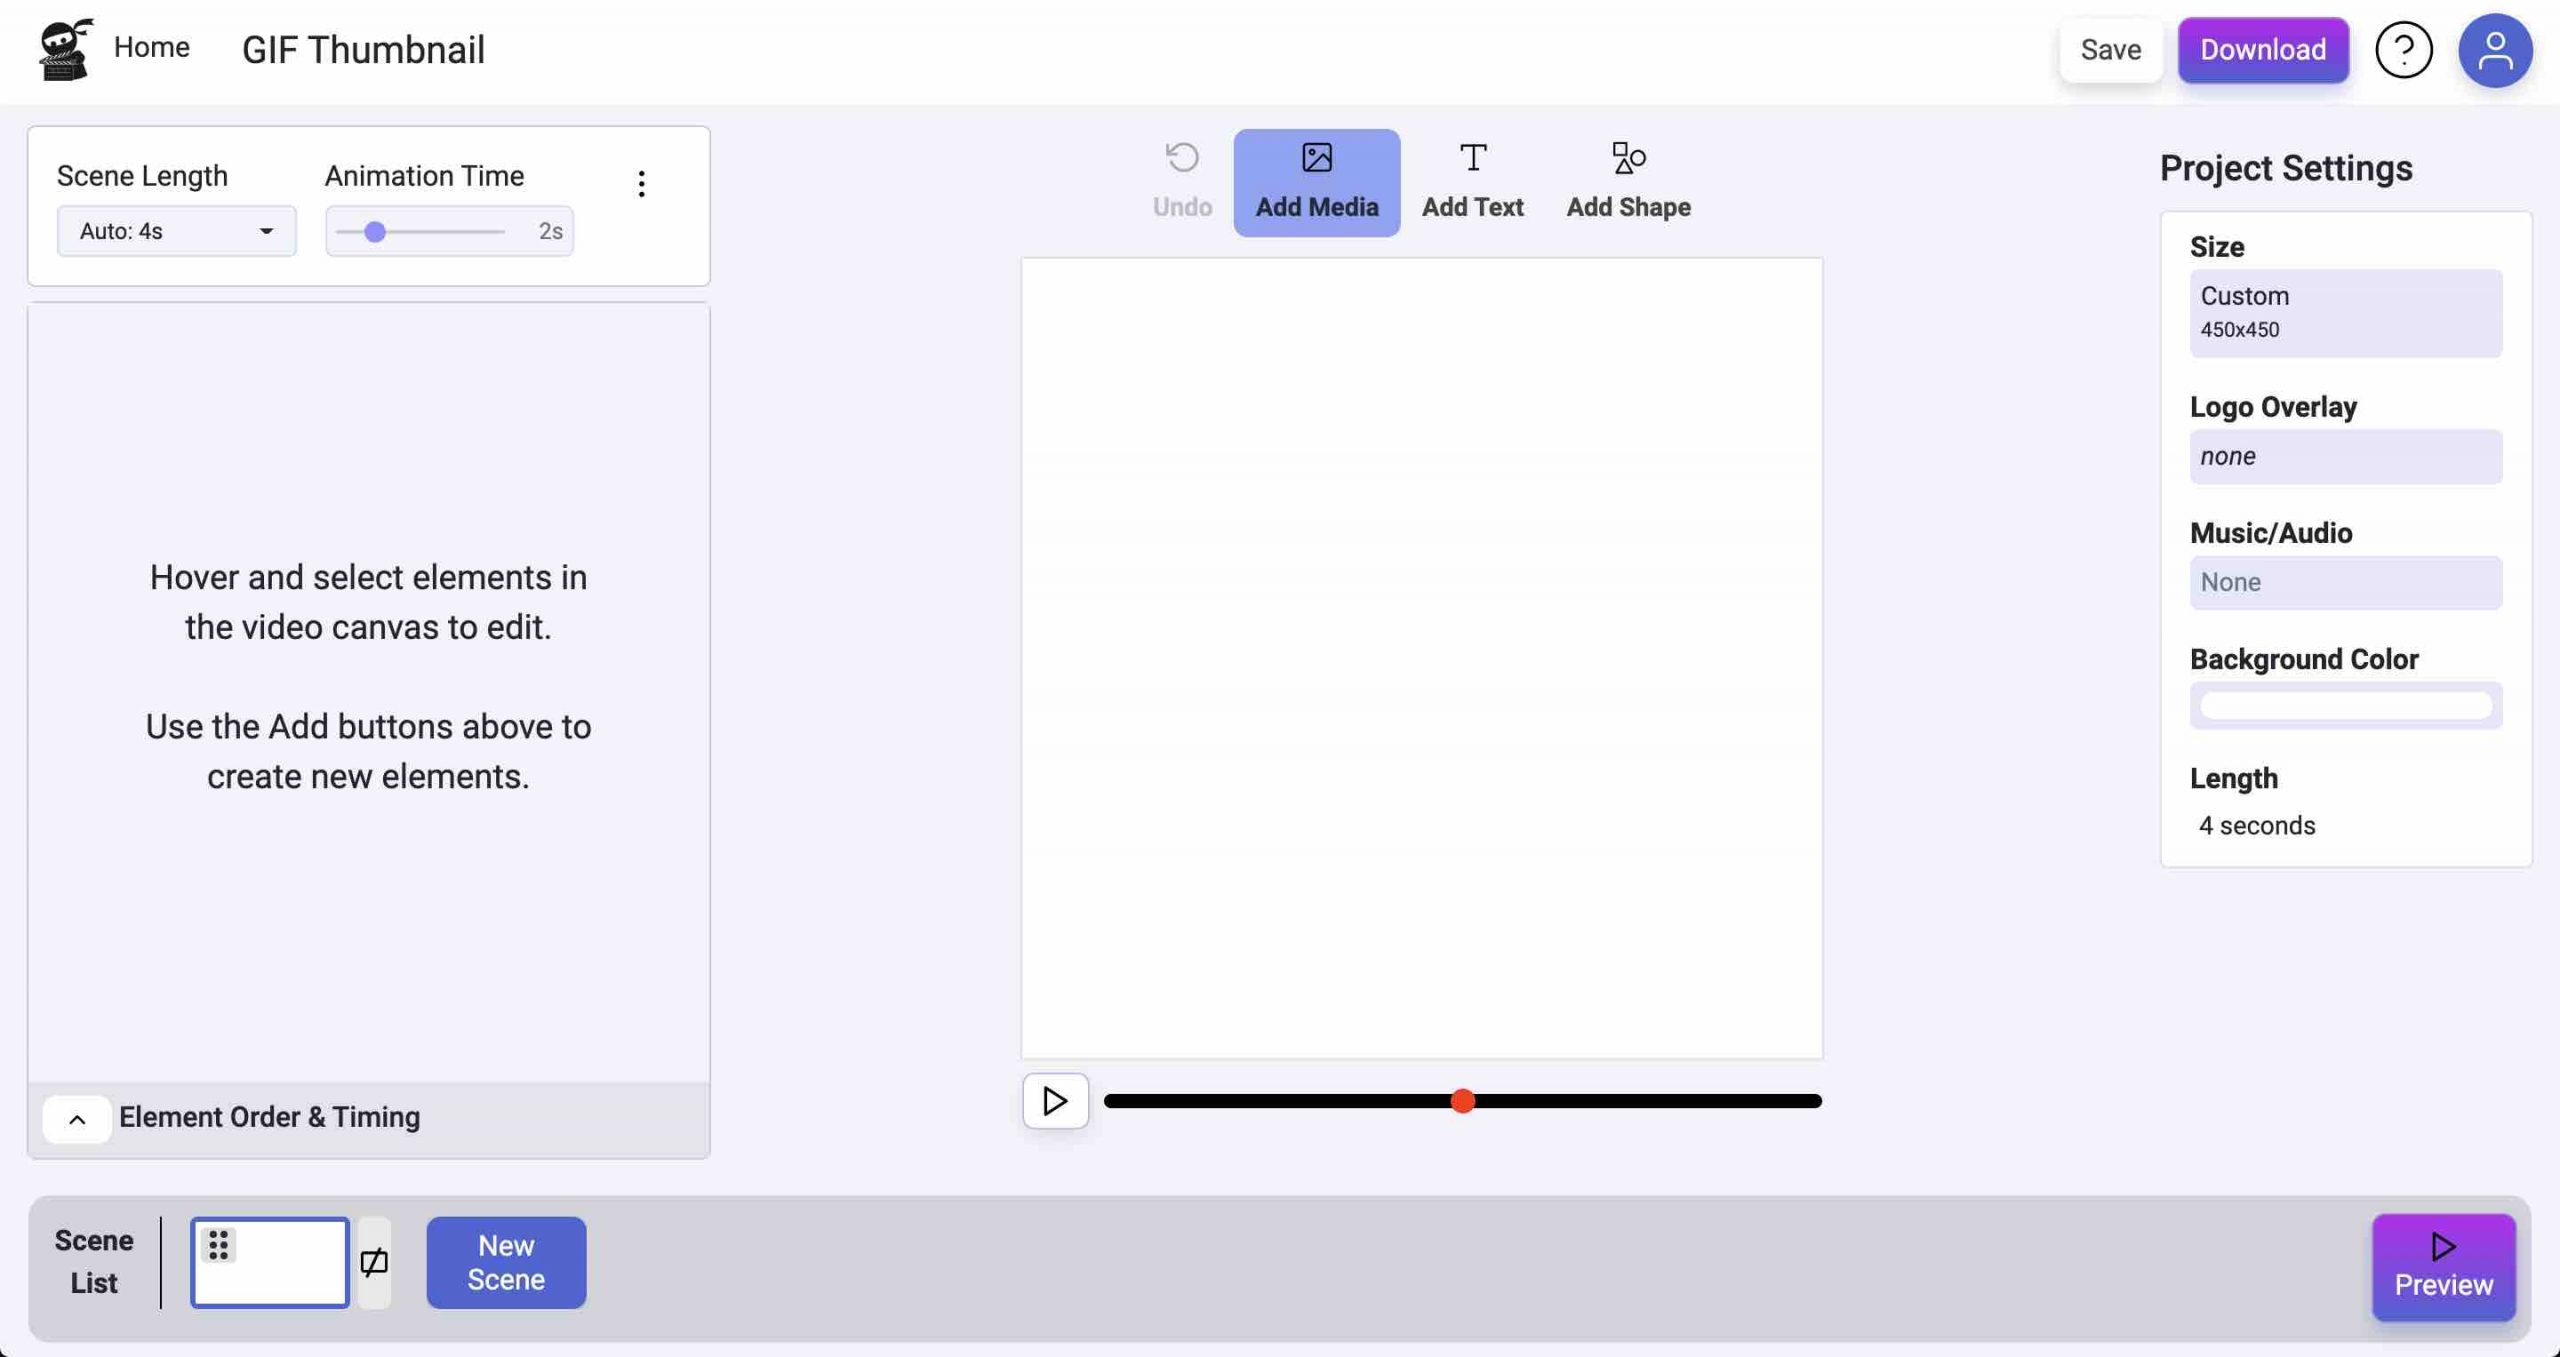
The Video Wizard has sections for each part of the video that is changeable.
On the left you will find the text for each scene.
At the top, the buttons are your options to change the look and feel of the video
On the right, the preview shows you how the video looks with the background media and text.
Below the preview is the stock video search section. Here you can choose all the media for each scene.
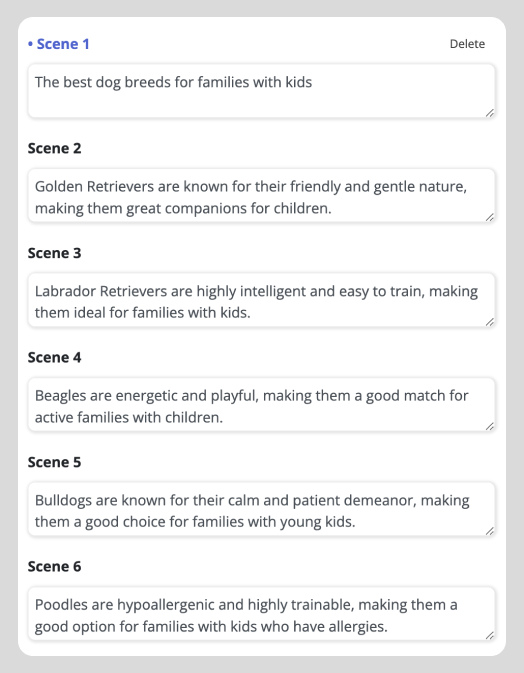
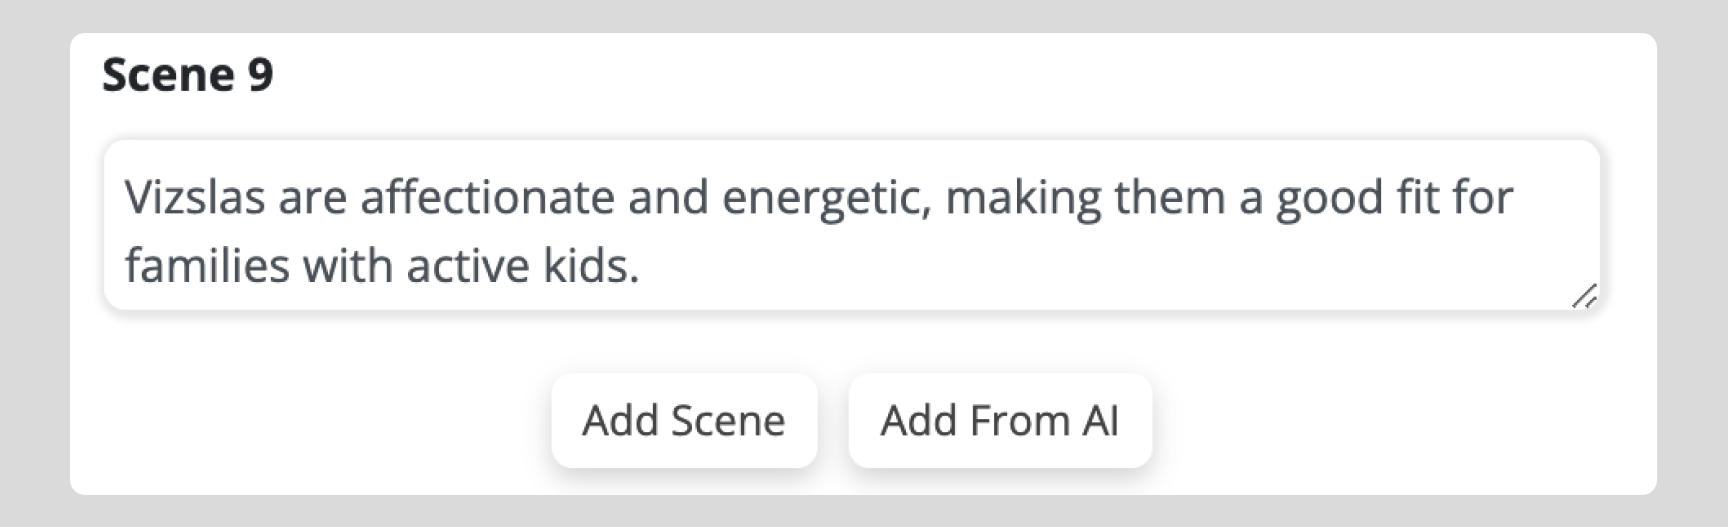
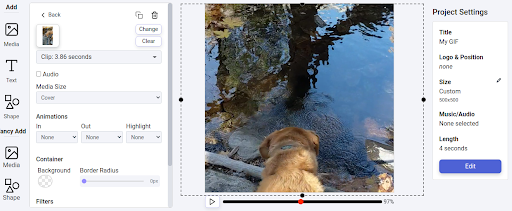
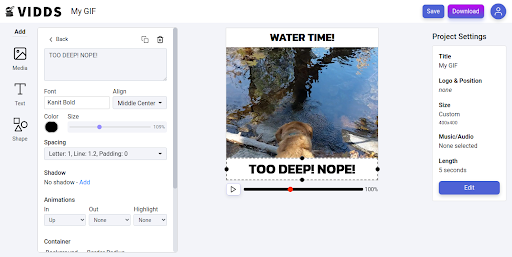
Edit Scene Text
To edit the scene text, click the text box for the required scene. The preview on the right will change to show the correct scene.
Add or remove any text that you like. You will see the text in the preview update in real-time.
Switch between scenes by clicking in the text box of the next scene you want to edit. Repeat the process of adding or removing any text that you want.
To add more scenes, scroll to the bottom of the scene text list and click the “add scene” button. There is also an option to add a scene using AI. To do this, add your prompt and allow the AI to generate more texts on your topic for new scenes.
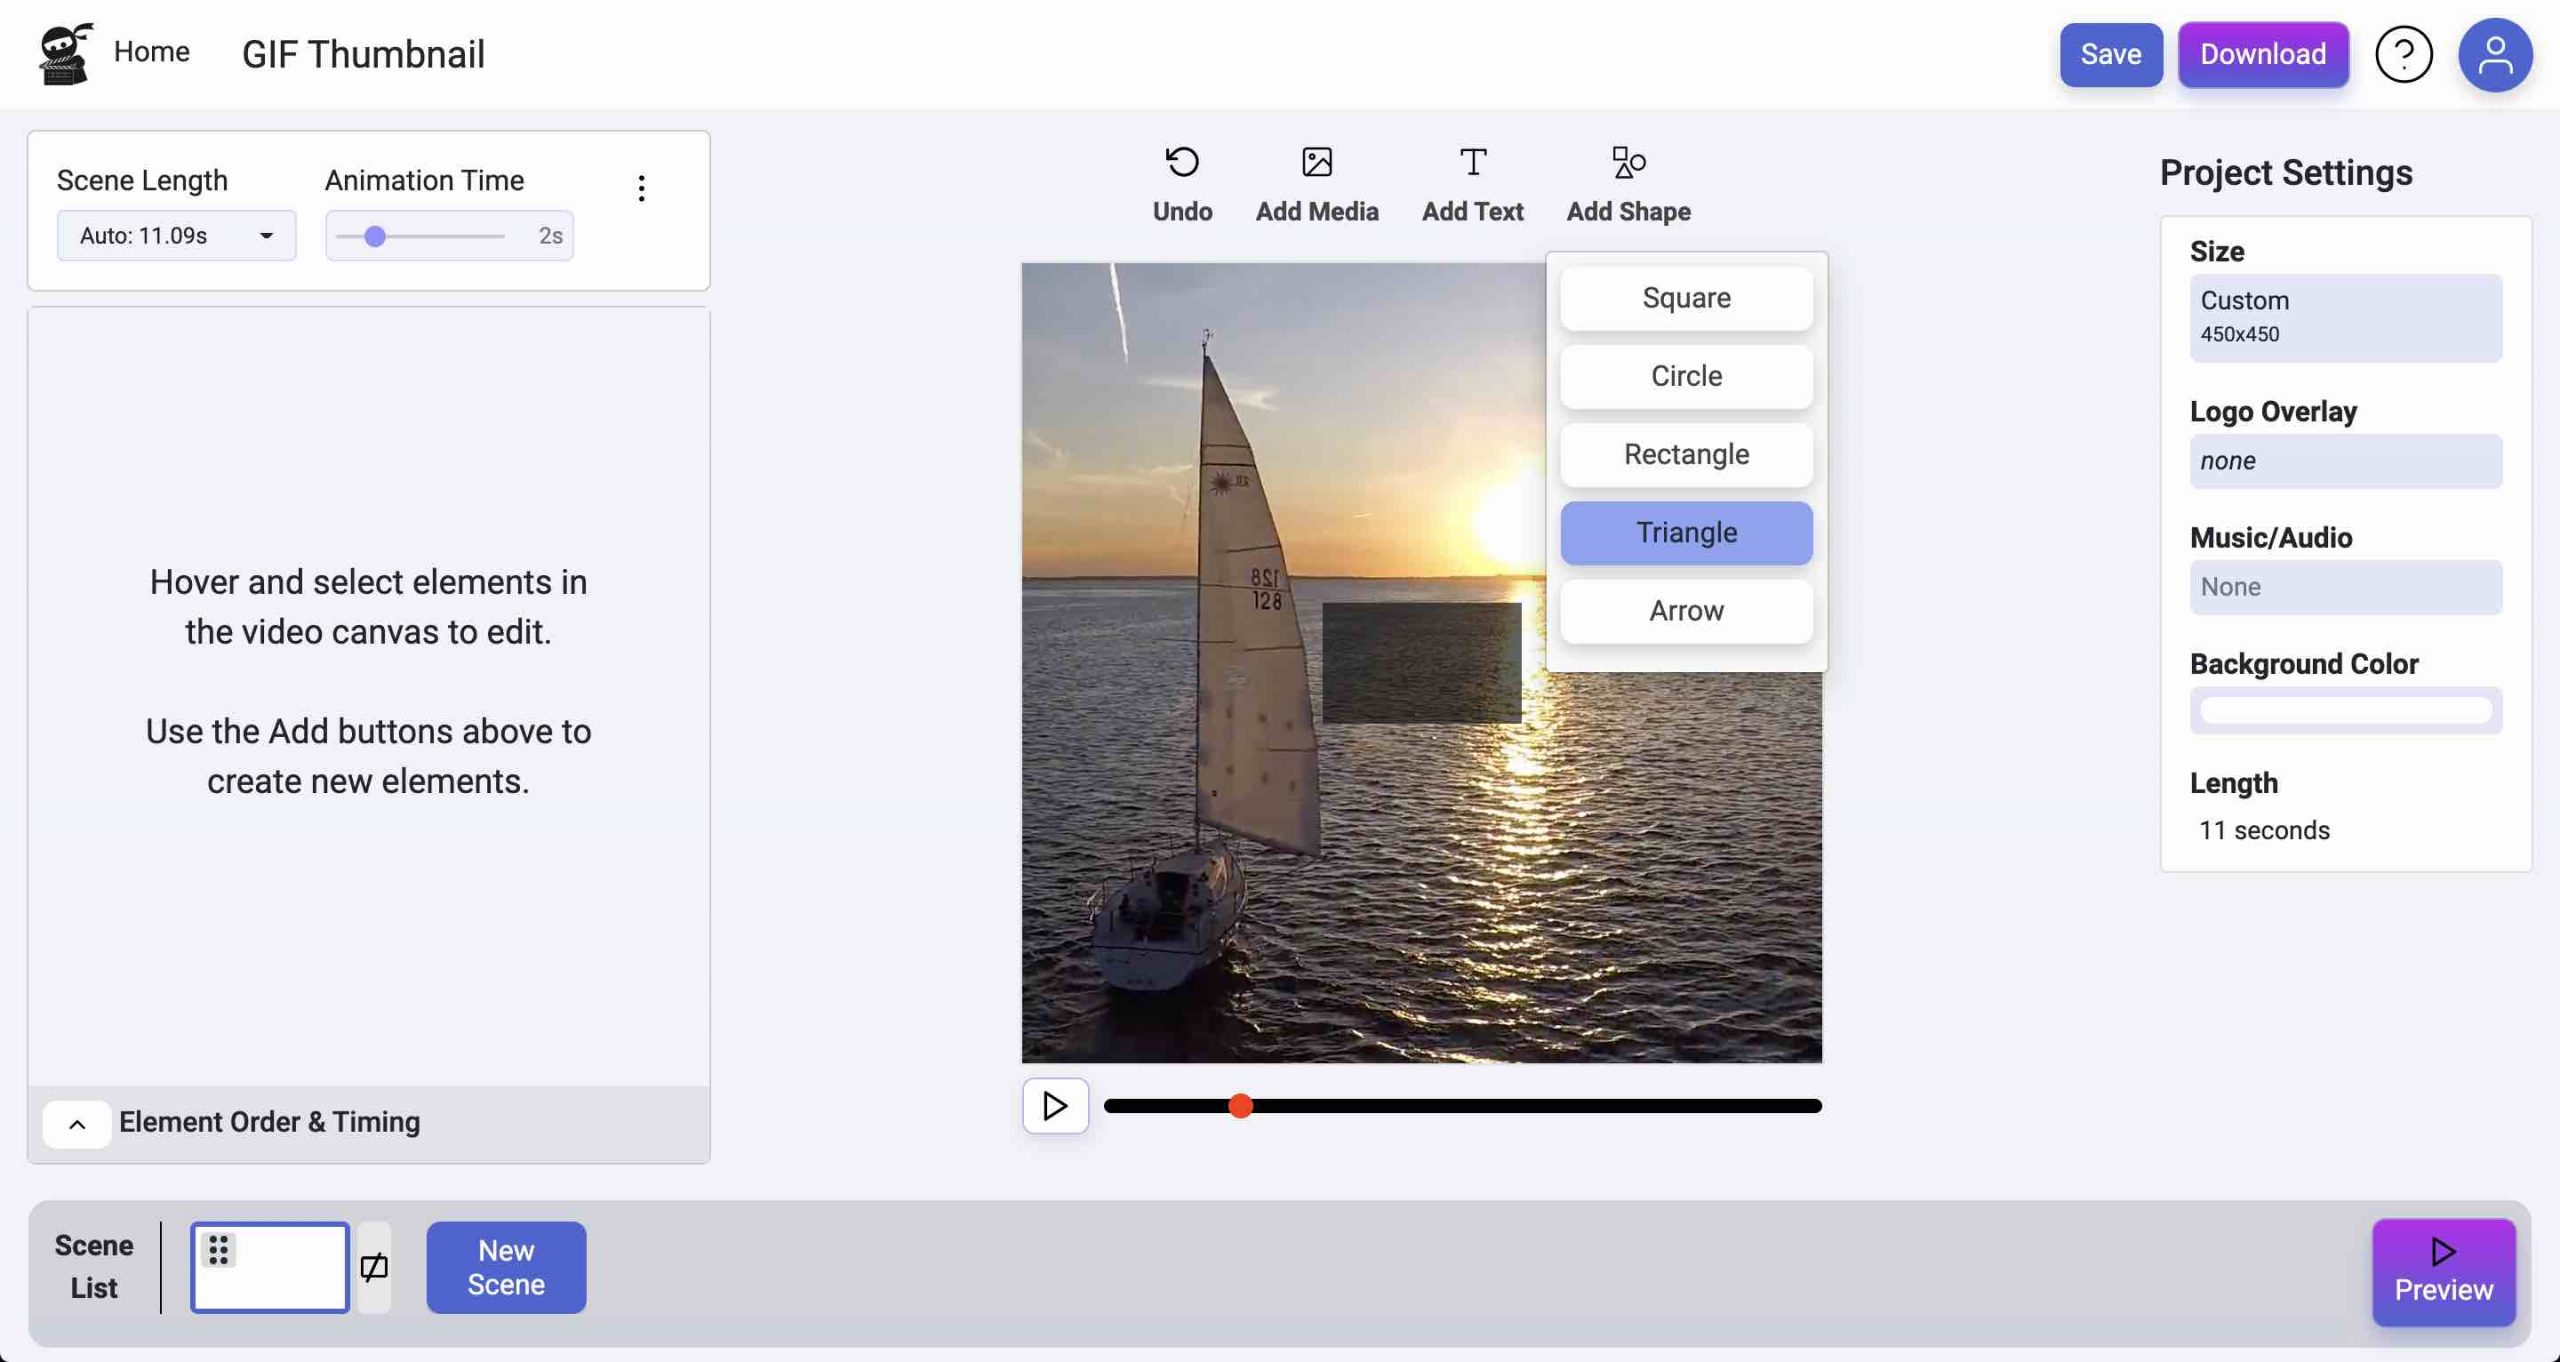
Editing Options - Look and Feel

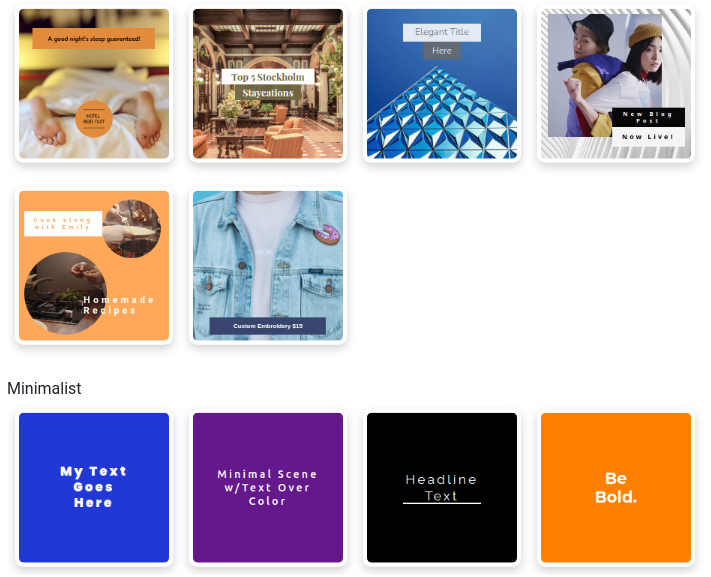
Theme – our library of theme designs lets you change the look of your video in one click.
How to change the theme:
Click the “Theme” button at the top.
View the different themes by hovering your mouse over them.
Click the theme that you like.
The video design changes.
Brand Kits – adjust fonts and colours of your video to match your branding
How to change Brand Kit:
Click the Brand Kits button at the top
Select, “Create a New Kit”
Give the Brand Kit a name
Select your new brand kit from the list
Complete the Brand Kit design guide by updating all colours and fonts.
Click “Save”.
Your video now has your brand kit added. You will see the changes in the preview.
Music – add background music to your video
How to add Music:
- Click the Music button at the top.
- Browse the Free Music Library.
- Filter using the “Mood” and “Genre” lists.
- Preview the songs using the Play button to the left.
- Click “Select” on the song you like to add it to your video
Your video now has a background song added.
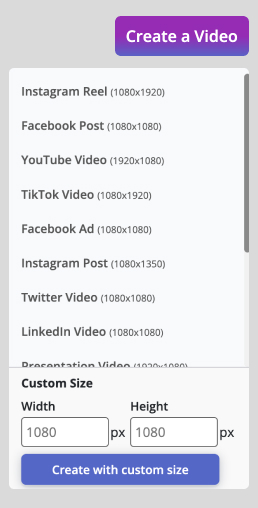
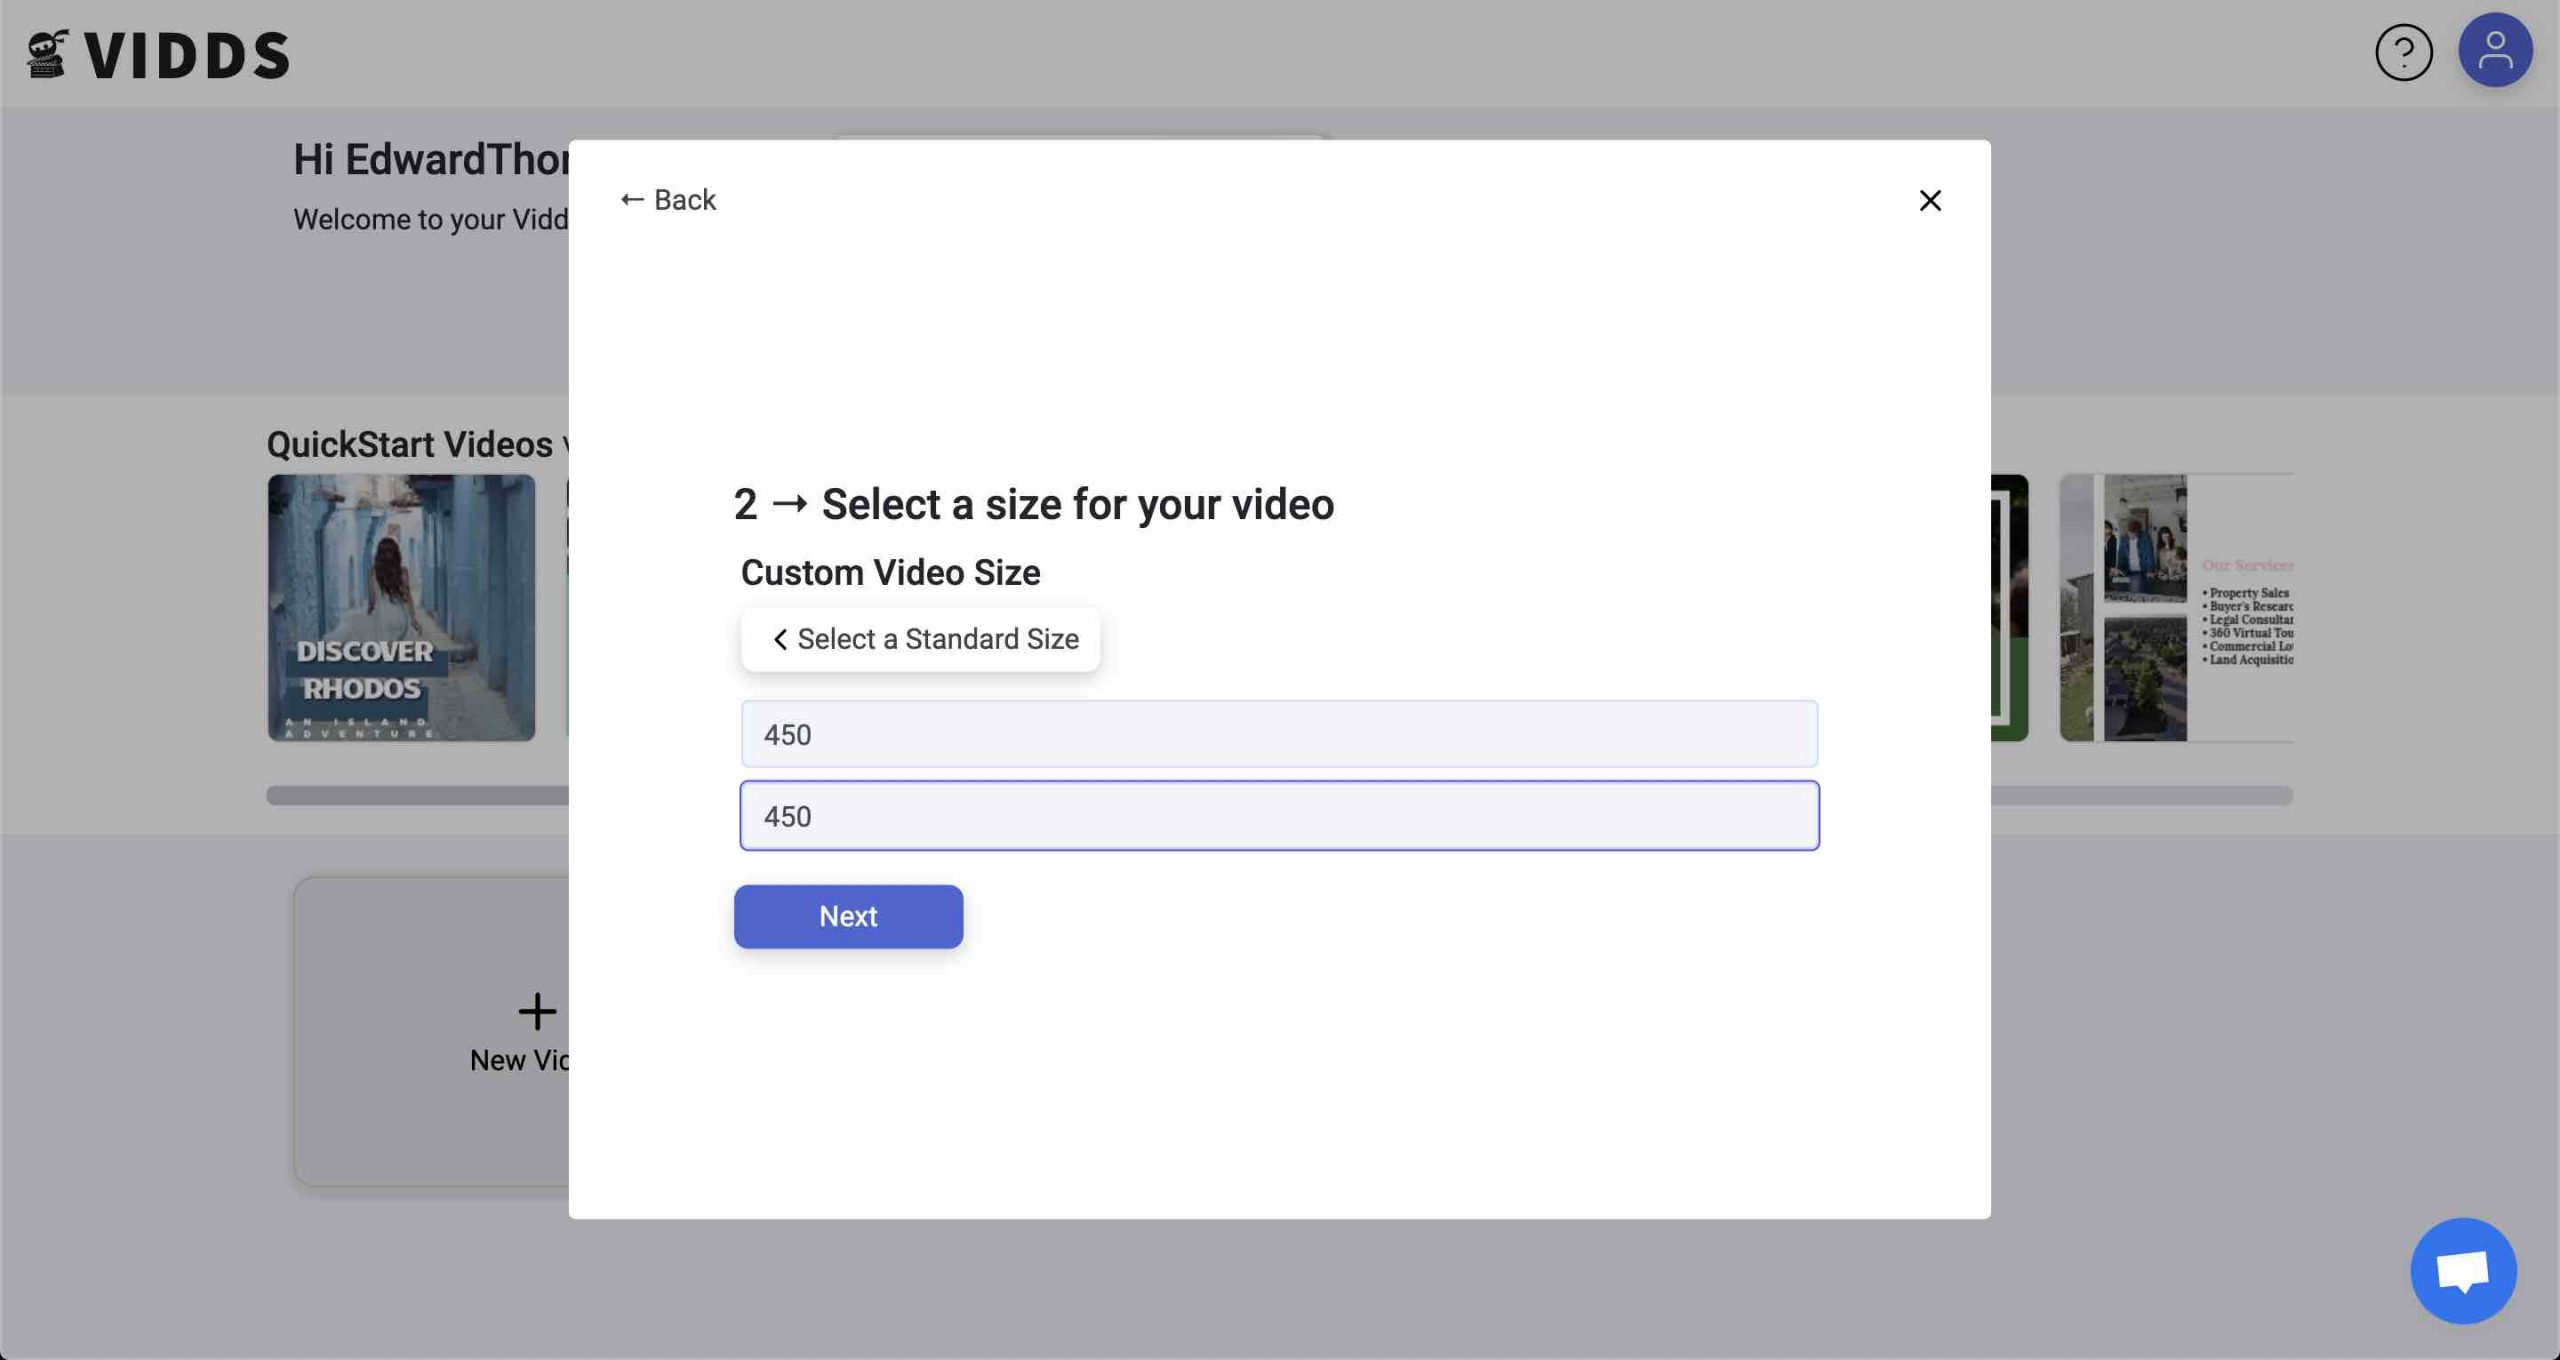
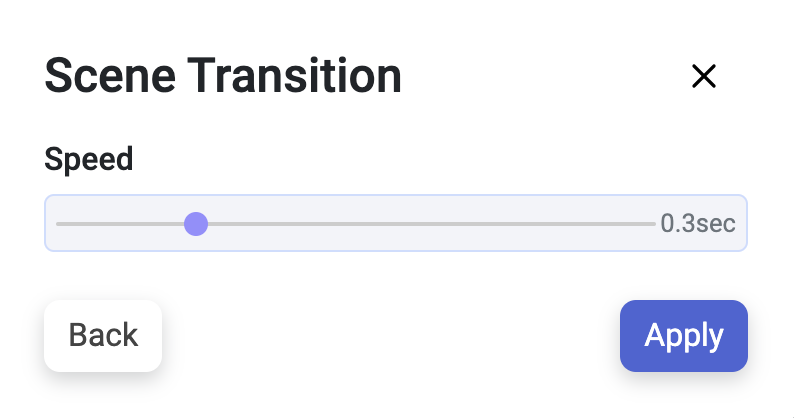
Video Size – change the aspect ratio of your video
How to change Video Size:
- Click the video size button at the top
- Select square, portrait or landscape from the list
Your video size has now been changed. Note that all the text and media are automatically resized.
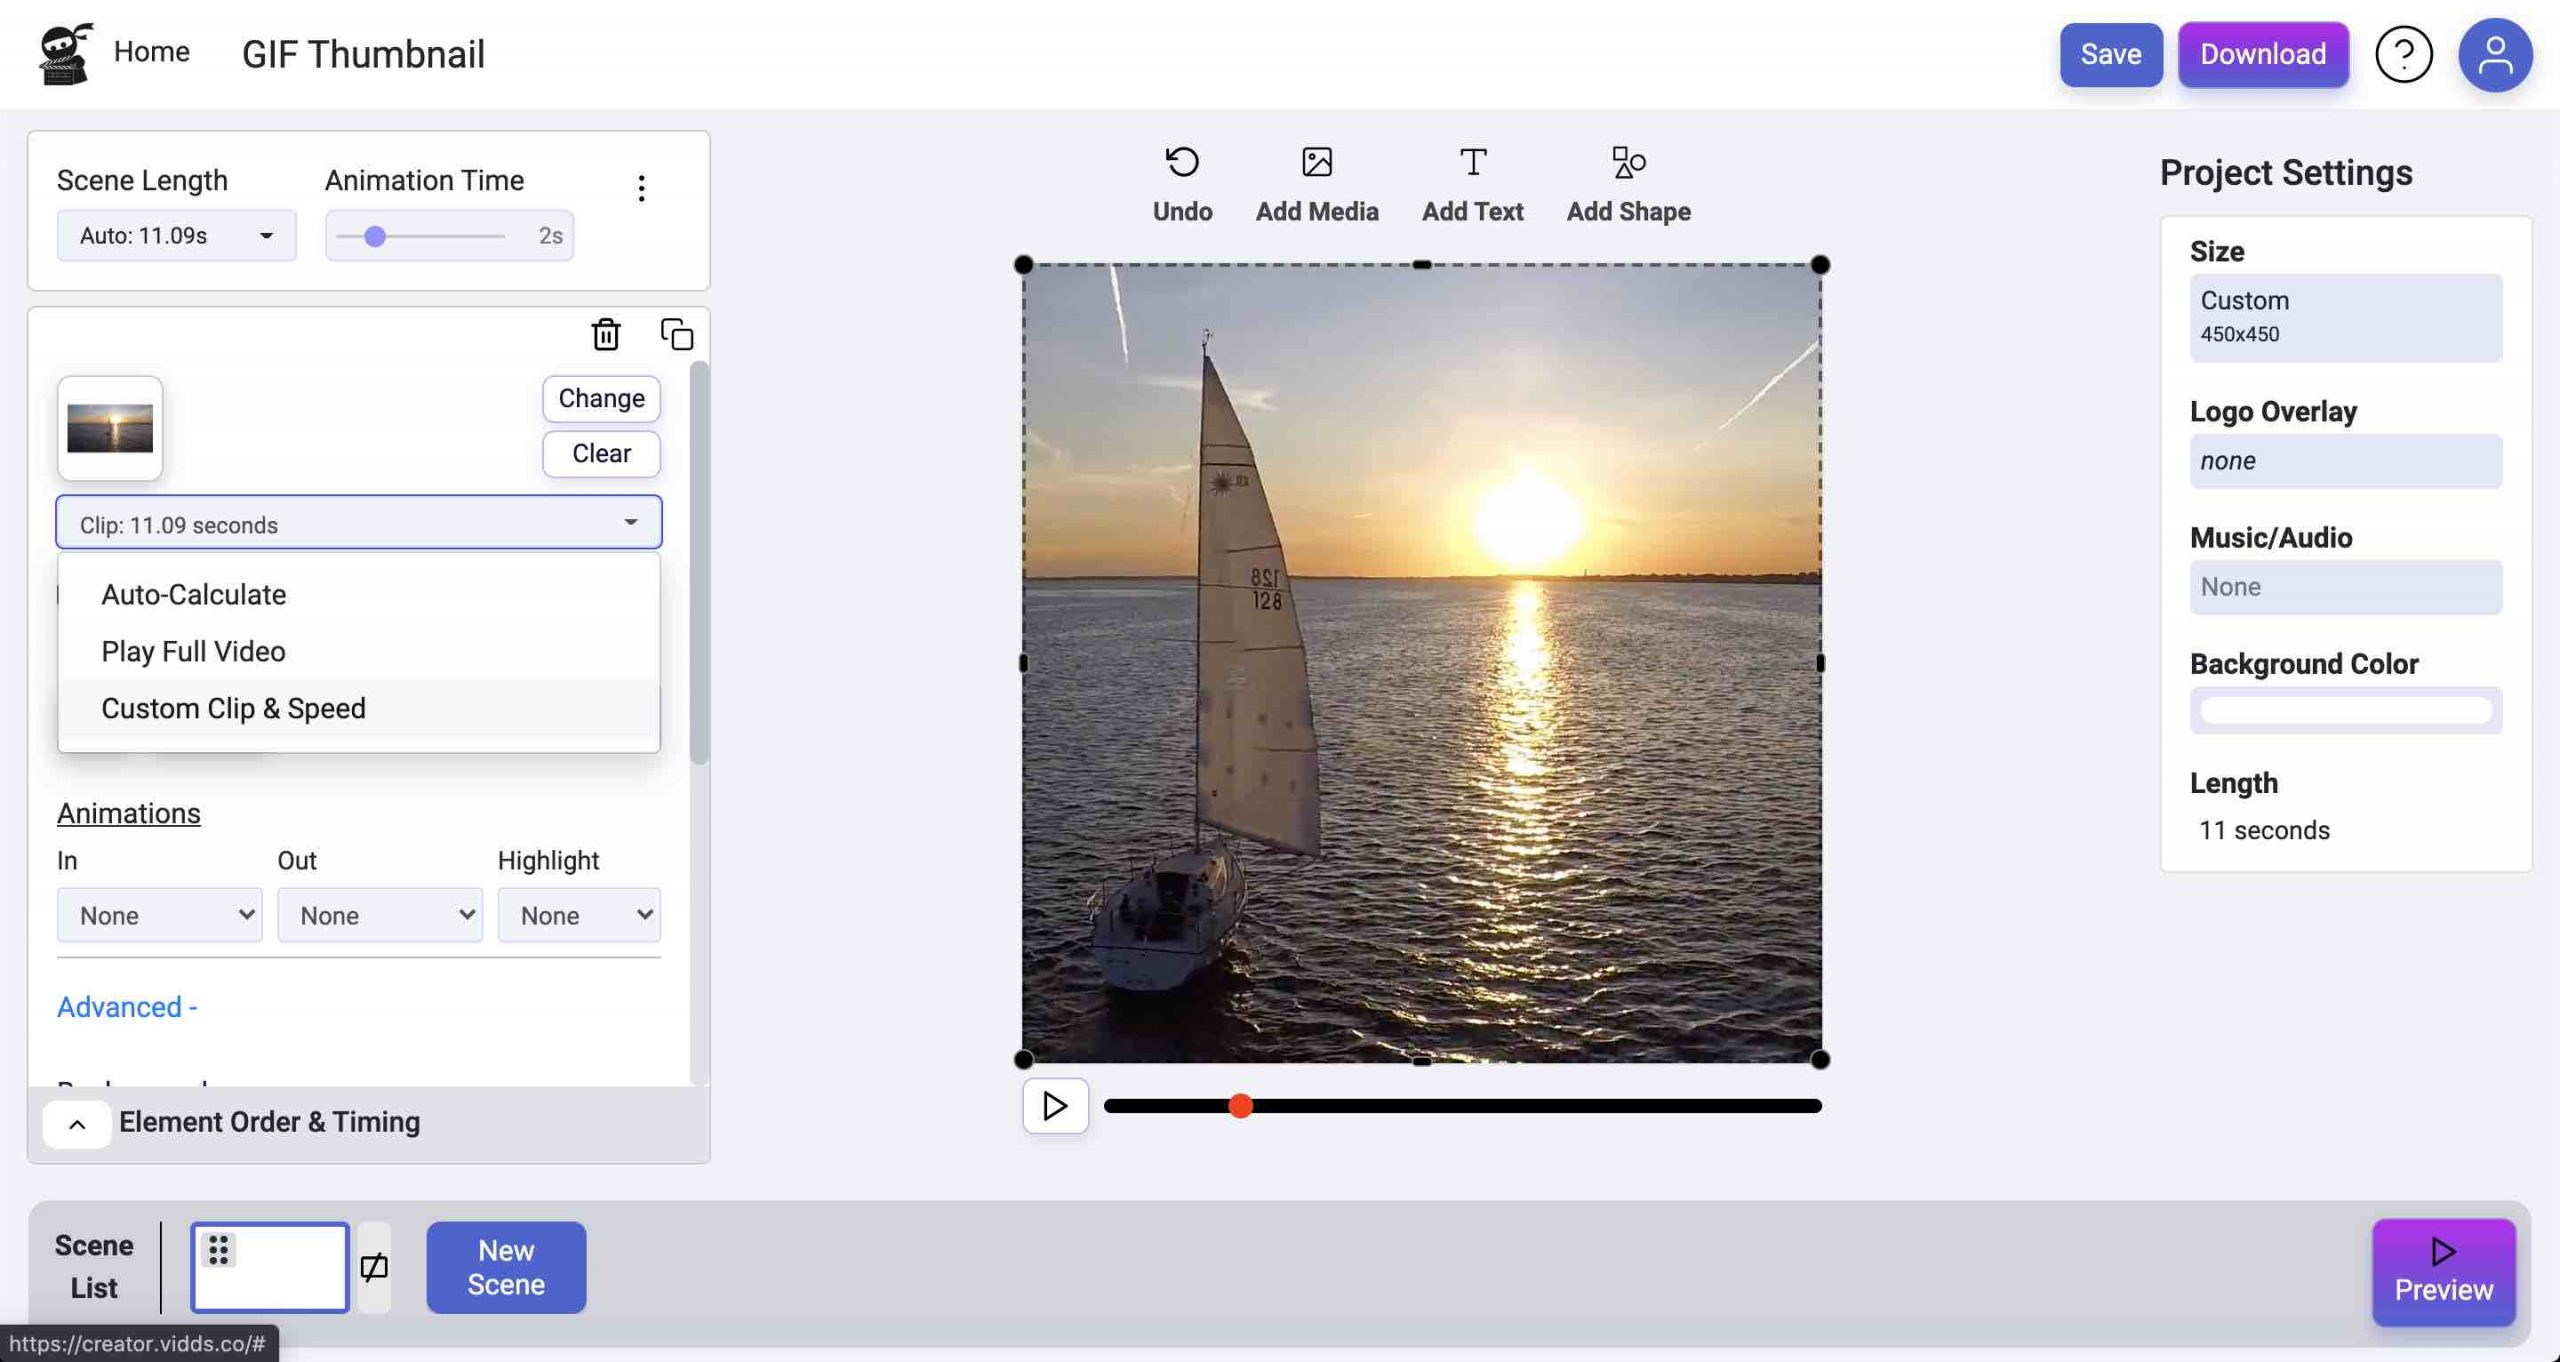
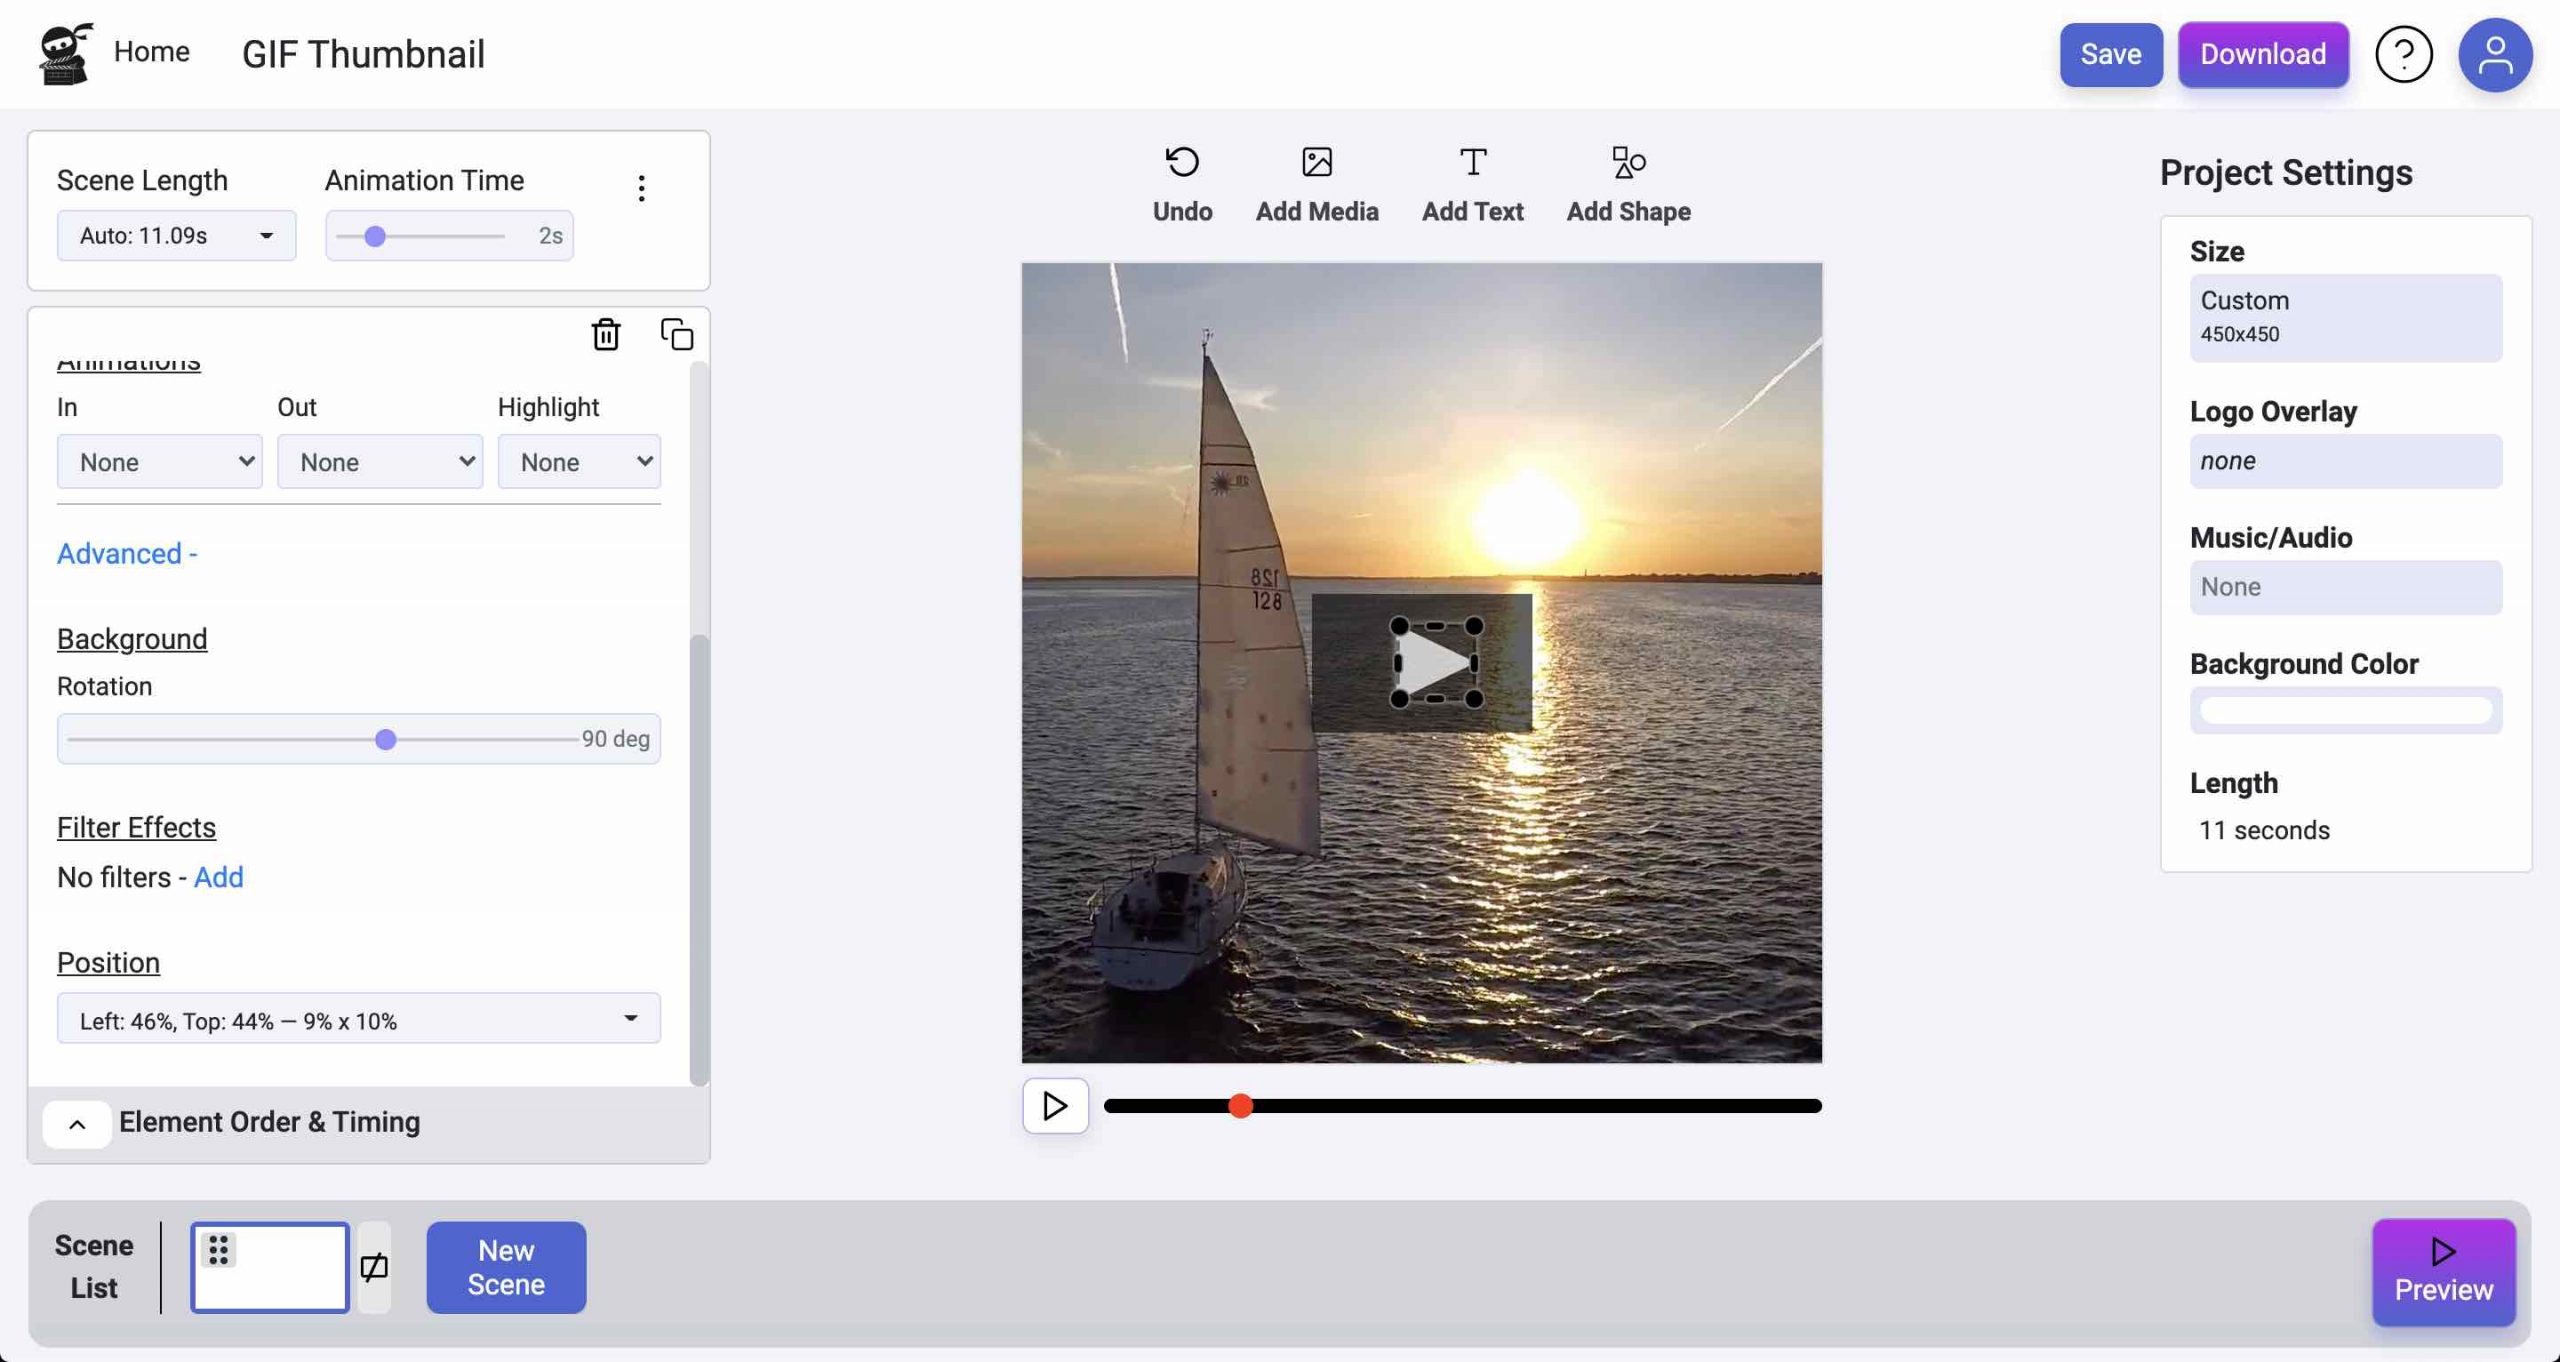
Change Scene Videos
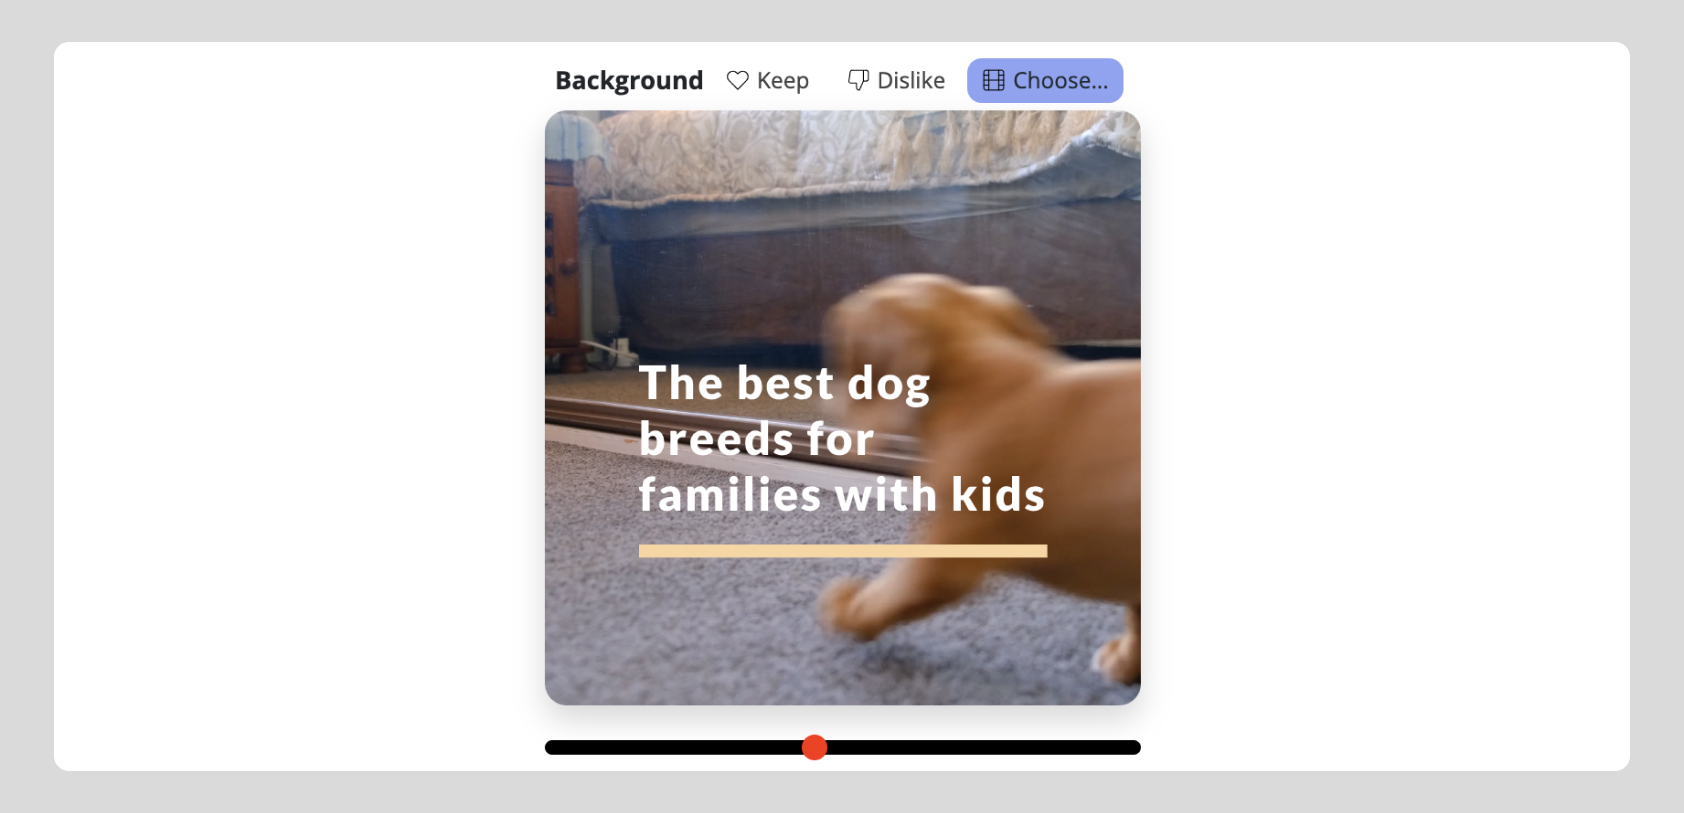
There are two easy ways to change the background video of a scene.
1.
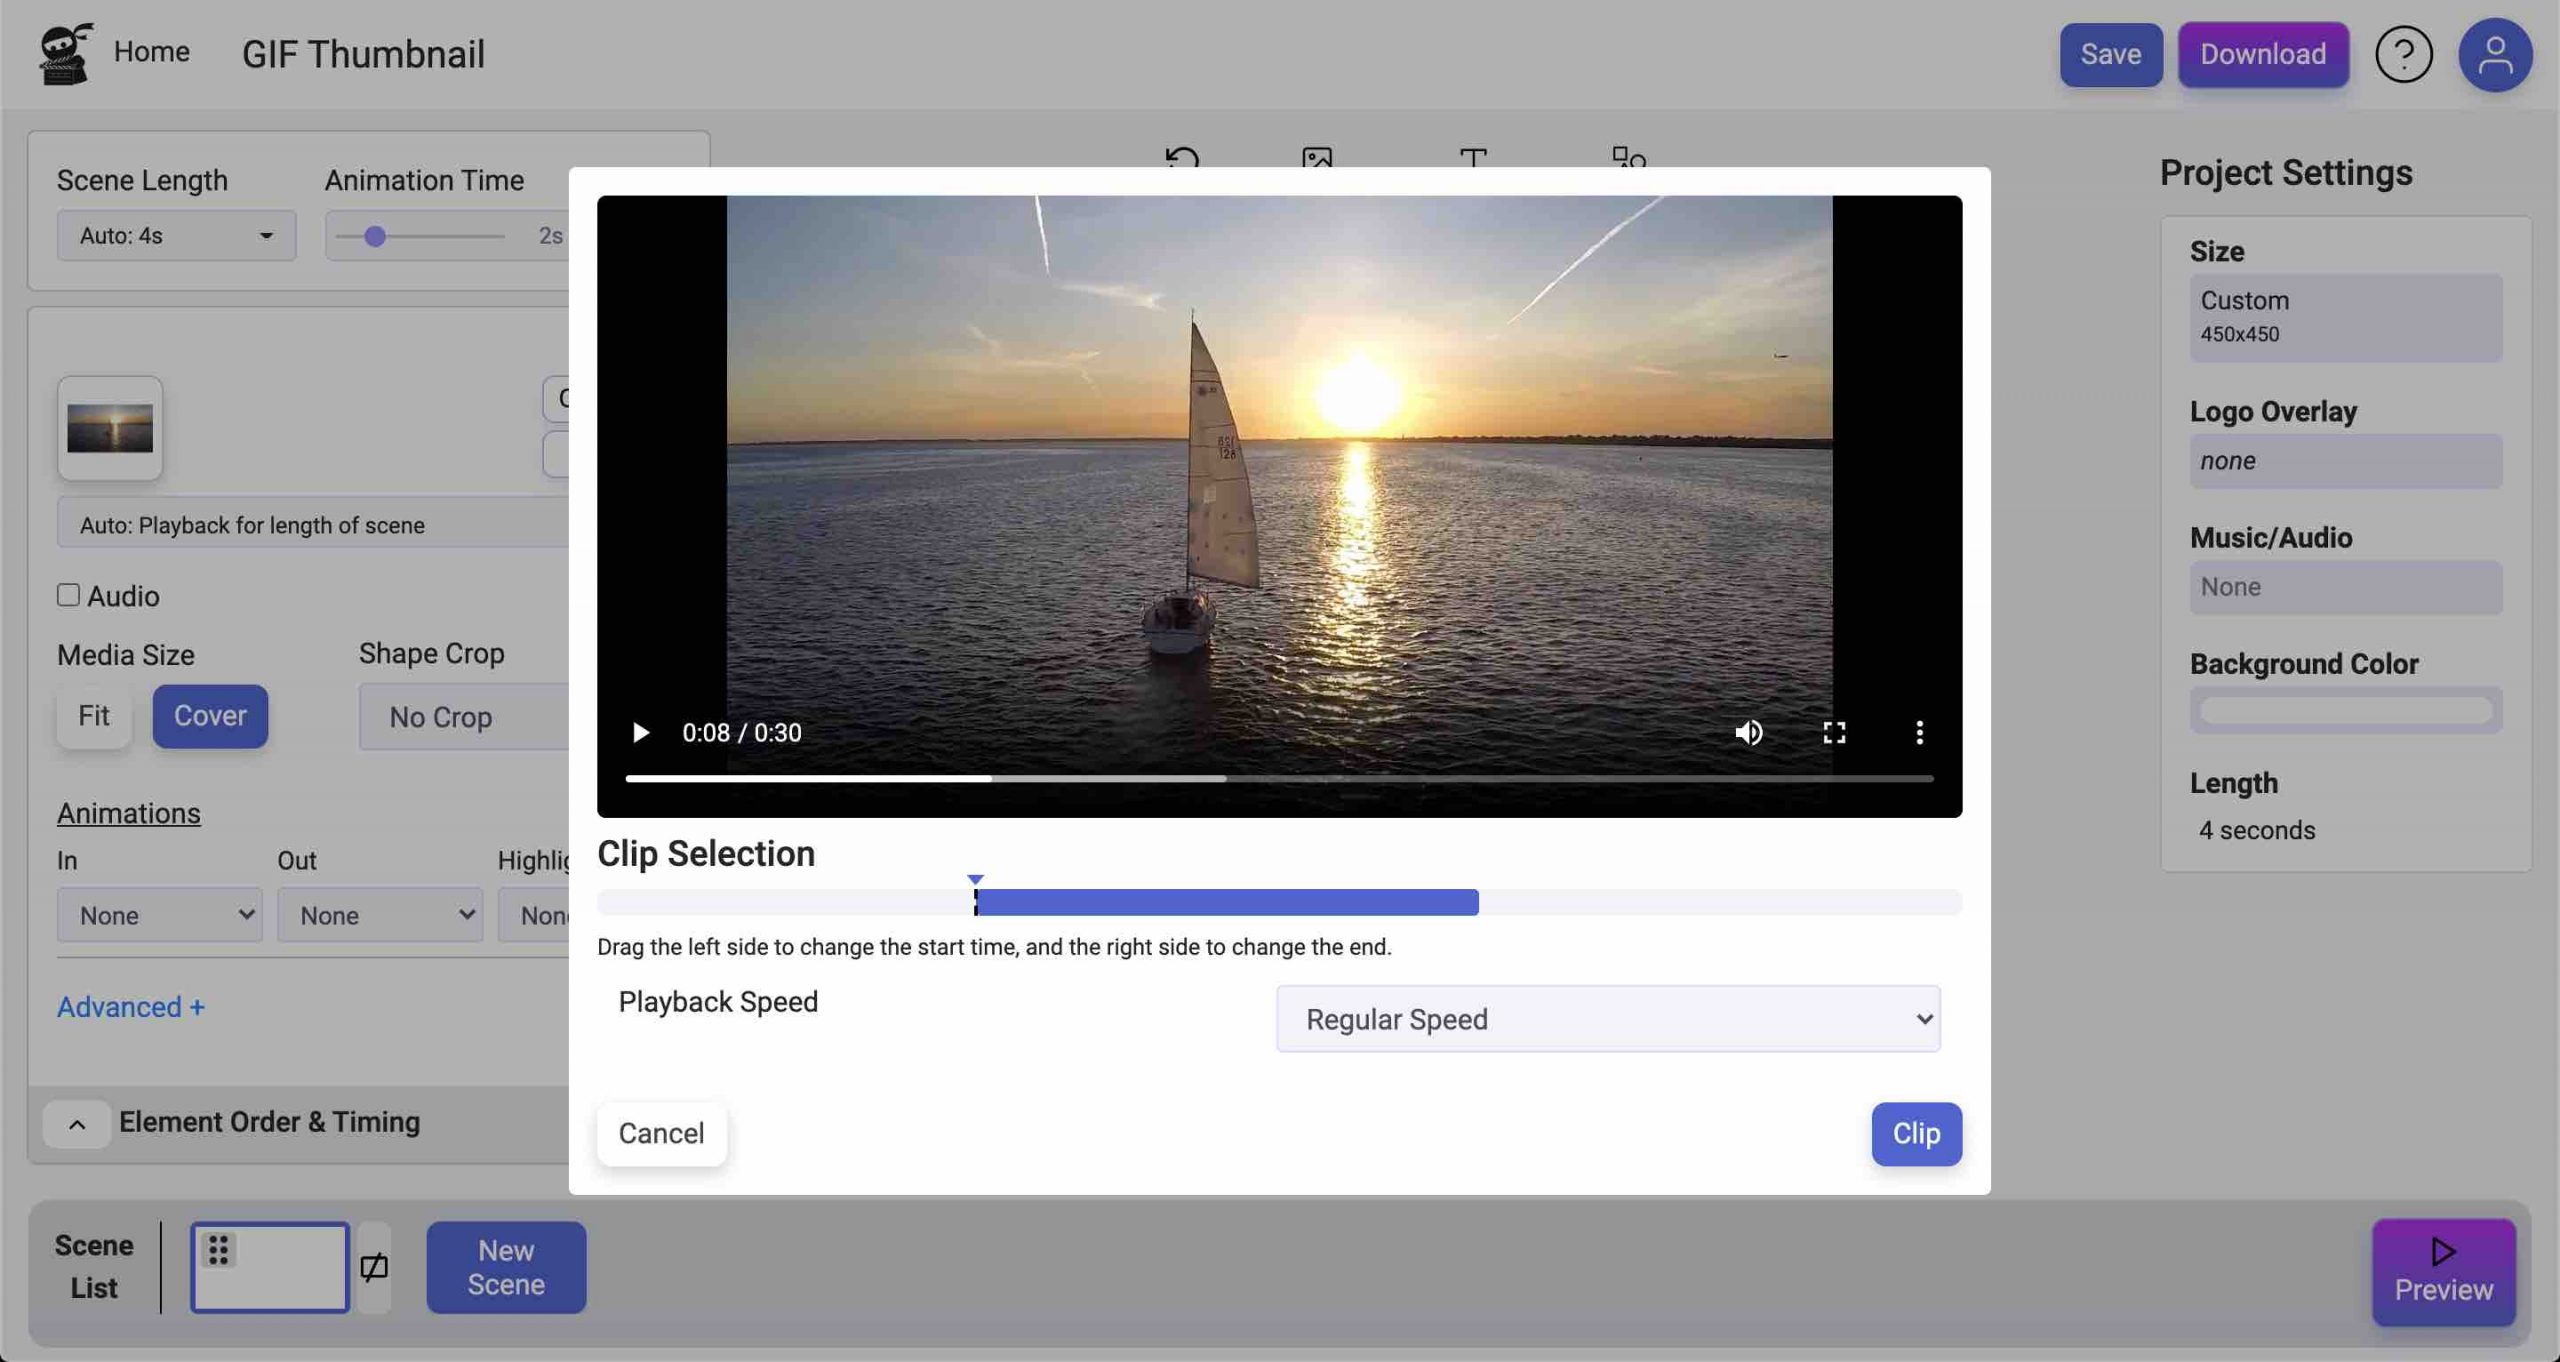
In the video preview, click the “choose” button.
Upload a video or an image from your computer
Select the uploaded video from the “My Library” list
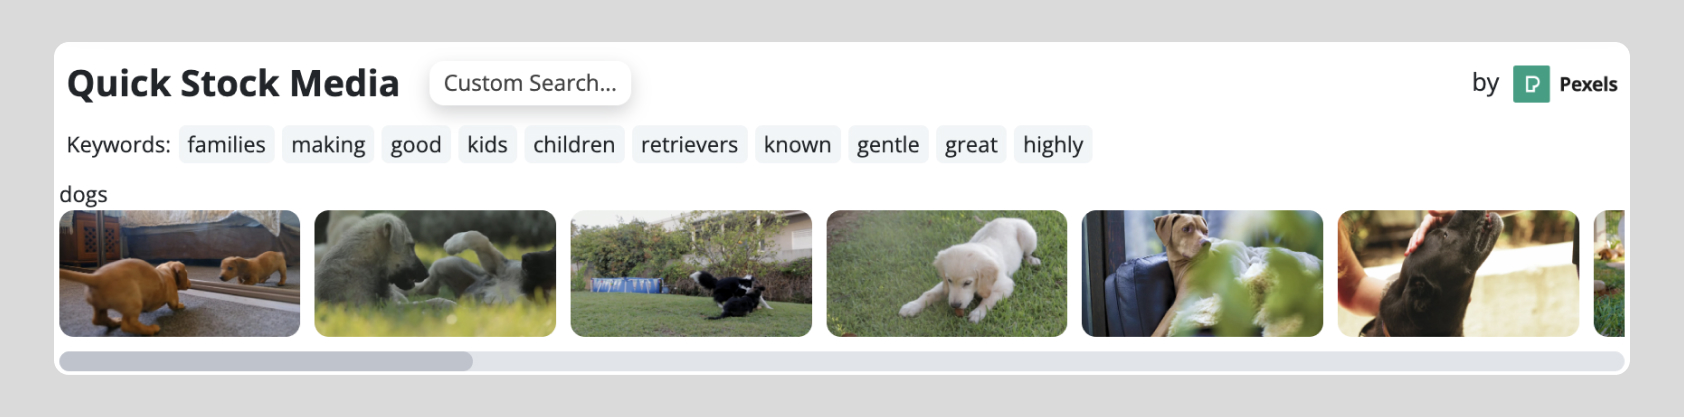
2.
Use the Quick Stock Media section
Choose one of the videos by clicking the thumbnails
Update the Quick Stock Media by clicking the “Keywords” tags above the thumbnails.
Search new stock videos by clicking “Custom Search” and adding keywords
Switch between scenes by clicking the correct scene text box on the left
Repeat the process for each scene
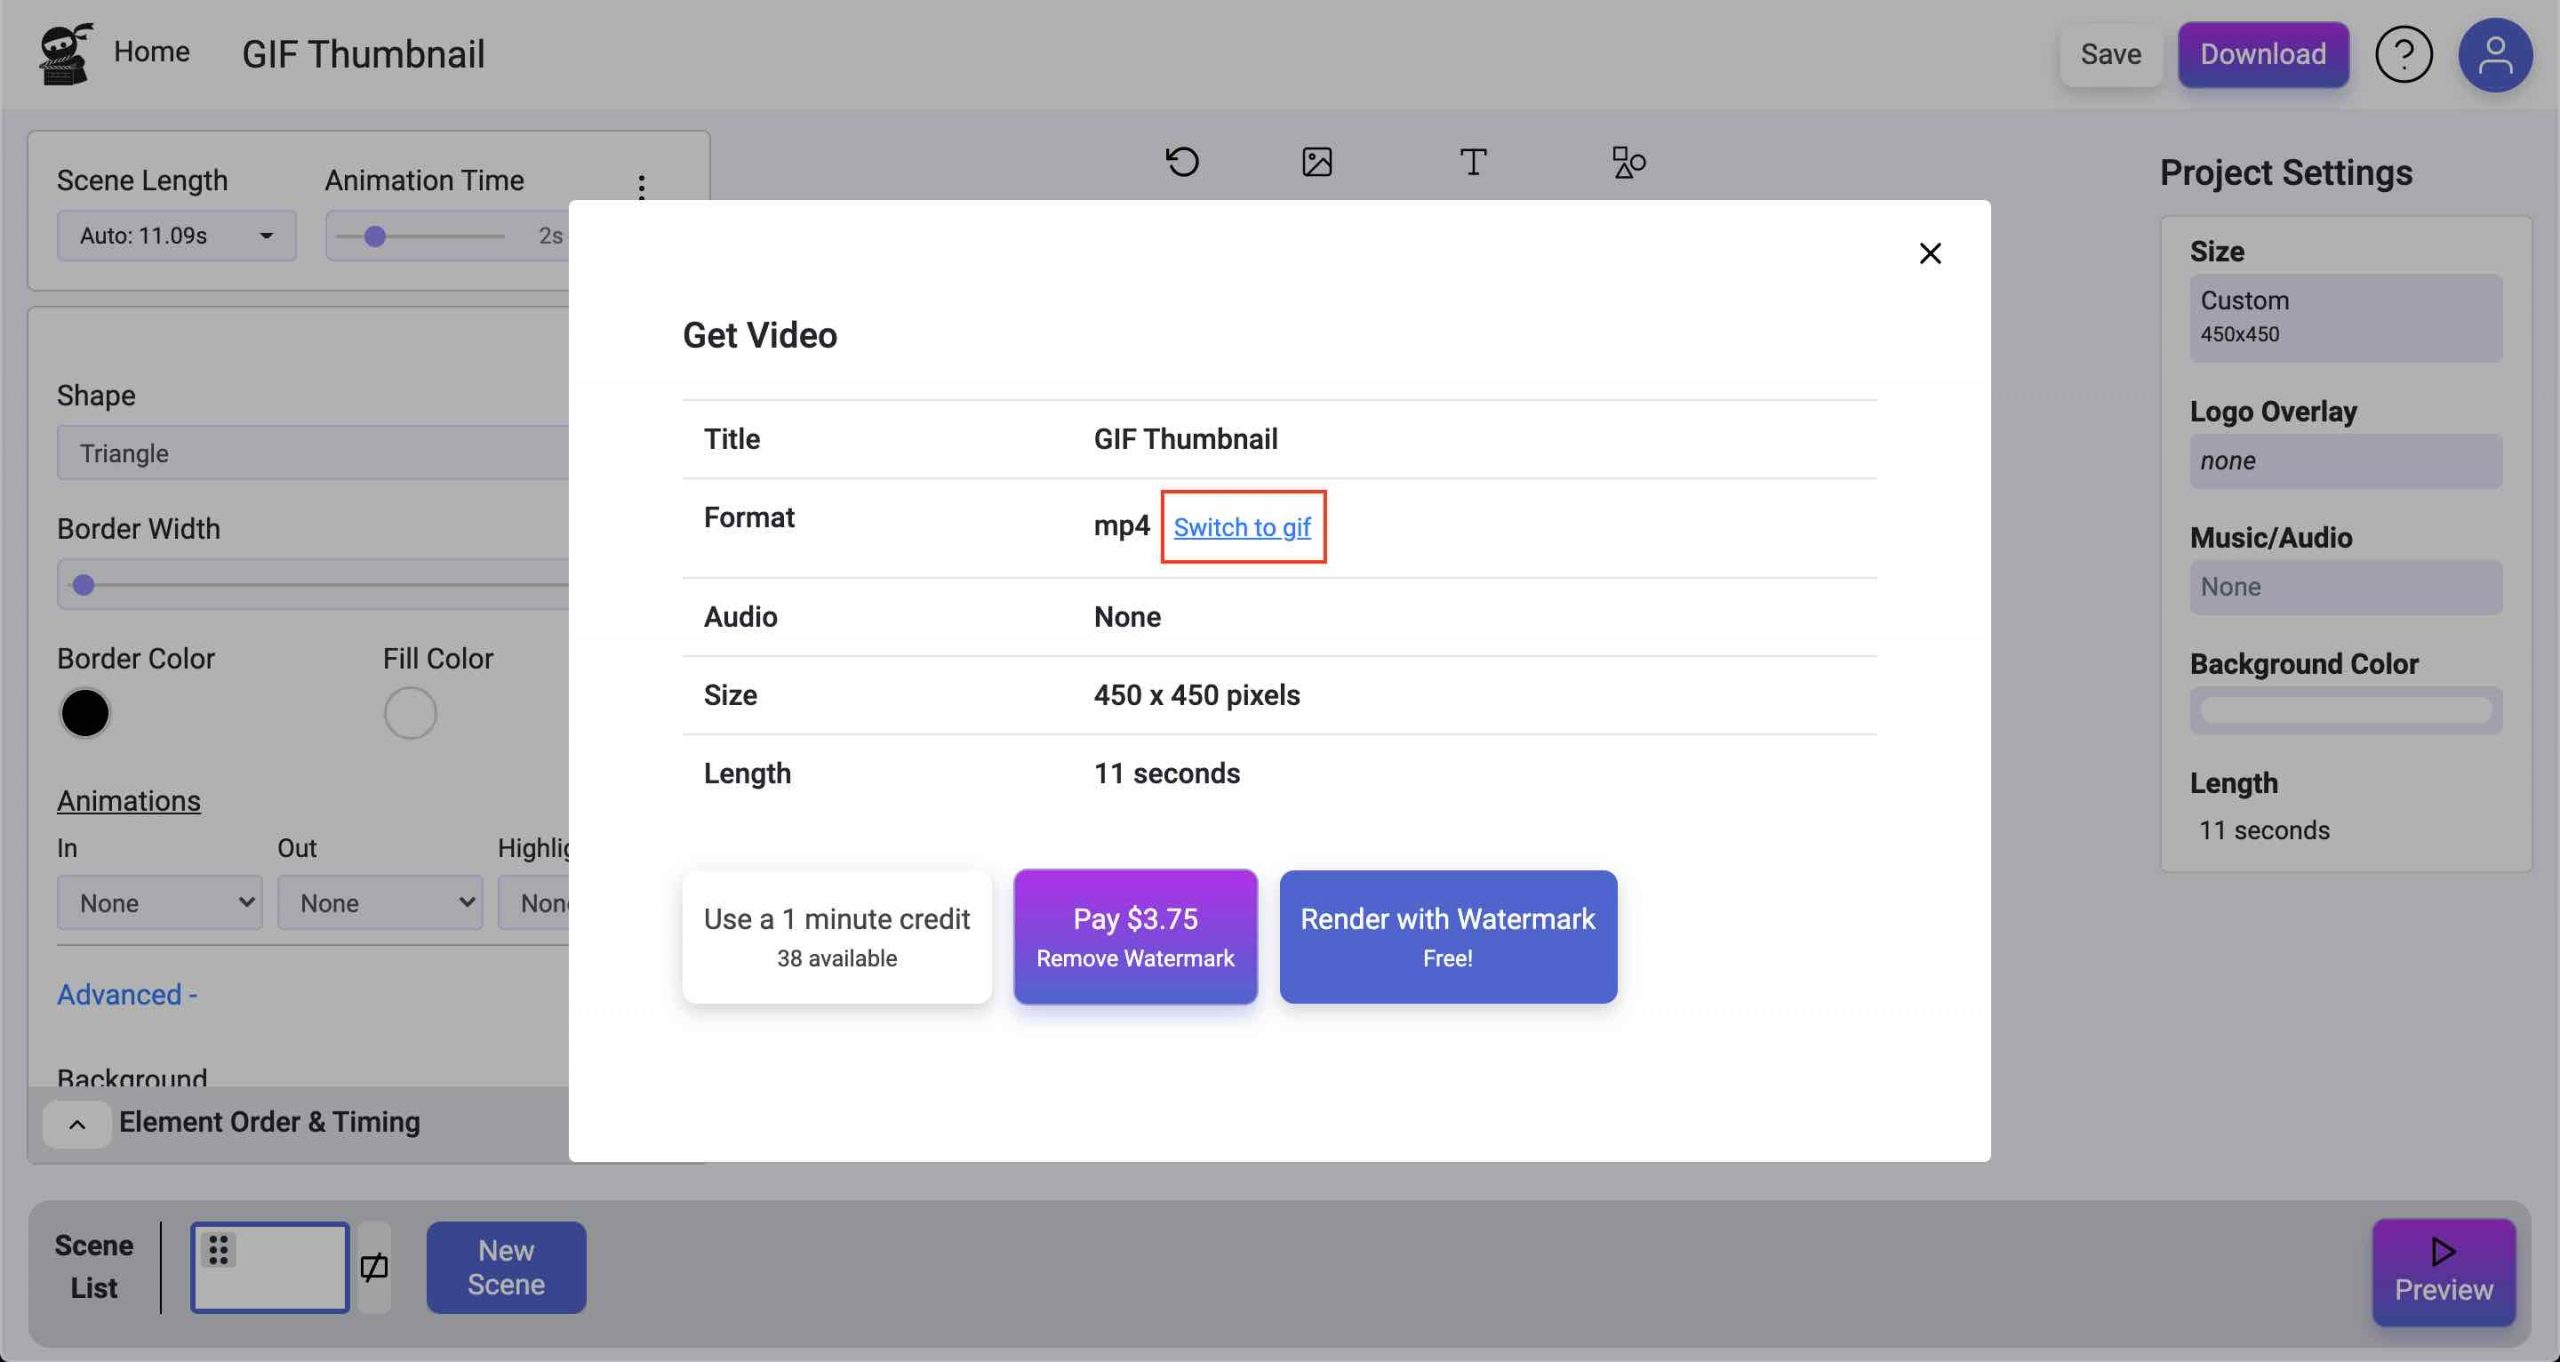
Preview & Export
When you are happy with the content, look and feel of your video it’s time to create it. You can preview the whole video by clicking the “Preview” button in the top right.
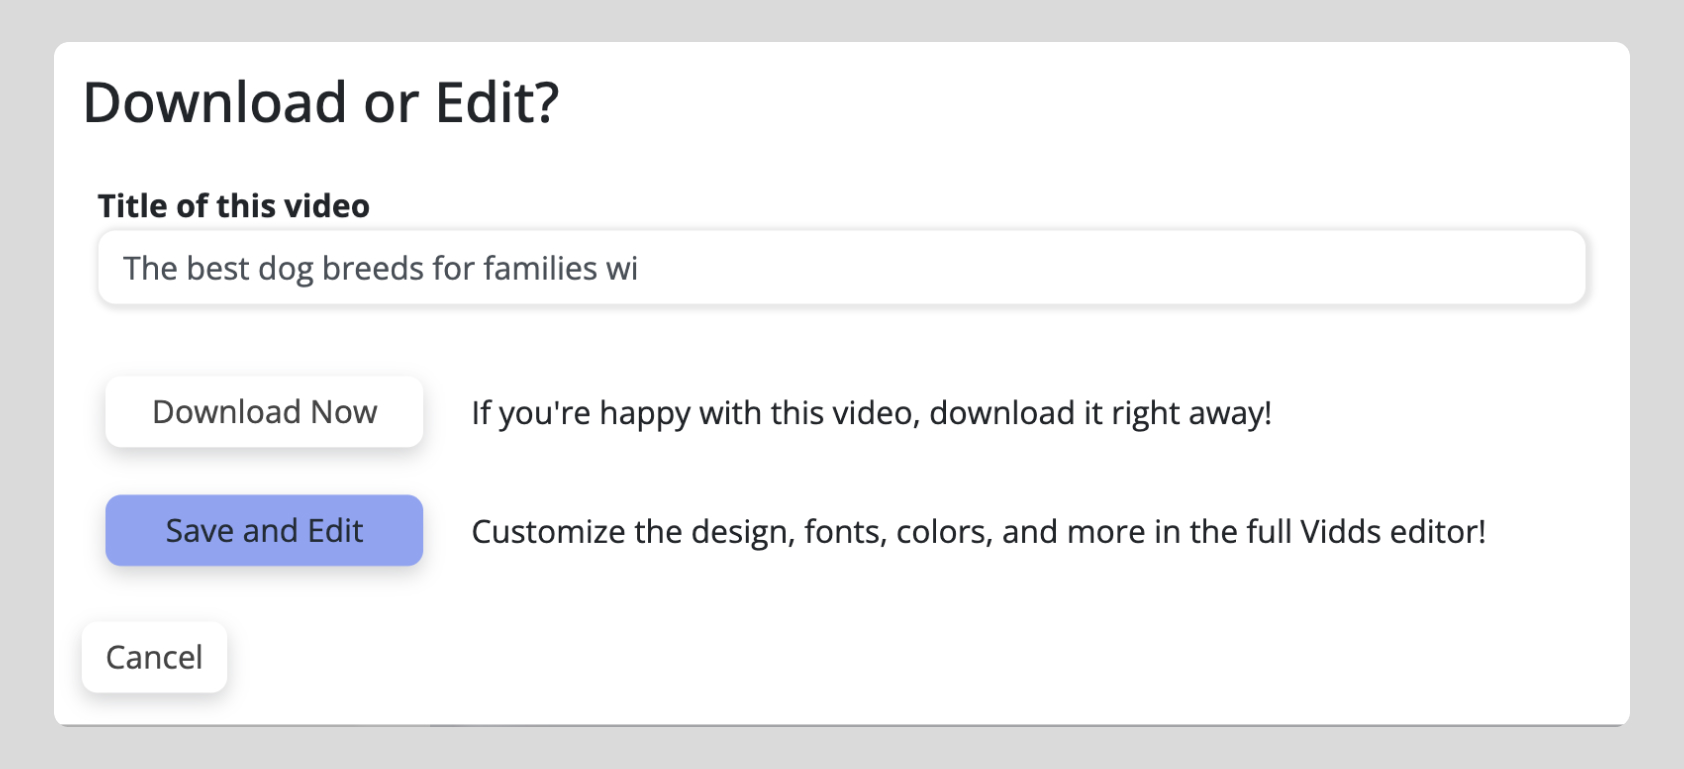
Next, you can create the video by clicking “Create” in the top right. You’ll have the option to “Download Now” or “Save and Edit”. If you are happy with the video exactly as it is, then click “Download Now”. If you’d like to edit the video further or save it for future editing, click “Save and Edit”. The Save and Edit option allows you to make changes using all the features of the Vidds main video editing tool.
More from the onboarding series
How to Use AI to Video Generator
How to Use AI to Video Generator Click “AI to Video” in the Automations section To use the Vidds AI Video Generator, click the “AI
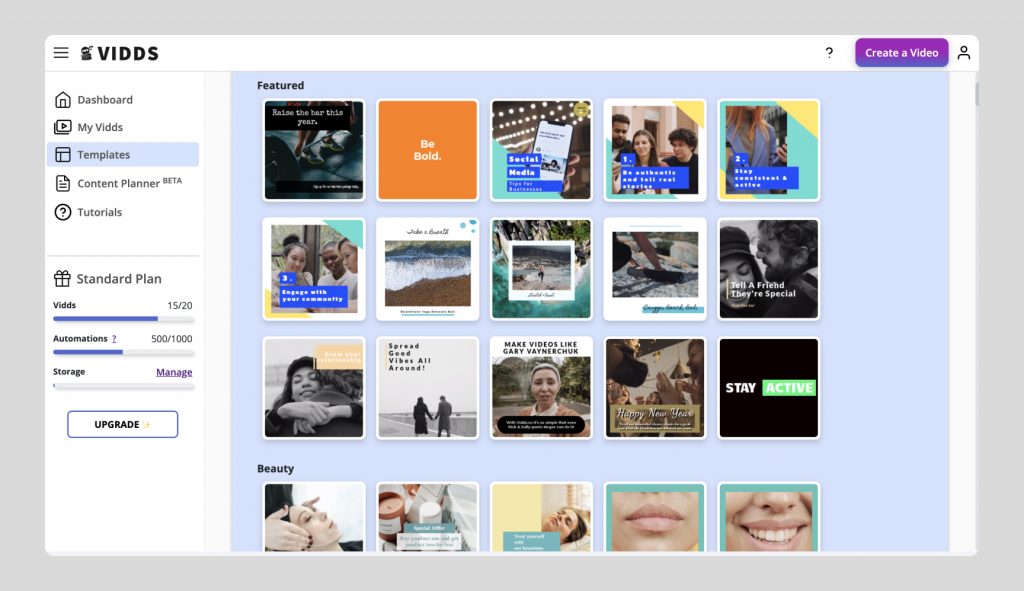
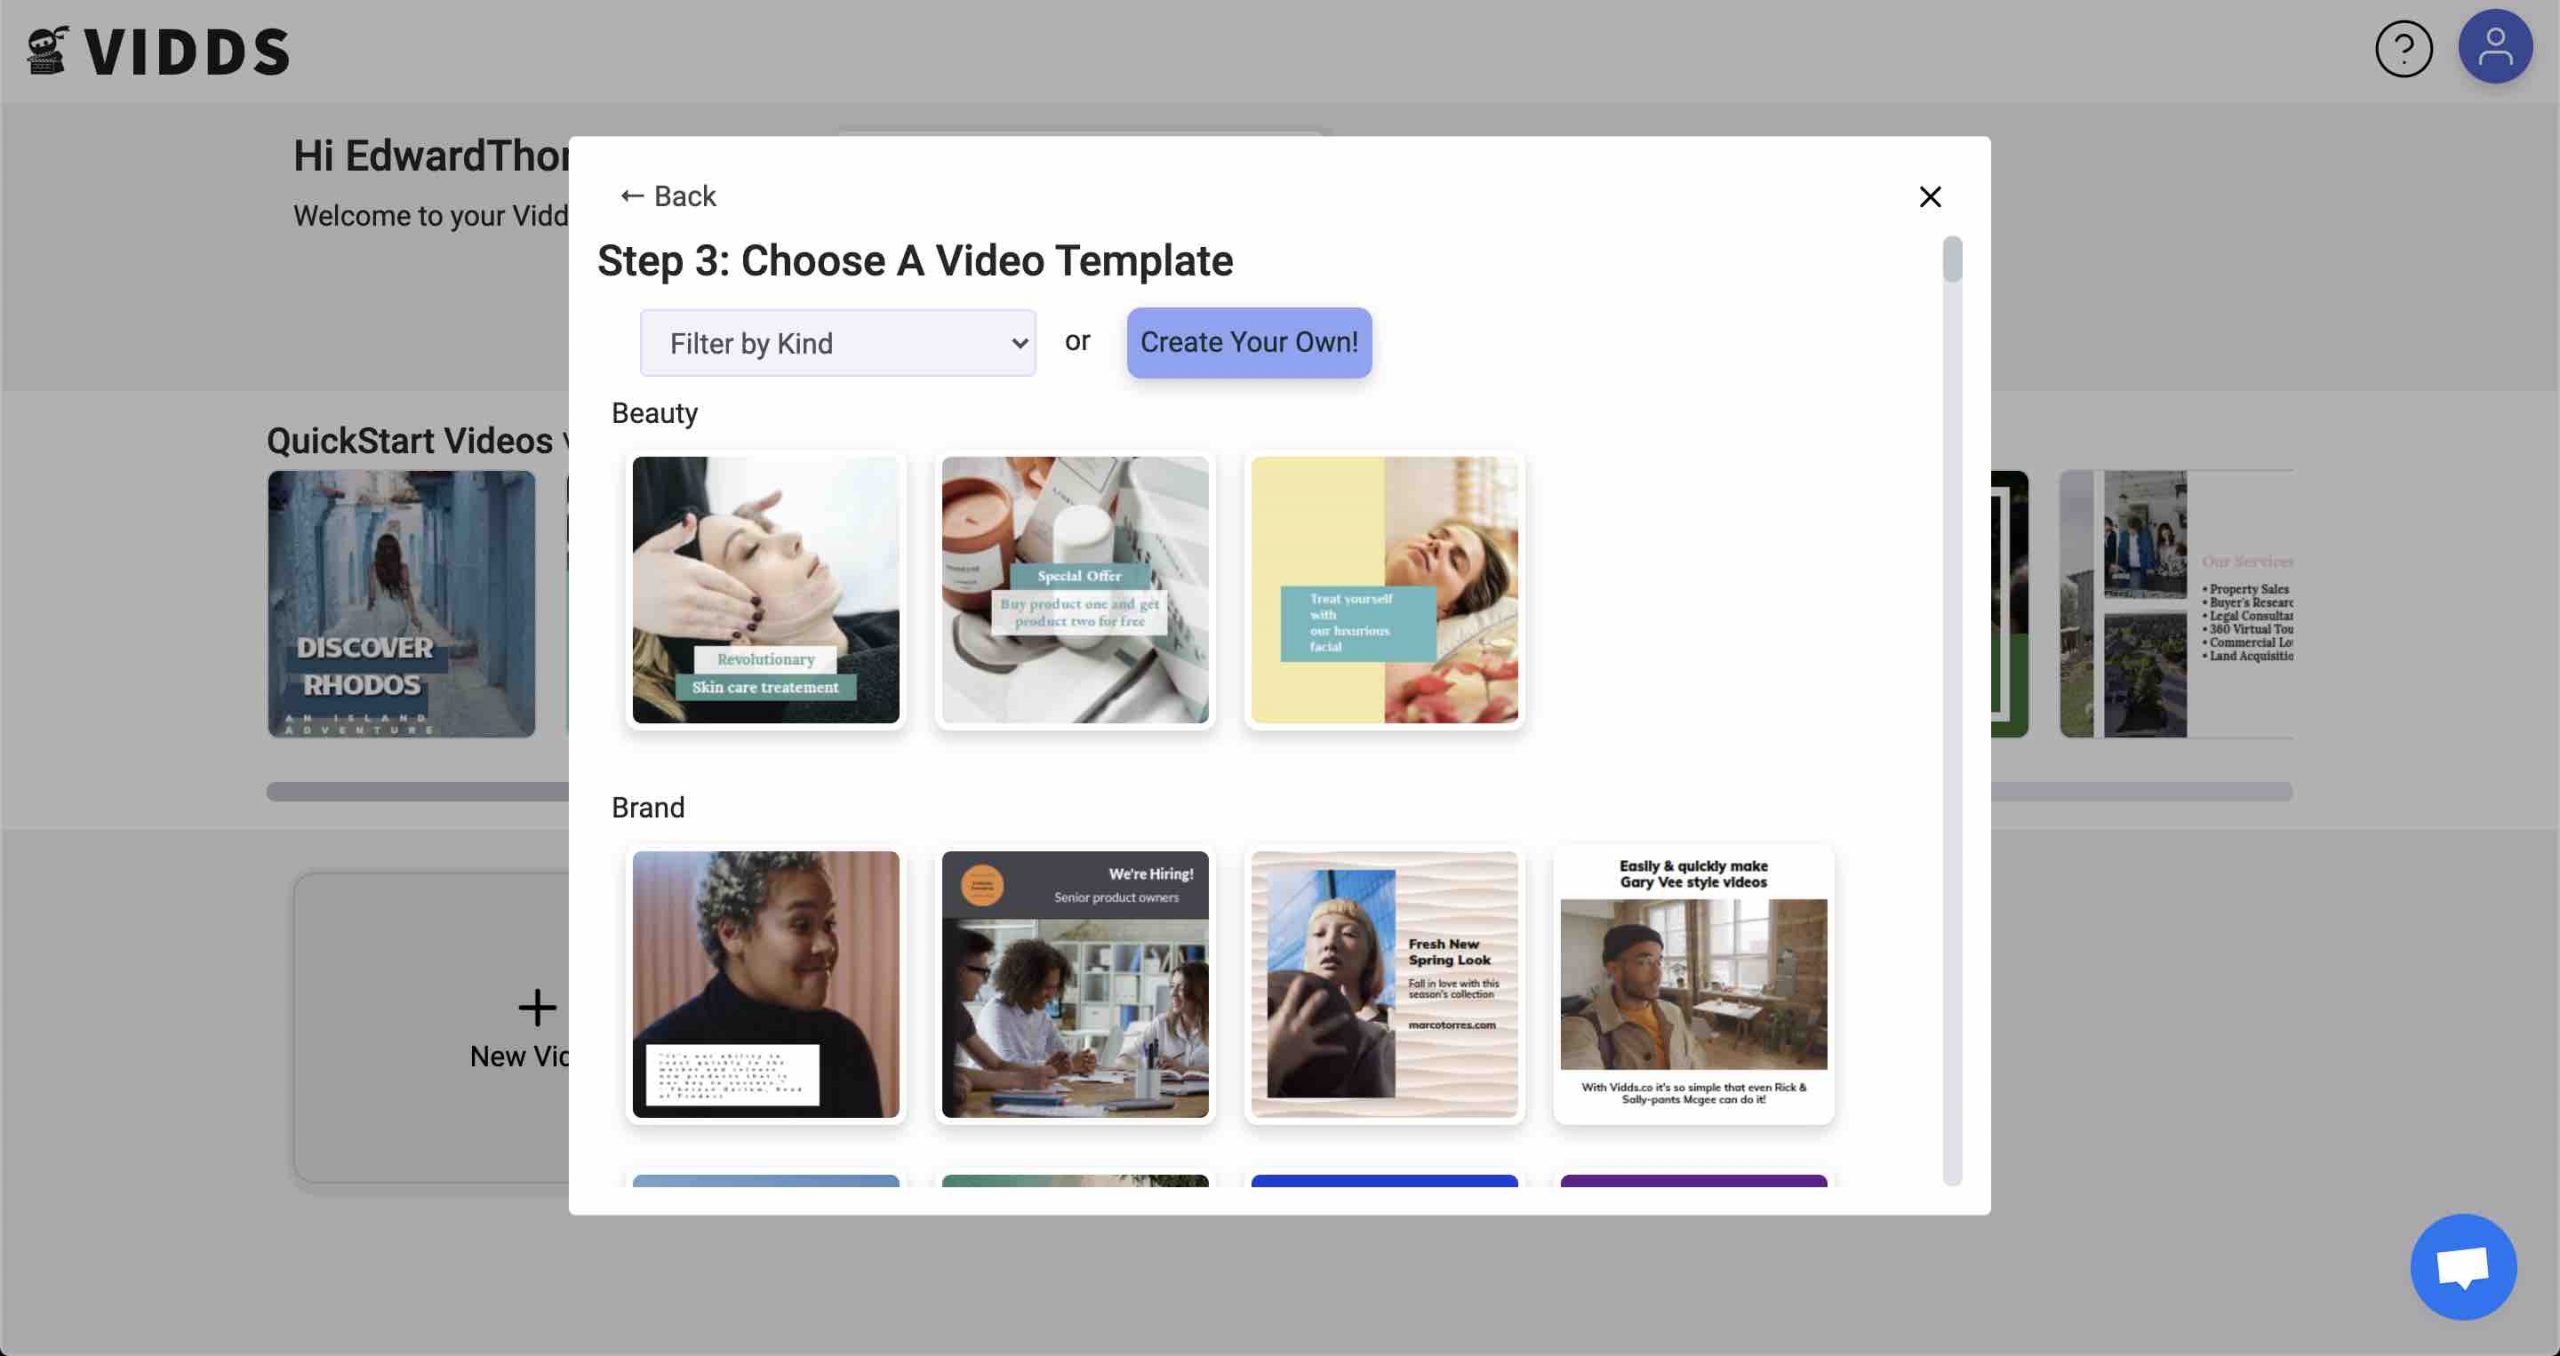
Create a video from a template
Create a video from a template Getting started There are two ways to get started with on of our pre-designed templates. Head to the “Templates”
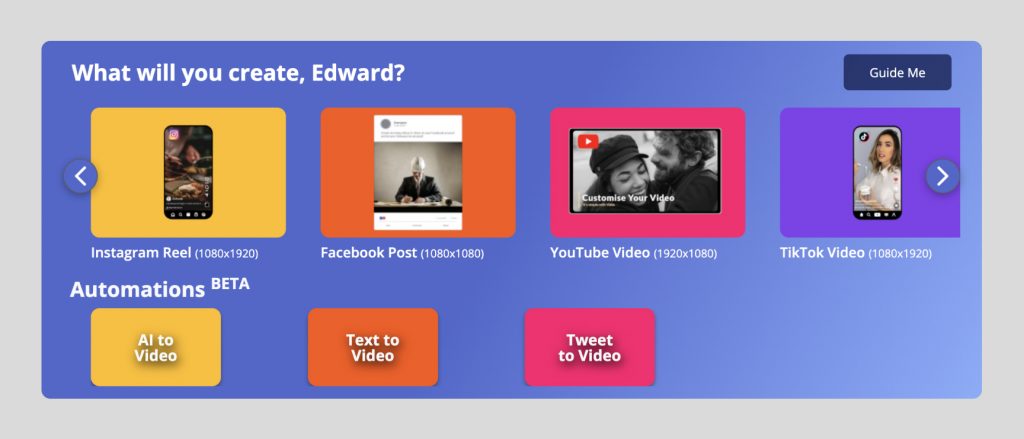
Getting started with Vidds
Getting Started with Vidds The Dashboard – “Create” Section Above is the Create section – here you’ll find the most common videos you can create with Vidds.