Categories
Uncategorized

How to make videos when you don’t have content

How to make videos when you don't have content

A guide to help you make videos when you don't have any of your own content!

We’ve all been there – we want to engage our audience, promote a product or service, but we don’t have a lot of content.

Luckily, it’s so much easier to work around this problem now! There are tons of resources at the tip of your finger, and we try to help directly within your Vidds account.

First, have a goal

Remember that your goals in the future rely on maintaining good relationships. It’s important to make sure that your videos have a goal, and the goal actually helps your users. Promoting your products and services does help your audience, especially if you have the right mix of informing, entertaining, and promoting.

If you’re looking to increase your audience or engagement, informing and entertaining are great ways to get those eyeballs, likes, and shares. This might be a funny post about your industry or expertise, a behind the scenes look at how something is done, or a quote from someone. In practice, that might look like a meme, a testimonial, a quick screencast of how you accomplish a task, or recording of how your product is made.

When you’re trying to get the sale, promote your product! Of course it’s great to offer a promotional code, but that isn’t necessary. Show your existing images and videos, explain the benefits of the product, answer a question about it, etc. Social media content has a short lifespan, so don’t be afraid to reuse your content occasionally!

Creating the video!

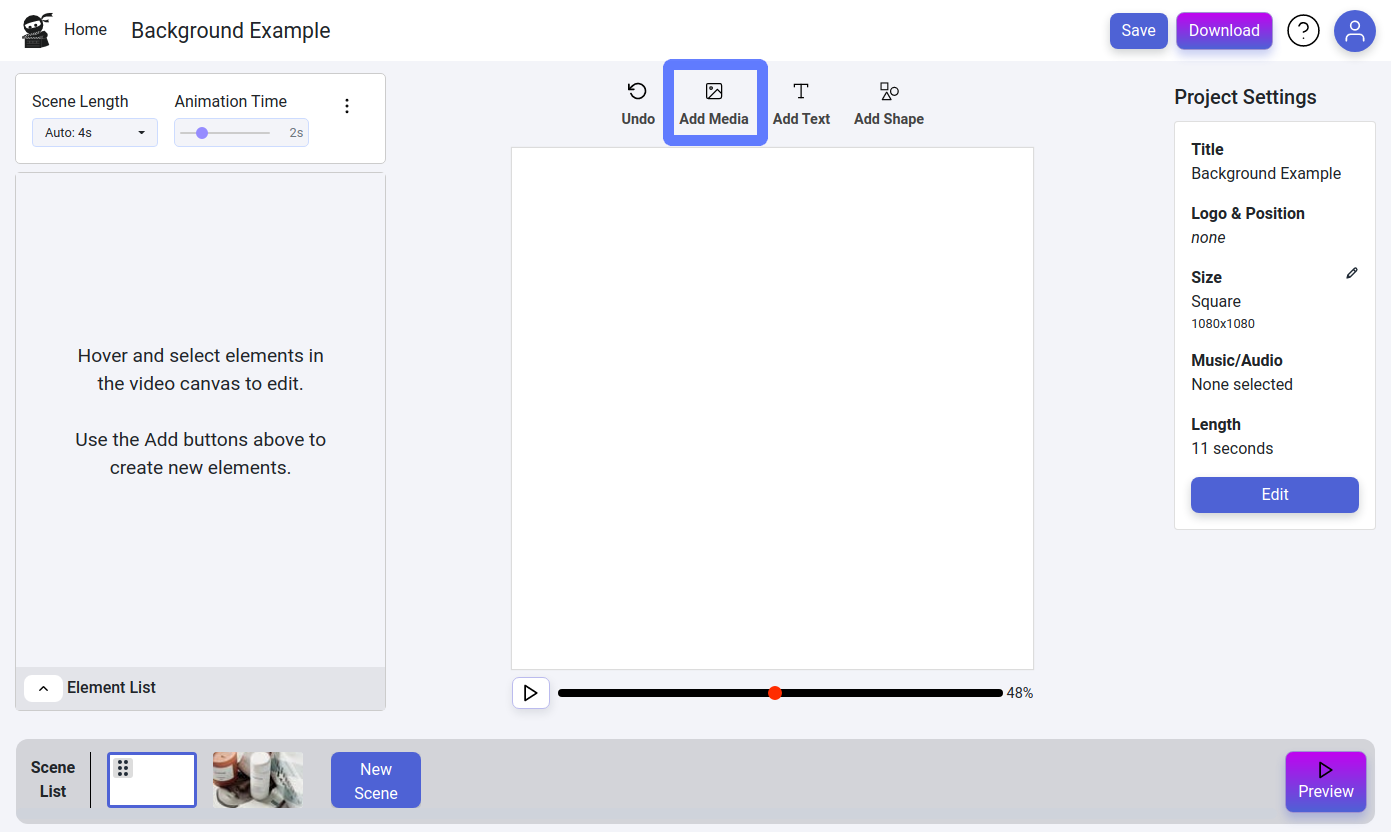
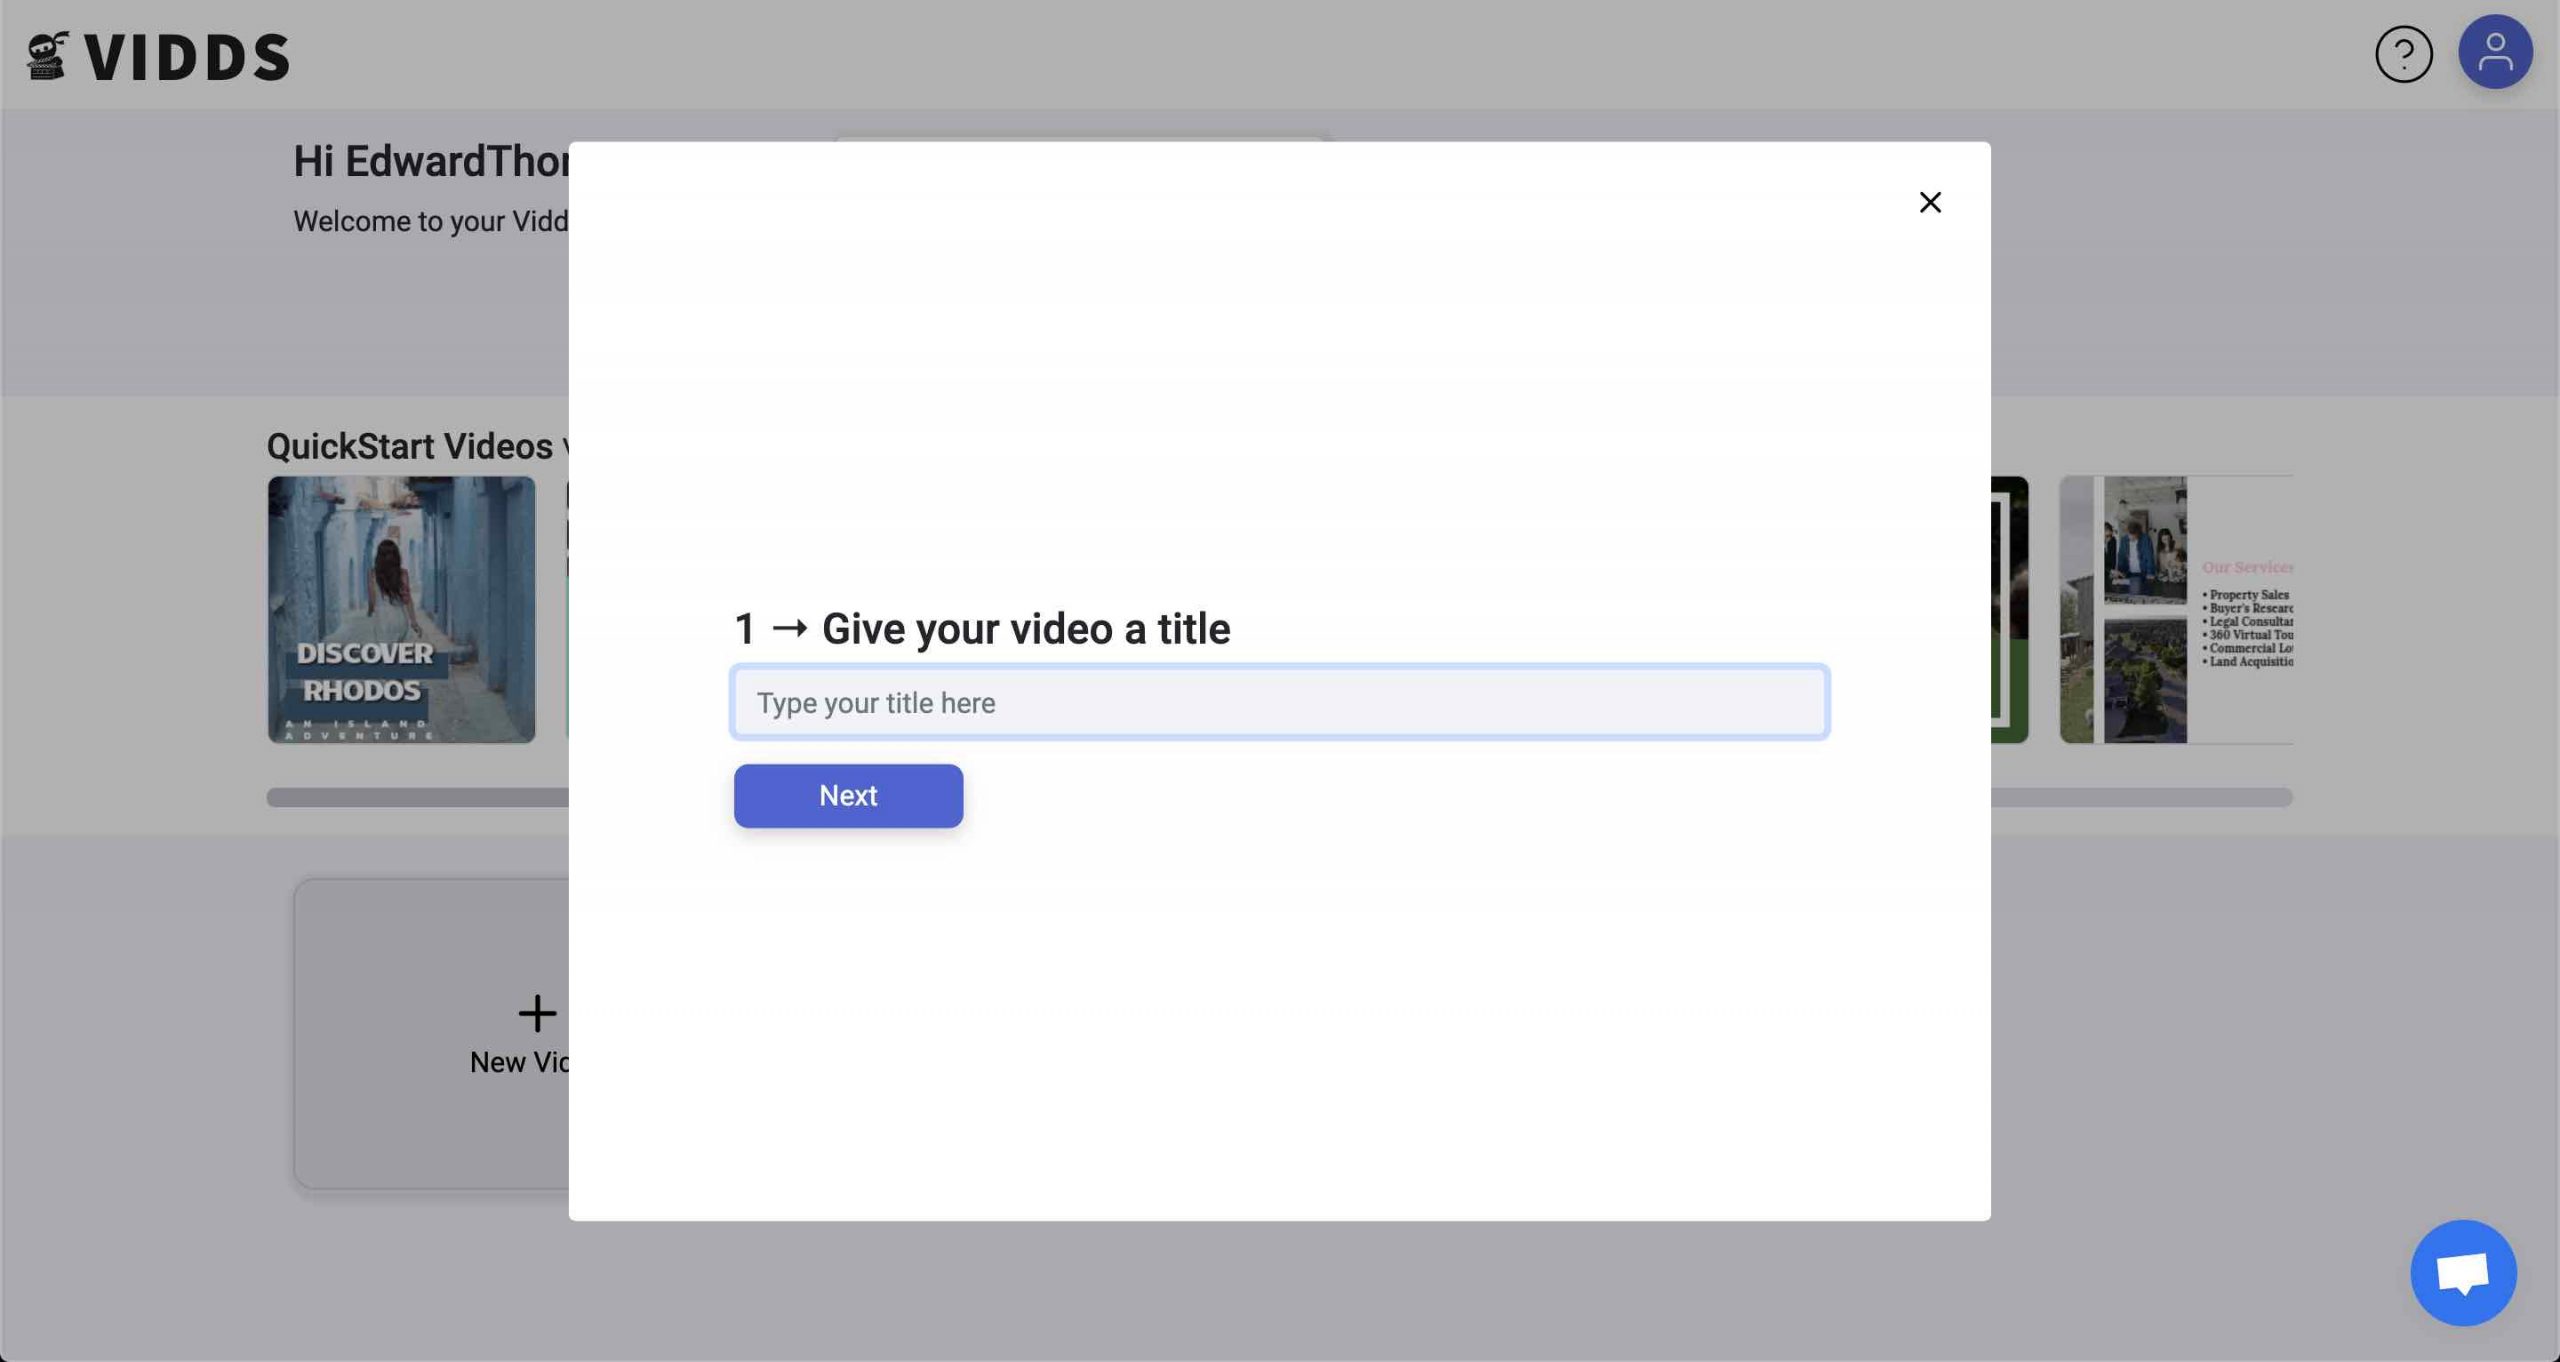
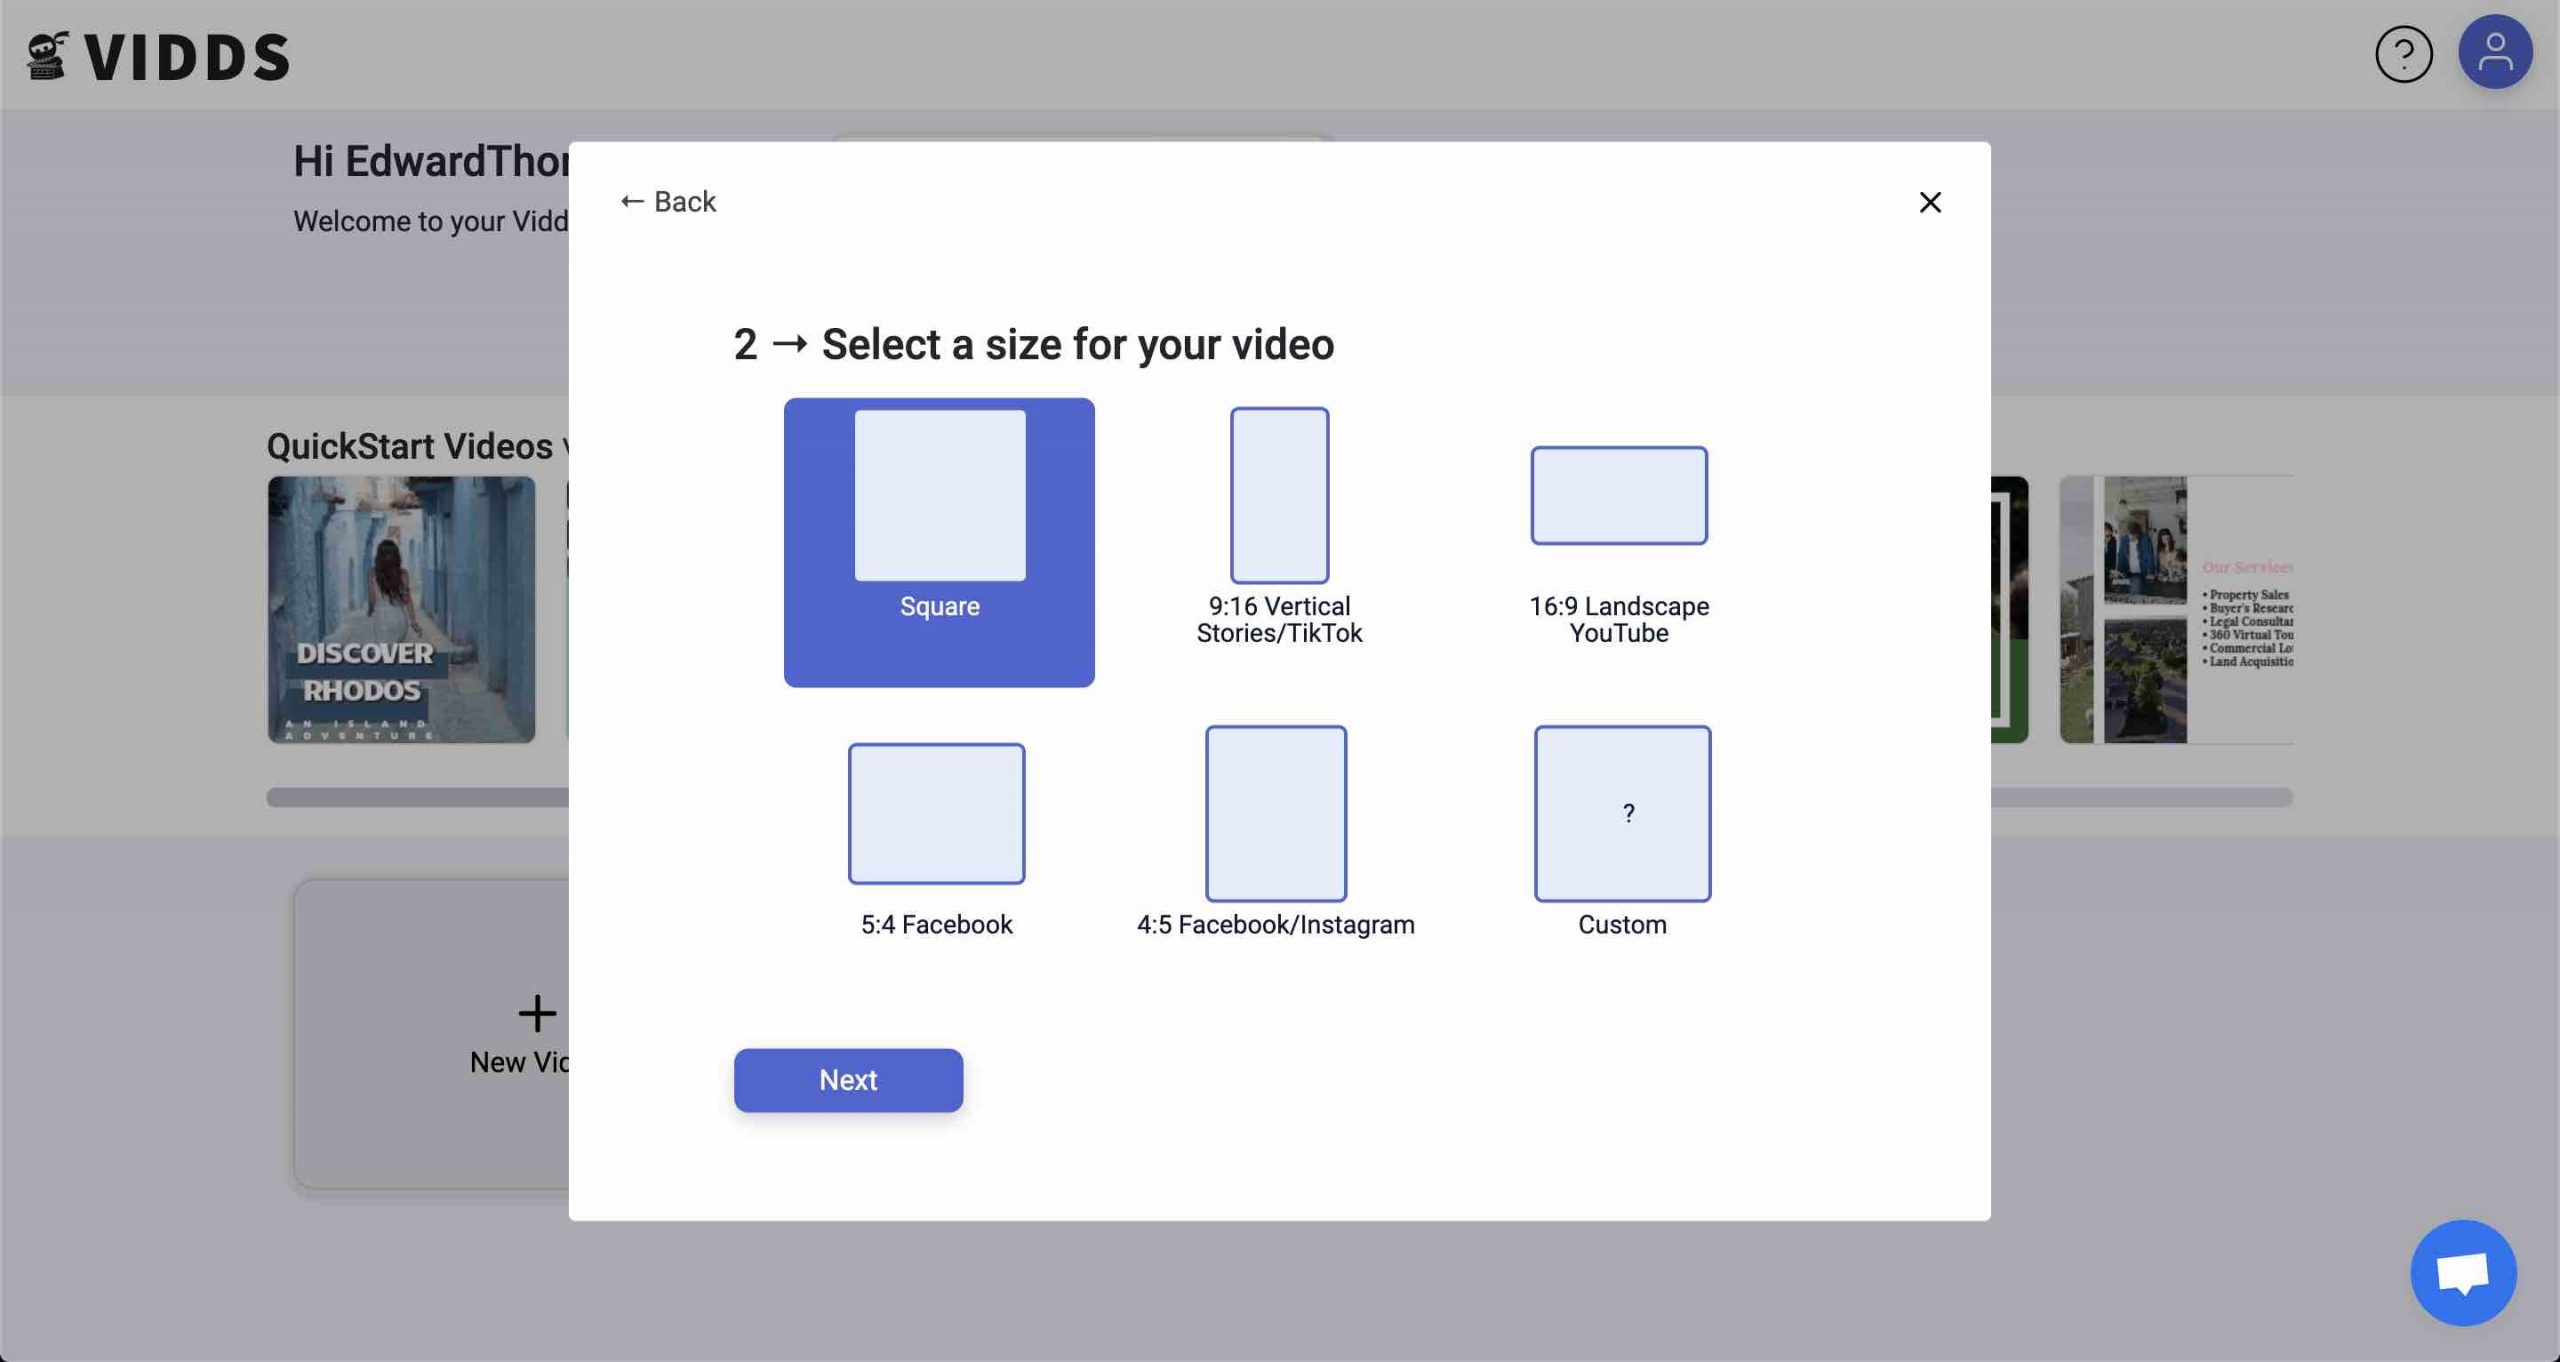
After you have a goal and a video in mind, it’s time to start creating! This is where Vidds will really help you shine! The videos created are meant to engage your audience and keep them watching.

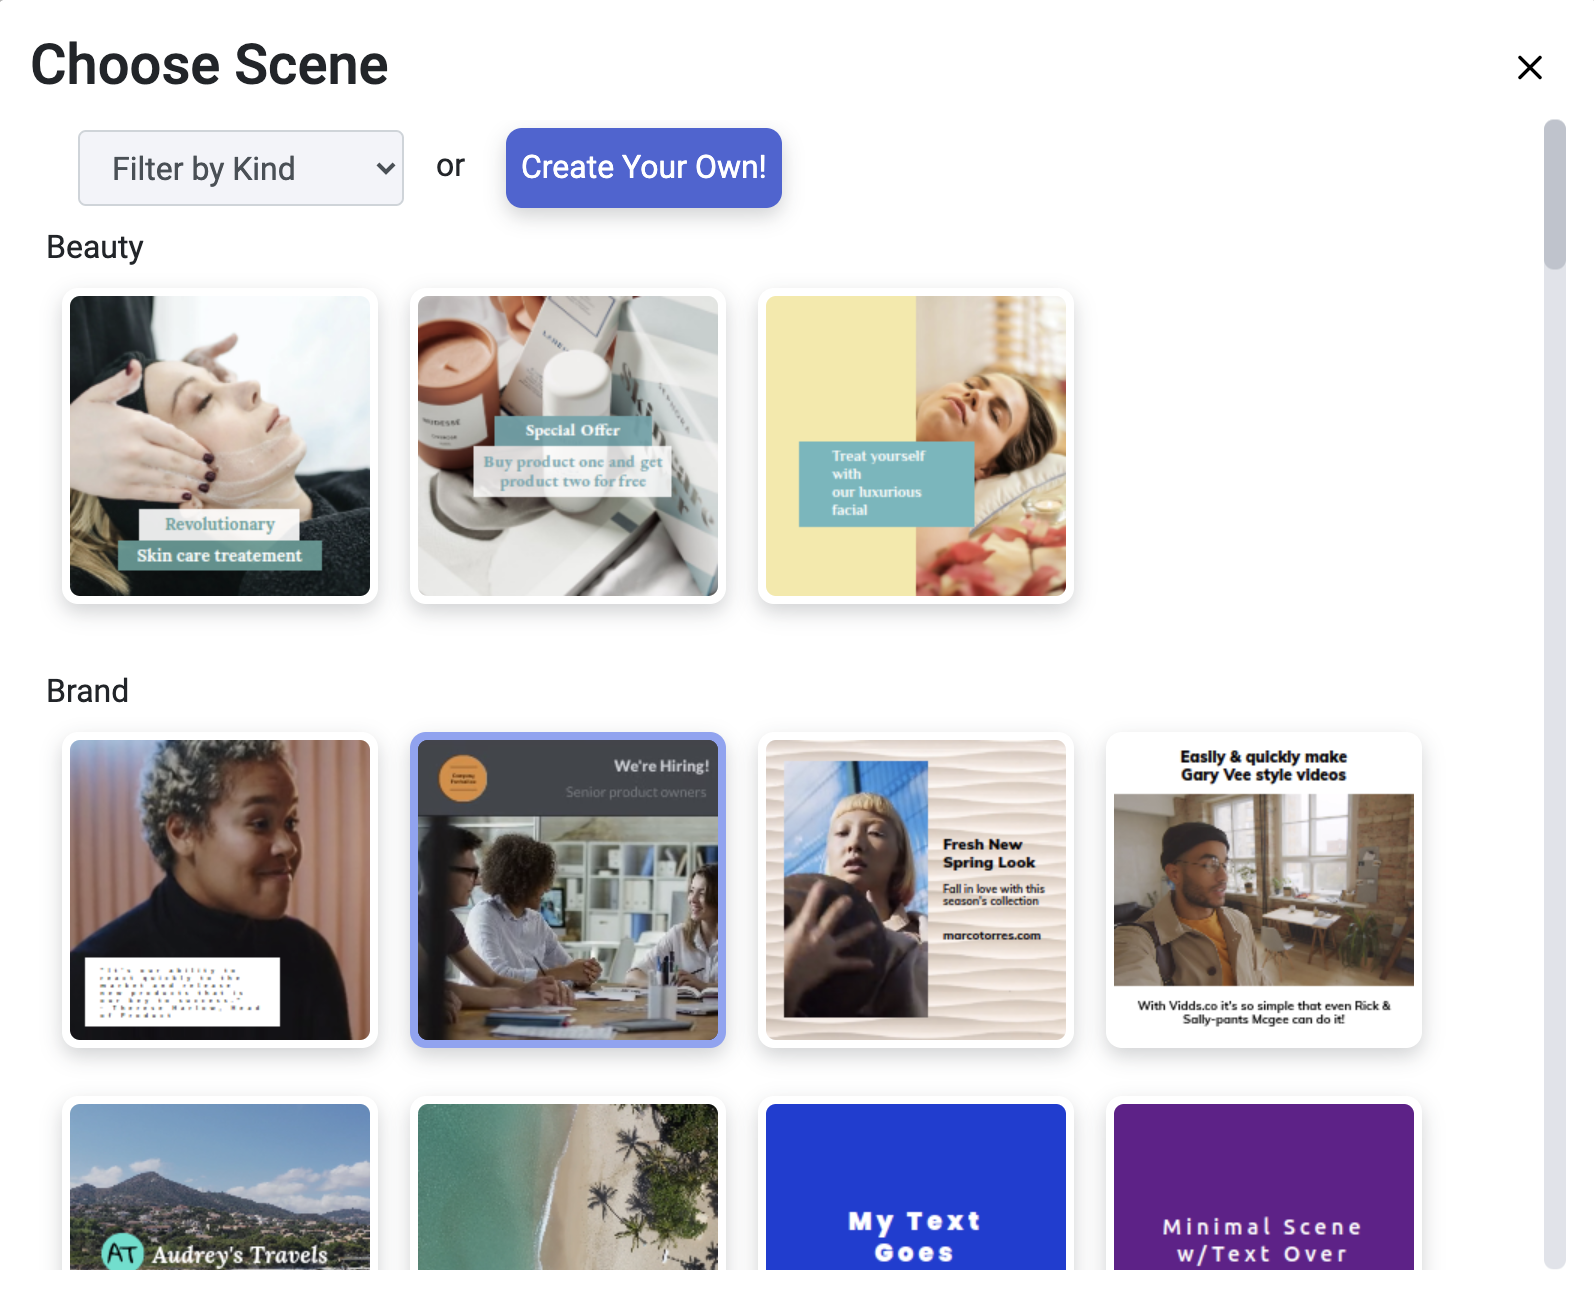
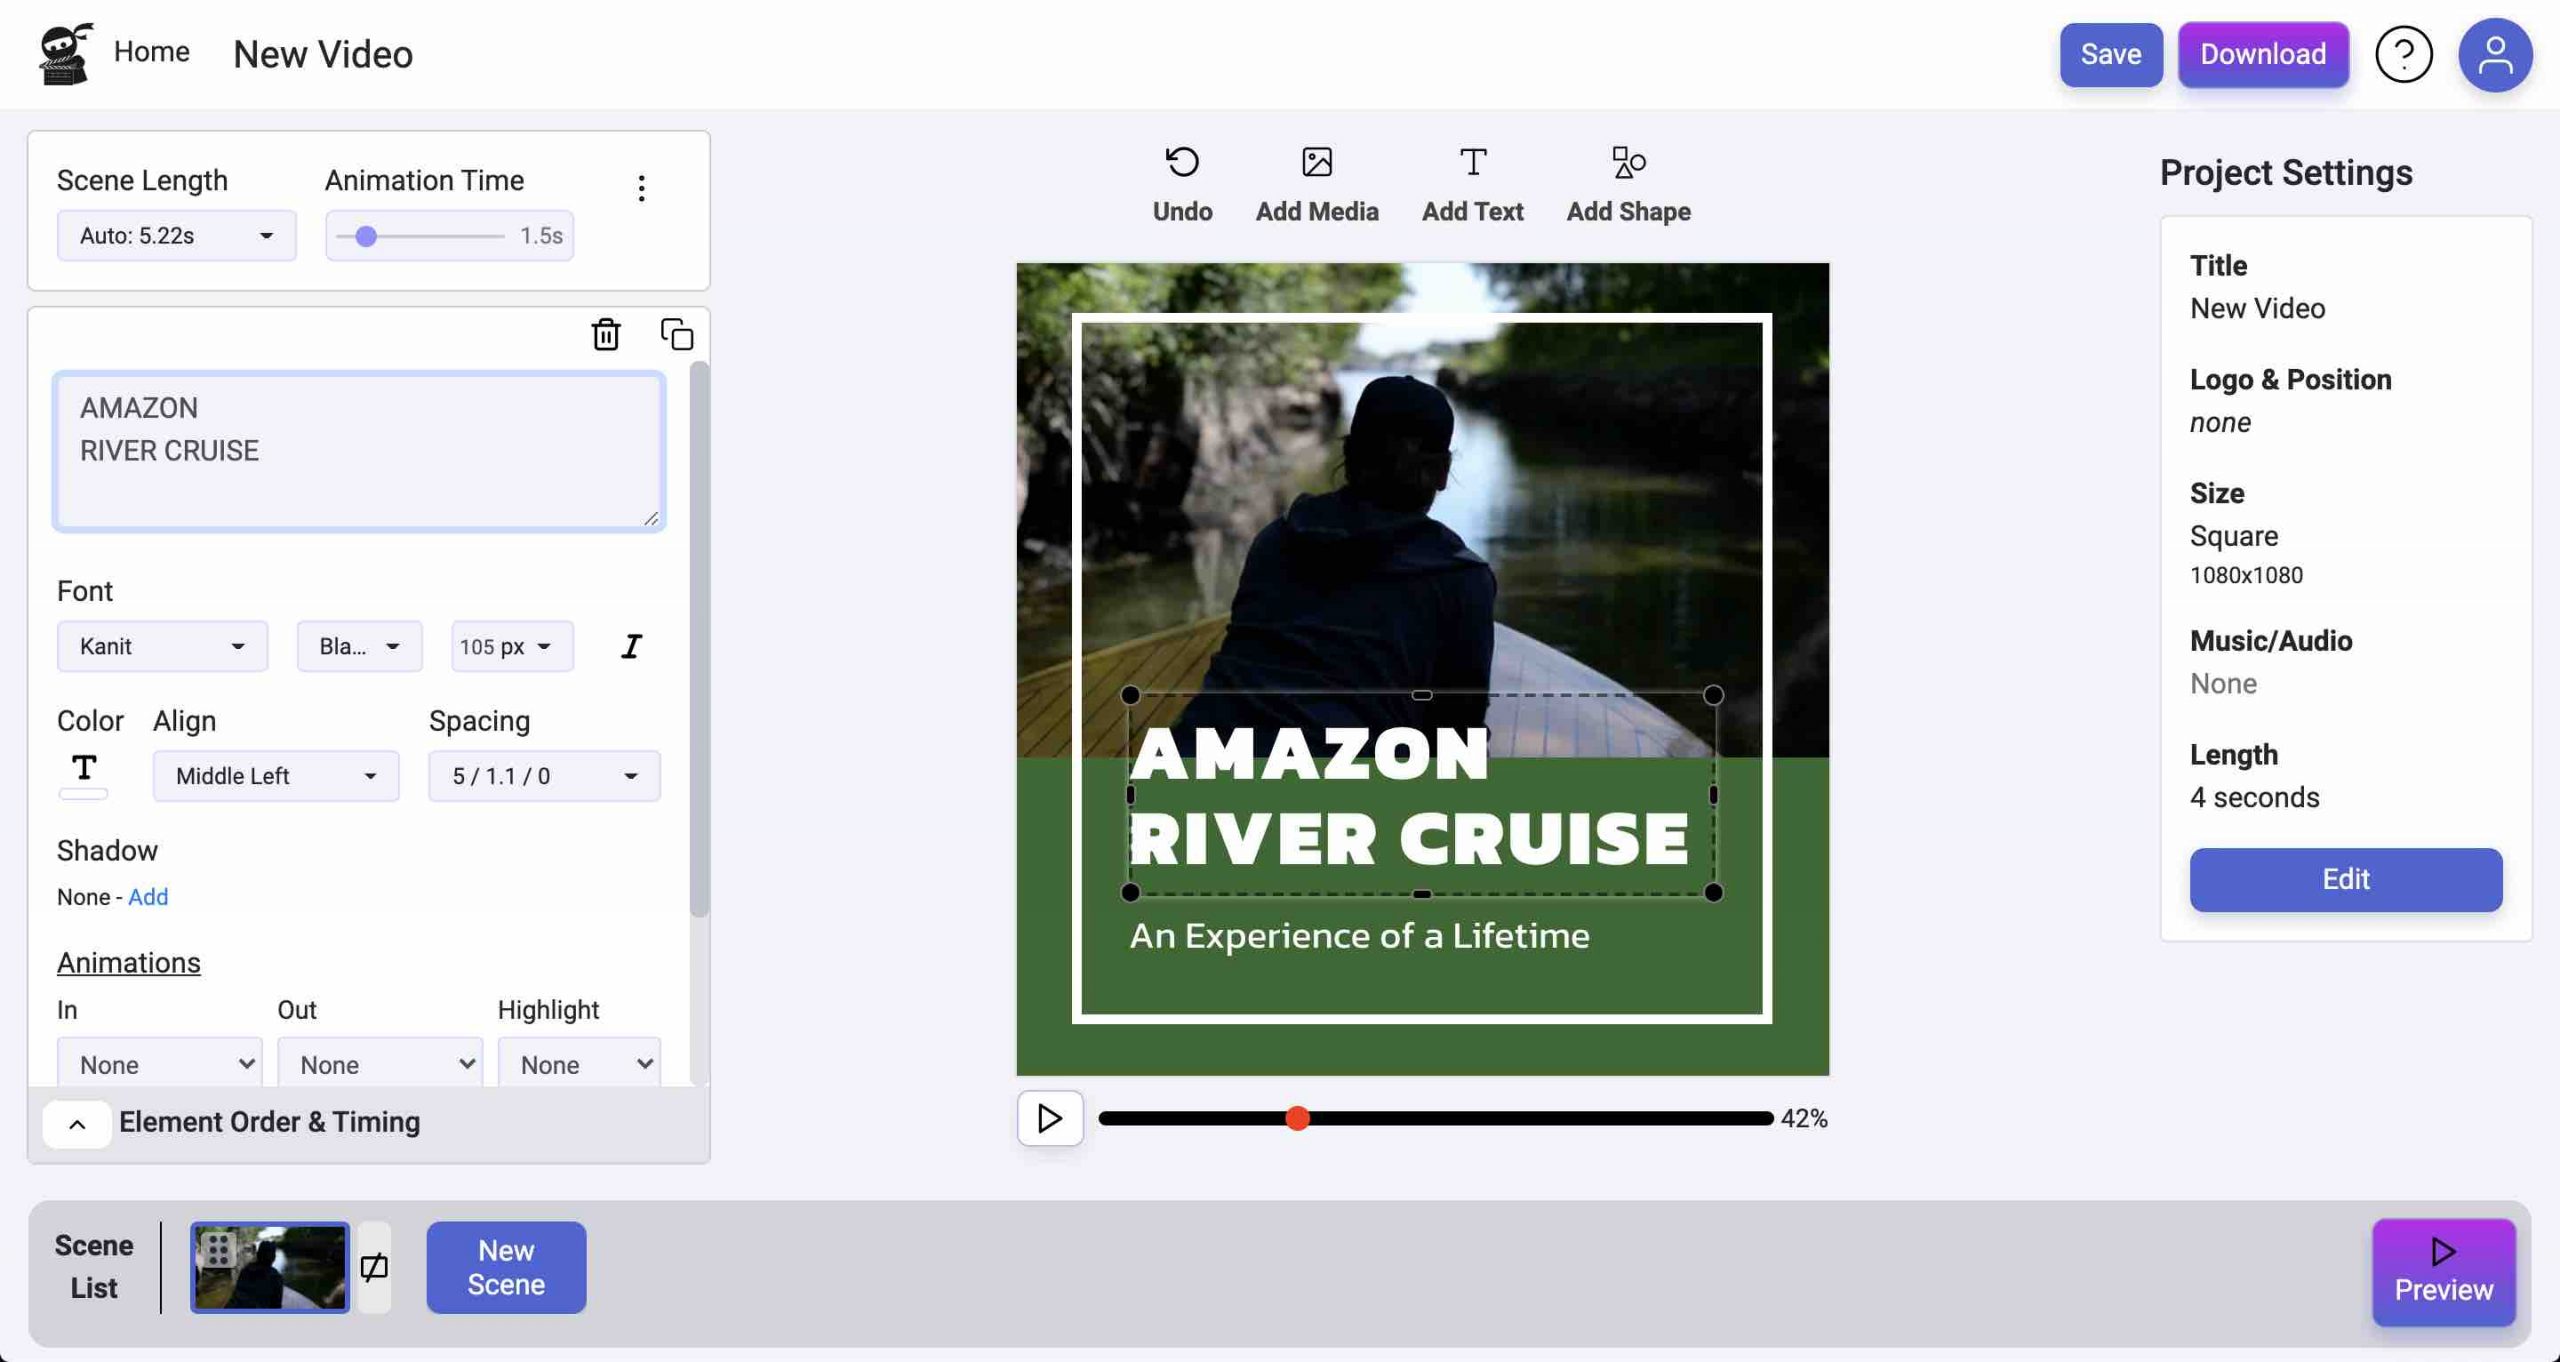
Start with your text and layouts

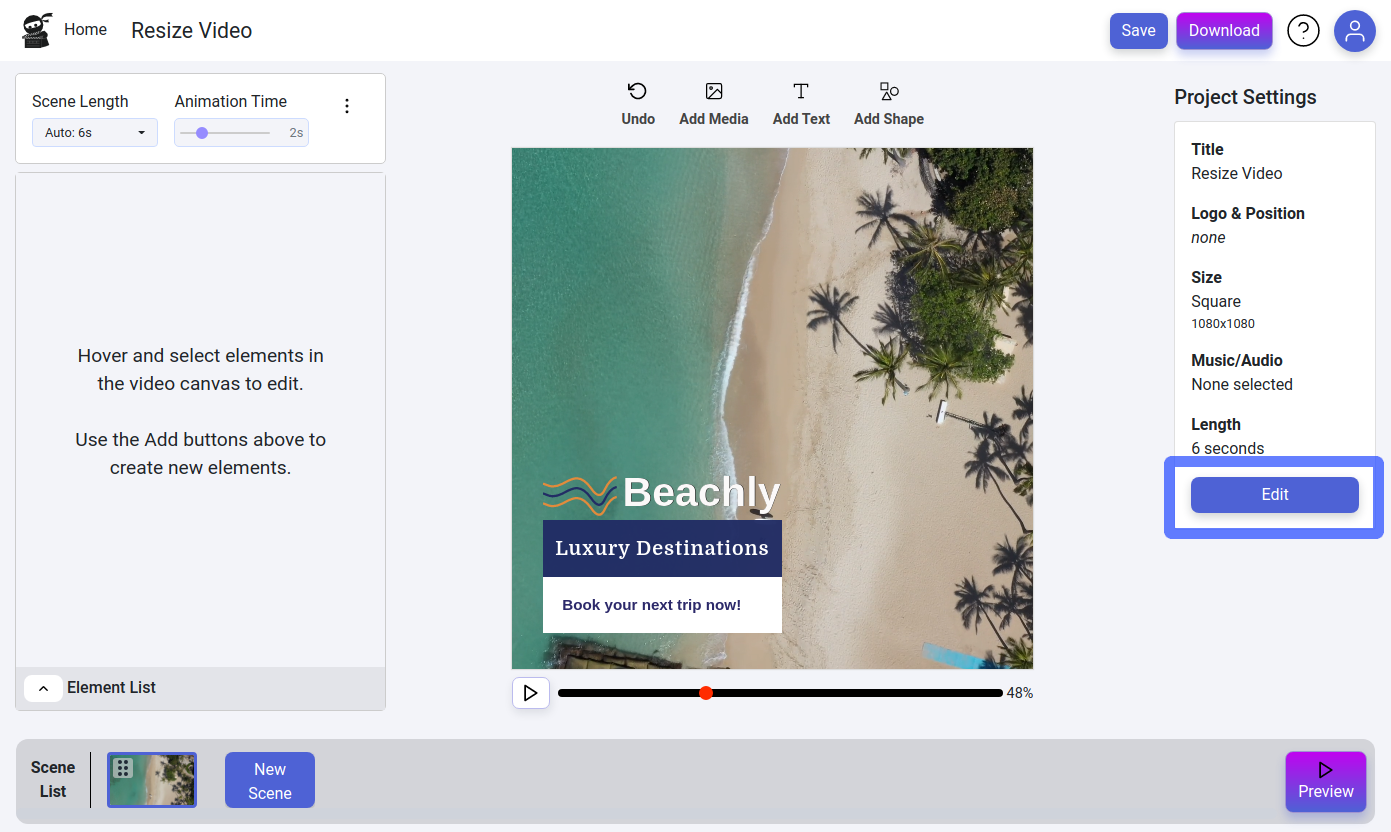
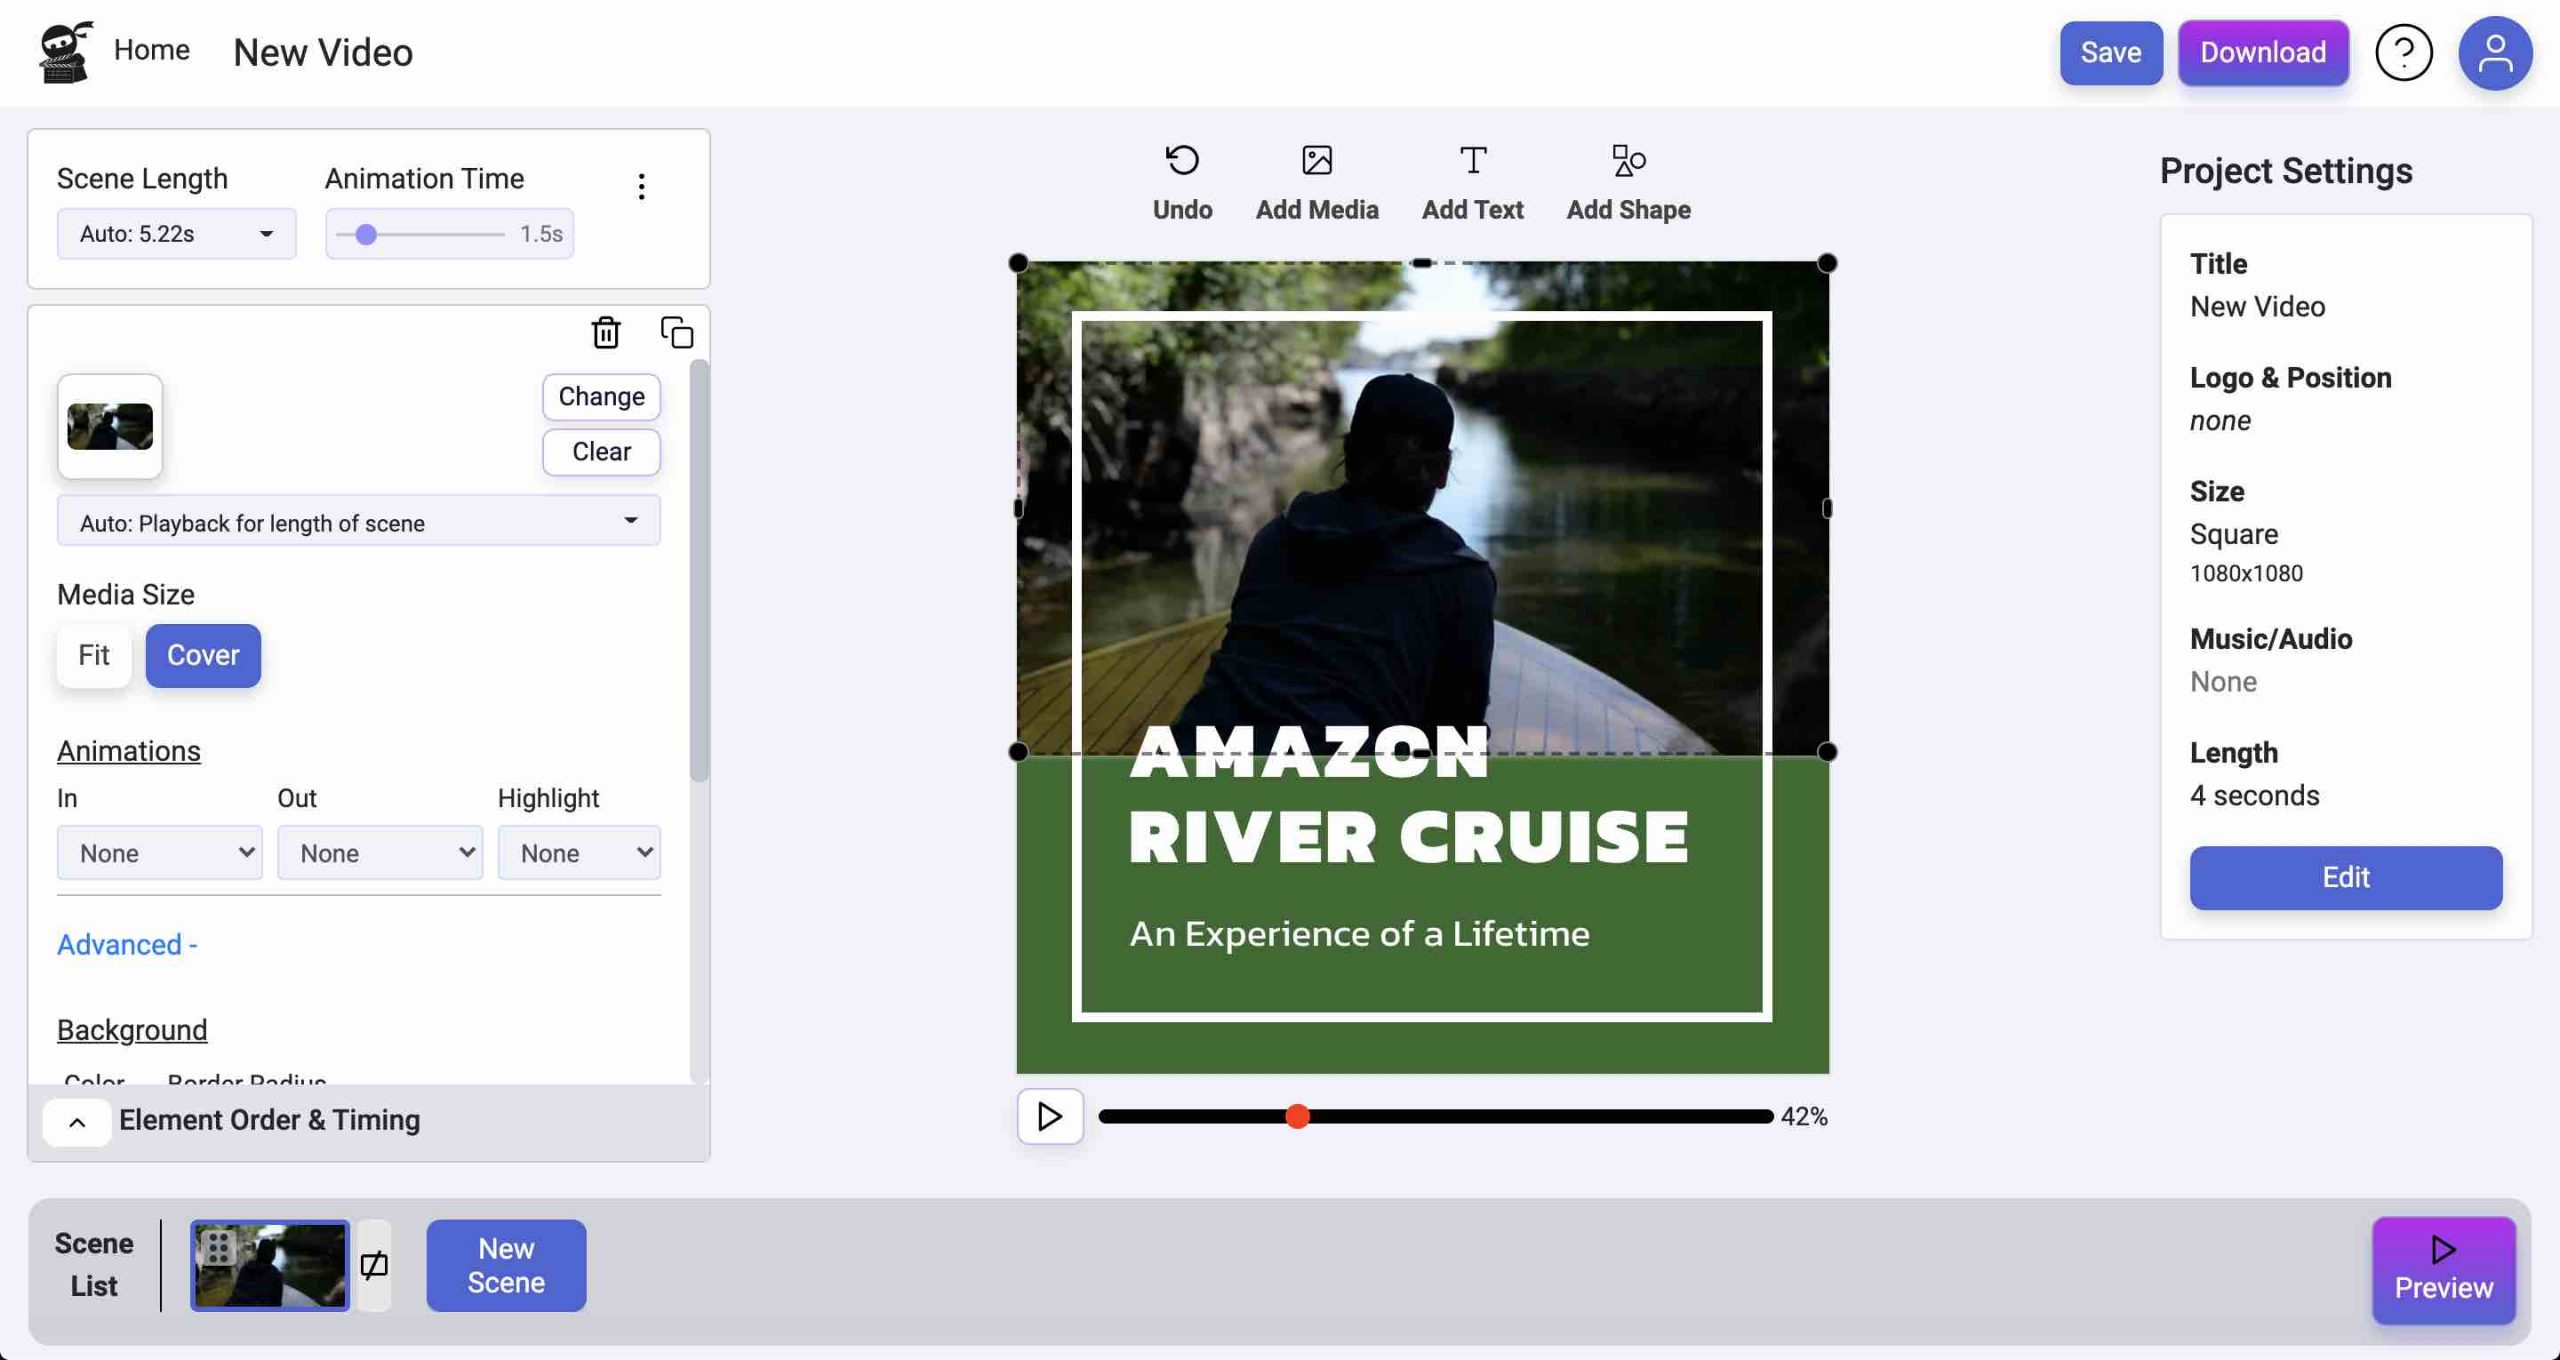
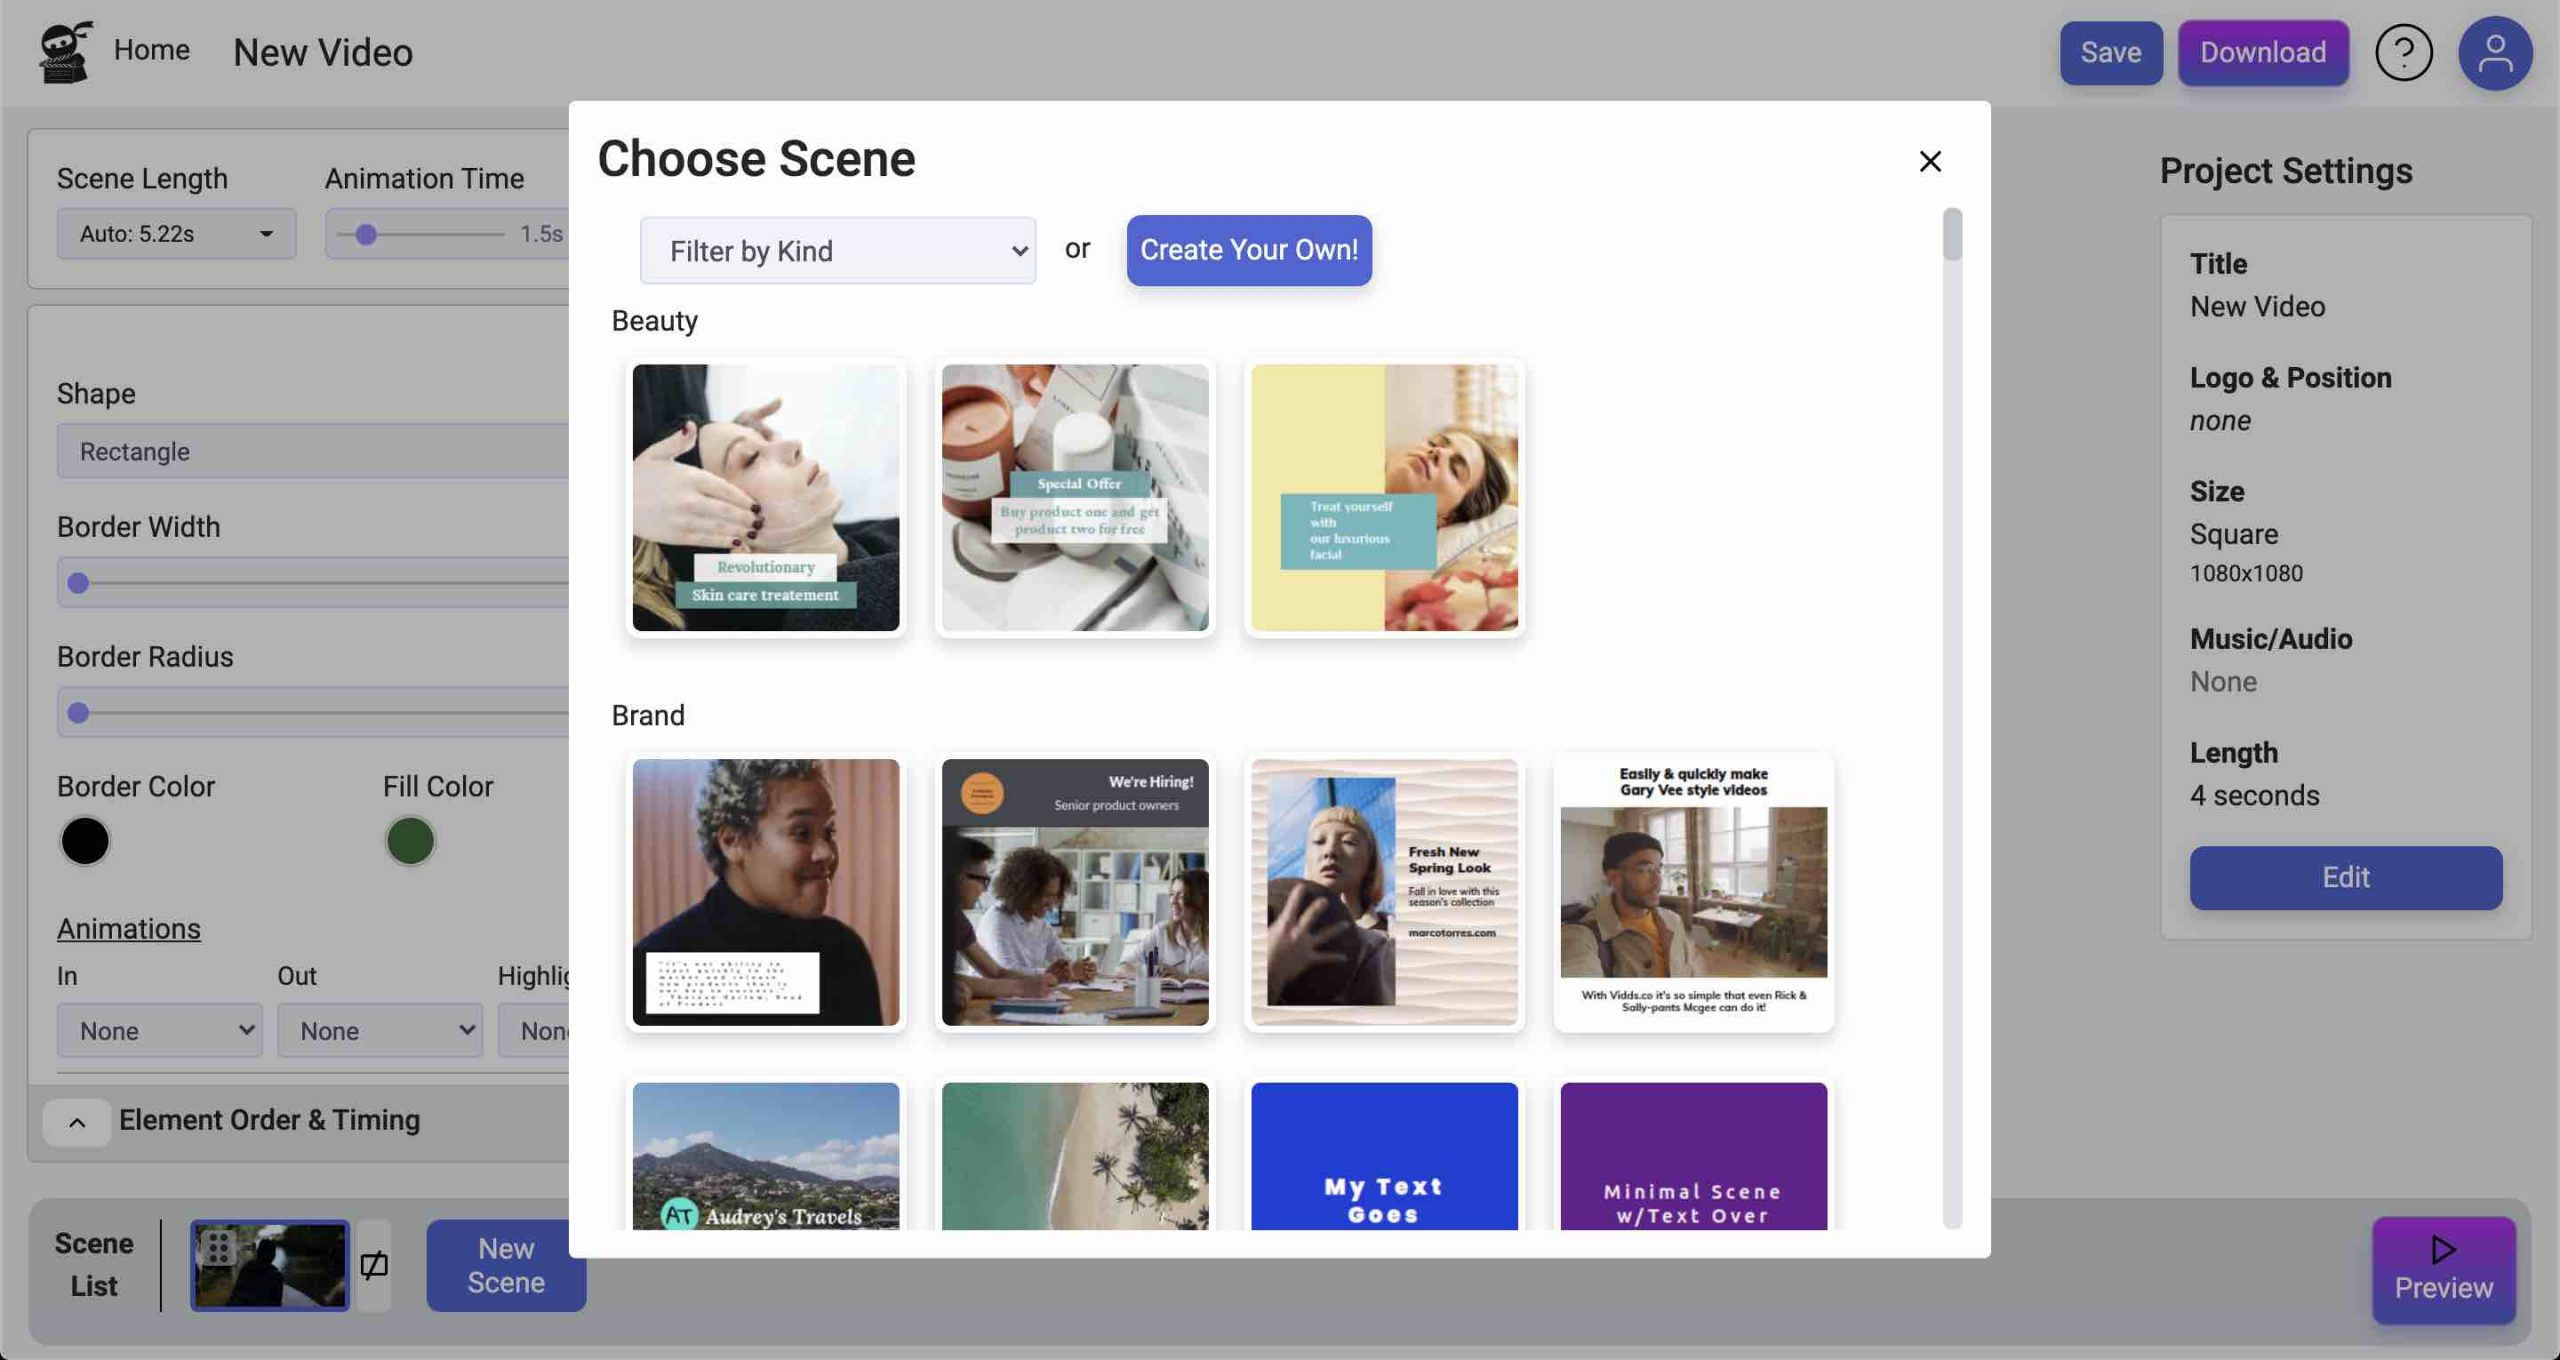
Vidds breaks down your video into “scenes” – each one is an animated design and layout. It might include a word or two, a sentence, details of a coupon code, event details, or an entire paragraph.

The great thing is, while Vidds categorizes scenes (like Beauty, Brand, Lifestyle, Science & Tech, etc), they’re completely customizable, so you can find the layout that’s perfect for your content, then swap out content and styles.

By starting with your text and layout, it’ll give you some space to think about what other content will go well with that text.

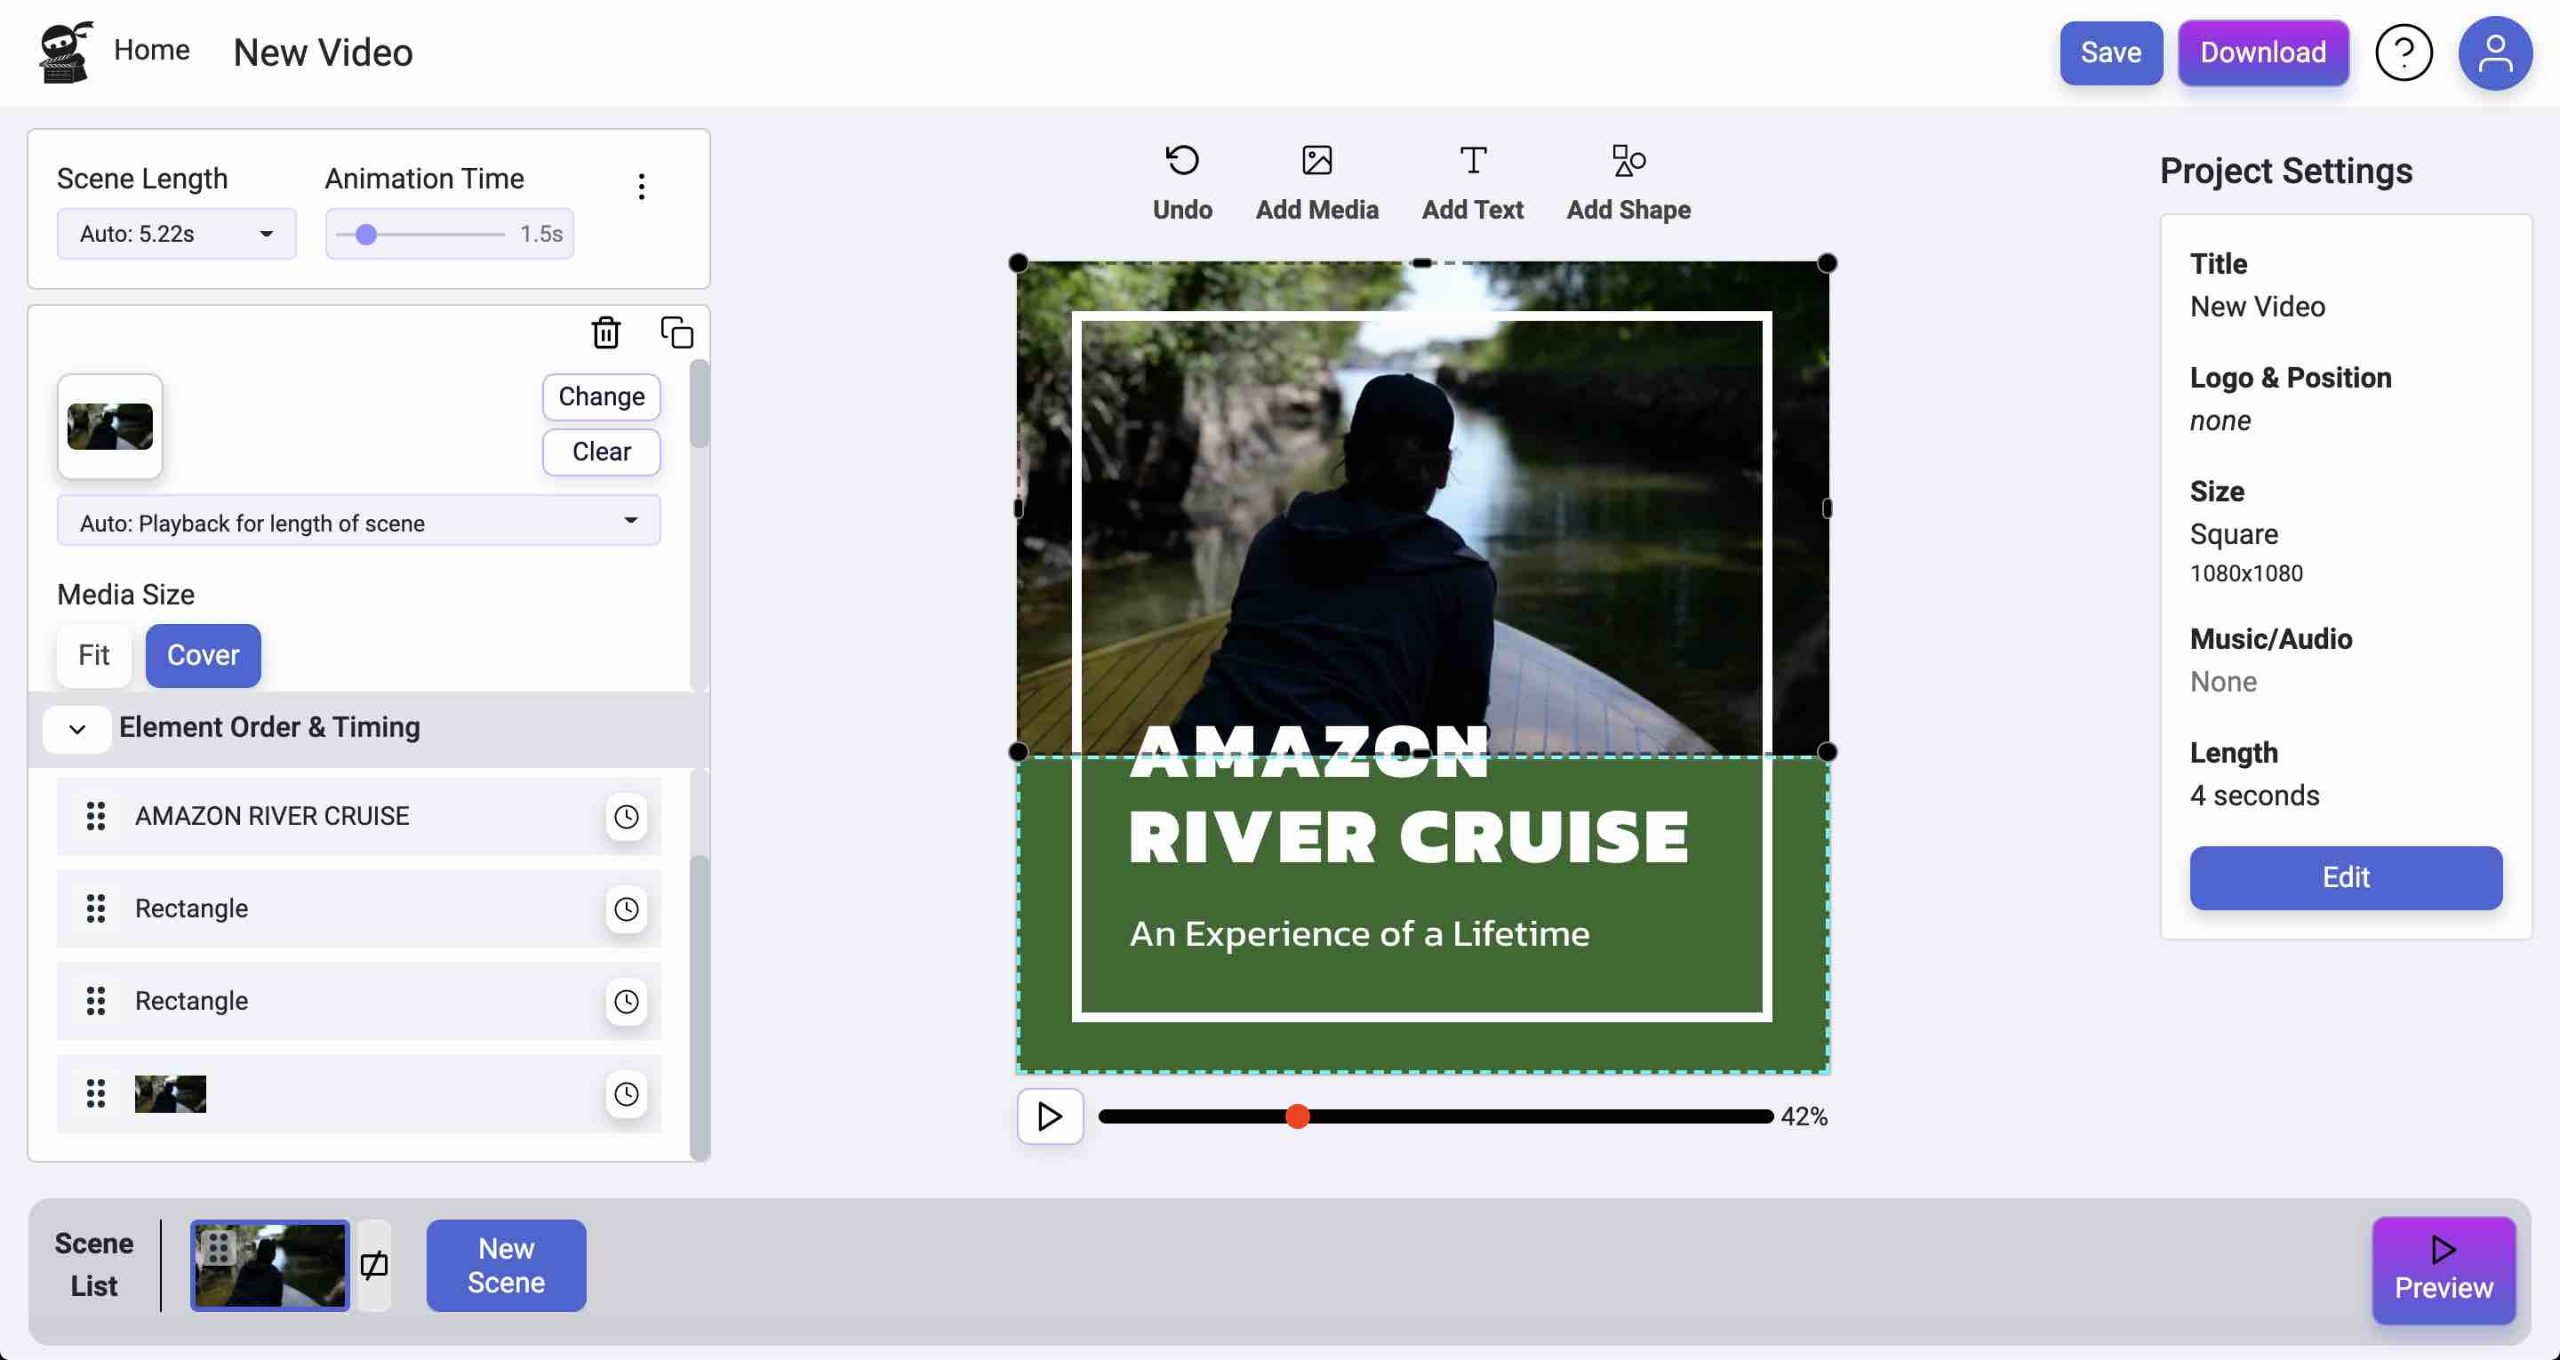
Add Images to Your Video

So you’ve created the scenes that get your point across in text. Now’s the time to find visual content to make your video stand out.

Maybe you found a scene that already has the perfect background or foreground. Congrats, your job is done!

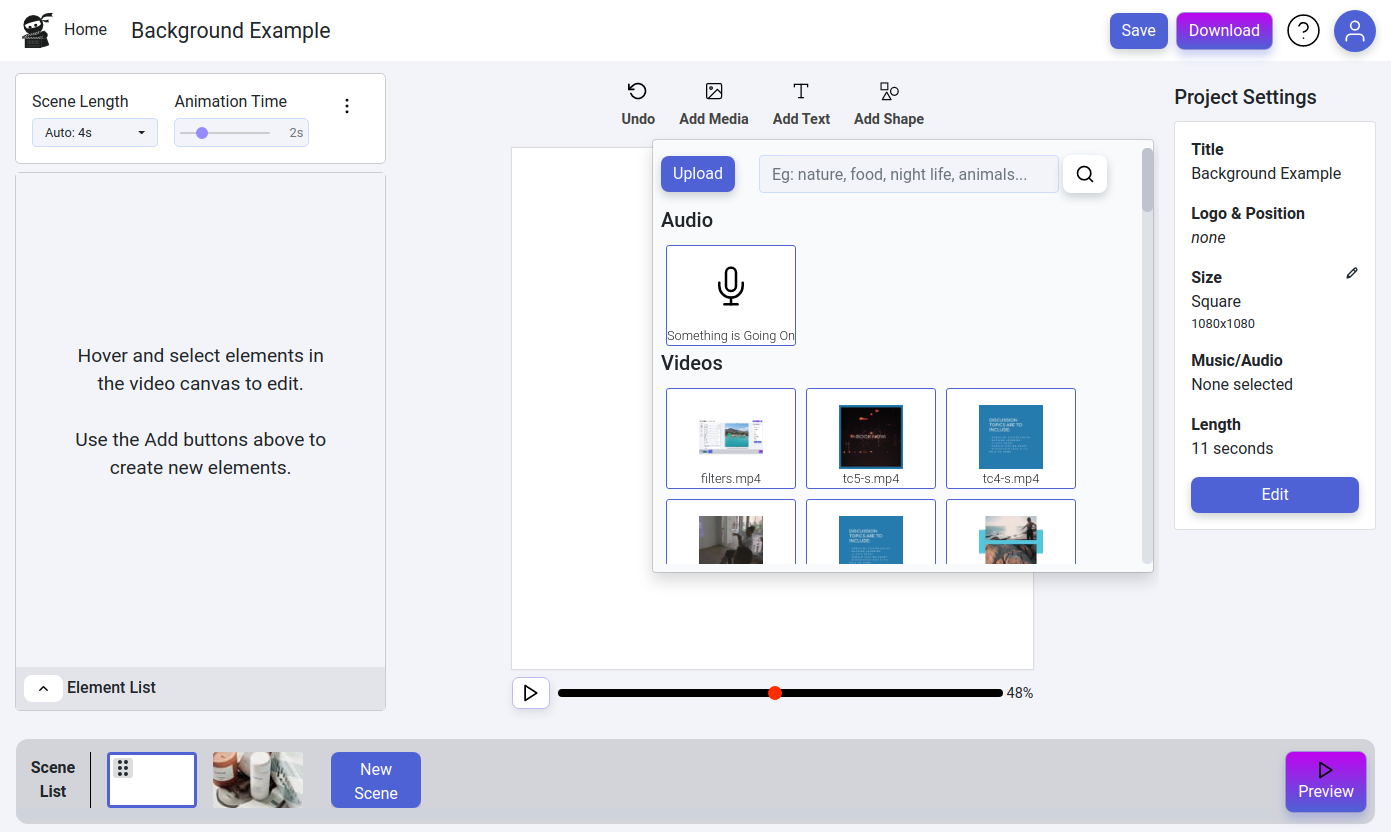
But if not, it’s time to get searching! The Vidds integrated Stock Media search will help you find a great video or image.

Finding the right stock media is easier than it might seem. The subject of the media isn’t usually your exact product or service. It’s more likely to be related to one of the following:

  • The setting it’s used in: Maybe it’s in nature or the outdoors, a classroom/auditorium, around the house, or out in the city.
  • What it accomplishes: Does it make you comfortable or safe? Maybe it’s about the adrenaline rush and excitement. Or maybe it will make you more successful in the workplace, make for a great vacation, or promote better health.
  • The general mood and vibe: Vibrant and exciting? Bold and outgoing? Relaxing? Romantic?
  • And more: How about your brand’s style? Maybe you like a retro feel, or you’re high tech, stylish vs down to earth.

Most of these translate directly to a quick search term. Nature, beaches, and waterfalls? Concerts, night life, city, countryside? Fashion, beauty, health? Cell phones and computers, science and technology, medical research? Try a couple quick searches and start plugging them in! [Check out our 2021 guide to stock video sites here]

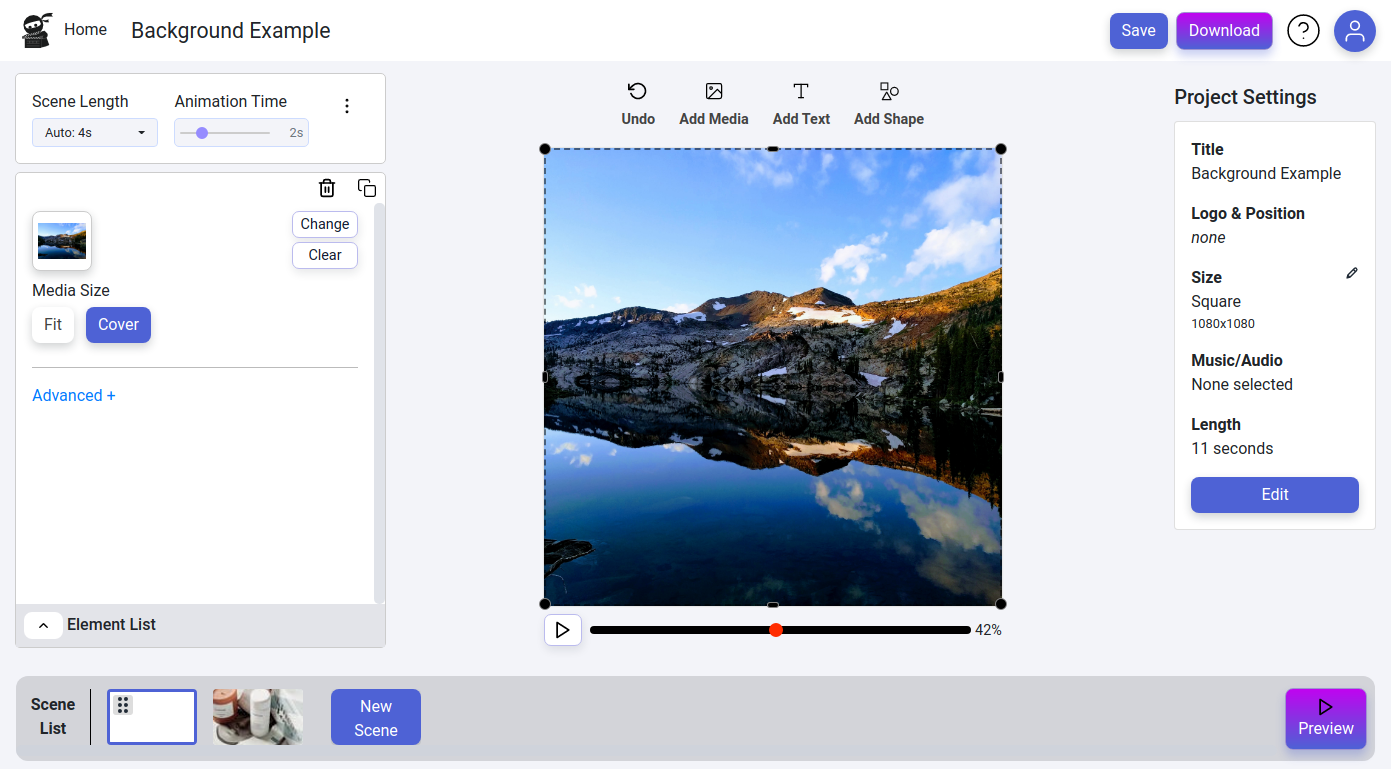
Found the perfect photo, but wish it were a video?

Of course, we usually want video content within our videos, but sometimes a picture fits the goal of a video better. If it’s looking a little dull, be sure to try adding the “Zoom” highlight animation. It adds some slow movement to the image you’ve chosen, which might just complete your scene!

Go for a minimalist video

One last option is to go minimalist. It might not work for all videos, but sometimes, using minimalist scenes with little or no video/image content looks great and really highlights your text content! Solid color backgrounds and big, bold text with simple shapes and underlines can look amazing. Vidds includes some minimalist scenes you can start with.

You can enhance minimalist themes further by playing with different animations. Mix and match the animation in for color backgrounds and text to allow them to flow together or contrast each other. Try different animations out, or leave some as “None” so they stick around.

You might be surprised just how much you like them, and how your audience appreciates straight-forward content!

Still stuck? Let’s go through some quick tips

  • I have image/video content, but not text.
    Adding a ton of text isn’t always the right answer. It’s ok to be a brand of few words. Use one or two words that describe your product and highlight what it is. Your audience can create their own story 🙂
  • I still want more text content!
    Follow similar brands and influencers. Look at their old posts that did well and imitate those. No need to plagiarize when there’s plenty of content out there for inspiration!
    Use your previous blog content, product/service descriptions and previous posts to round out the content. You don’t need to rewrite every sentence for every new post!
  • The scene is too fast for my calm mood, or too slow for my exciting content.
    Vidds allows you to control the animation speed of each scene. An animation speed of 1 second or less is going to move quickly, and once you move above 2 seconds or so, it’ll mellow out quite a bit.
  • How else can I set the mood?
    Use the right color for your text and outlines. Play with fonts and sizes. Use sharp or blurred shadows. Add rectangular outlines that are sharp and thin or rounded and large.
  • I want more content of my own!
    People love to see real content that doesn’t look like it’s been manipulated. Don’t be afraid to record a quick 360 of your product, goof around with it in different environments, and don’t be afraid of your poor video/photo skills (although you should make sure it doesn’t look like it’s hiding anything!) You can start with small photos or create a 3-5 second clip of your product in an existing scene.
    You can hide any recording flaws with text or borders 🙂
  • How do I optimize for longer engagement?
    Try to prolong your text. Your first scene could be a simple question or statement that is true of your audience, such as “It’s so hard to find the right X” or “Do you have trouble with Y?” Follow up with related content. If you’re promoting your product, make statements about how it helps. If you’re entertaining or informing, use common formats like “5 Tips for Improving.”
  • Social Proof!
    Yes! Obviously followers and likes help, but you can quote your customers and followers in your scenes. And if you’re starting out, you can quote influencers if it’s related to your video content
 

Liked "How to make videos when you don't have content"? Check out more of our articles!

Categories
Uncategorized

Facebook Ad Sizes

Facebook Ad Video Sizes

Up to date Facebook Ad Video Sizes

Facebook Ads are a powerful tool for any brand or business. Not only can you reach users on Facebook but you can have your ads seen across all of their networks, this includes Facebook, Instagram, Stories, Messenger, Audience Network and more!

That’s a lot of opportunity to have your advert seen by your potential customers. But how do you optimise your videos for Facebook Ads to make them stand out in the flow of content and get more clicks? The first step is to ensure that you’re using the right aspect ratios and sizes in the right places.

Below is a breakdown of what size video you’ll need for each place your Facebook Ad is show.

Right Column:

While technically not a video ad placement, the Facebook right column is the OG of ad placements, and therefore couldn’t be left off our list. It was the first place that Facebook allowed users to advertise their businesses and was so successful that Facebook expanded their advertising business model.

  • 16:9 aspect ratio (will crop to 1.91:1)
  • 1200 x 628 recommended size
  • Image format: PNG or JPG

The Feed:

The Facebook feed is your opportunity to grab someone’s attention while they’re scrolling through the endless stream of content. It’s not easy to standout from the noise and engage a user so that they click your add. A video can increase your chances of reaching your Facebook Ads goal.

  • Vertical 4:5 aspect ratio
  • 1080 x 1350 recommenced size
  • Format mp4 or .mov
  • For images go for a 1:1 aspect ratio and 1080 x 1080 size, format JPG or PNG

Marketplace:

What better way to capture new customers than by showing them your product or service when they are already in a buying mindset. The Facebook Marketplace Ad placement is a great way to engage users and get more clicks through to your site.

  • Vertical 4:5 aspect ratio
  • 1080 x 1350 recommended size
  • Format mp4 or .mov

Stories (including Messenger):

Stories have been the story of 2019 & 2020, with Facebook increasingly pushing the adoption of stories across their platforms. With this increased adoption has come an increase in advertising potential, as more users watch stories there is more opportunity to get your advert in front of eyes..

  • Full Height Vertical 9:16
  • 1080 x 1920 recommended size
  • Format mp4 or .mov

Feed:

Acquired by Facebook in 2012, Instagram rolled out adverts towards the end of 2013 and haven’t looked back since. The first place that you would have seen ads back then was the feed. As an inherently more visual platform Instagram is the perfect place to capture the attention of users with videos ads.

  • Vertical 4:5 aspect ration
  • 1080 x 1350 recommended size
  • Format mp4 or .mov

Explore:

The place where Instagram curates content for its users based on their preferences and past usage. This is a great place to run adverts as users are in the mindset of searching for something new. You can reach them with your advertising and generate more clicks through to your website, app or landing page.

  • Vertical 4:5 aspect ratio
  • 1080 x 1350 recommended size
  • Formtat mp4 .mov

Stories:

Inspired by the stories format of Snapchat, instagram rolled out this feature and gained a whole load of snapchat users in the process. The premise is content that is only live for 24hours before it is removed, this allows users to tell real-time stories to engage their followers. With a huge daily user activity, Stories are an incredibly powerful way to capture the attention of your potential customer.

  • Full height vertical 9:16
  • 1080 x 1920 recommended size
  • Format mp4 or .mov

Now that you know all the Facebook Ad video sizes and that video ads are a great way to generate leads for your business, it’s time to start making some. Vidds is an easy way to create video ads and download them in all the different sizes in a matter of minutes. Simply create your advert using our pre-designed templates or start from scratch and build your own. Then export your video in all sizes ready to upload across all platforms.

Vidds is the easiest and quickest way to create videos online. Our browser based video editor allows you to create all kinds of videos and download them ready to be used within minutes. The drag and drop interface makes it simple to add text, videos, images and logos to customise your video and wow your audience.

Categories
Uncategorized

Best Stock Video Sites 2021

Best Stock Video Sites 2021

A complete guide to the Best Stock Video Sites in 2021 (original content from VReel.co)

Twenty-twenty was a year filled with uncertainty, restrictions and disruptions to not only our professional, but personal lives too. The creative industries felt the full force of the pandemic with cut budgets, travel bans and much more. Film sets were shut down, agencies went remote and freelancers lost clients. As a result, we saw an increase in stock video sites and an increase in demand for tools that assisted our remote working. It looks like this year is set for much of the same, so here is our complete guide to the best stock video sites for 2021.

In this article we’ll reveal our list of top 5 free stock video sites and top 5 paid stock video sites.

Top 5 Paid Stock Video Sites

VReel have been working really hard over the past year to build their platform into a really great stock video site. What started out as a site exclusively for drone footage has now expanded to offer “regular stock“. Their regular stock is provided in series. This means that every scene is shot from multiple angles giving you far more power to tell great stories when editing your videos.

Not only have they expanded their offering, but they also increased their contributor commissions – making them one of the fairest stock video sites in terms of contributor earnings! All contributors now earn 50% commission on all one off purchases of their footage.

On the VReel site you can purchase footage in two ways:

  1. One-off Purchase
    – 4K = €59 per video
    – 1080p HD = €35 per video
    – 720p HD = €19 per video
    – 480p SD = €12 per video
  2. Monthly Subscriptions
    – 5 videos = €69 per month [€13.80/video]
    – 10 videos = €129 per month [€12.90/video]
    – 25 videos = €299 per month [€11.96/video]
    – 50 videos = €499 per month [€9.98/video]

These prices make VReel one of the best value stock video sites .

So for affordable, incredible drone footage from all over the globe, which will bring you value across all your video projects and a growing library of normal stock series, look no further than VReel.

Also a fairly newcomer to the stock footage industry, Artgrid bring exceptionally high quality footage via annual subscriptions. Launched by Artlist.io the well known music licensing site, Artgrid.io marks their journey into the world of footage. The nice thing about Artgrid is that they work with many professional filmmakers, directors and content creators. There’s something very “arty” about all the clips, and the collections of footage are impeccably shot – covering multiple angles, giving you full power when you edit.

Artgrid is only available on an annual subscription, but they do have three different tiers depending on your needs:

  1. Junior HD $299/year
    – HD clips, H264 format, unlimited downloads
  2. Creator 4K+ $479/year
    – 4K – 8K clips, ProRes format, unlimited downloads
  3. Pro RAW/LOG $599/year
    – Raw/Log clips in 4K – 8K, ProRes format, unlimited downloads

When broken down into monthly costs, Artgrid becomes an exceptionally value driven proposition. At approximately $40/month for unlimited downloads (capped at 40/day) this value is almost unmatched by other stock video sites. Better still, the quality of the footage makes it a great choice for video editors that need more emotion driven, engaging clips.

One of the larger stock video sites, Pond5 have a huge library of over 20 million clips. They offer footage in HD quality starting from $25 and have licenses which can cover your different needs. Their library is conveniently split into popular, categories & collections to help make finding the clip you need easier.

Pond5 pricing and licensing comes in a few different shapes and sizes, here’s the run down on what they offer.

Licenses:

  1. Personal (included in sale price)
    – Frequently used with sizzle reels, social media and similar projects
    – Download can be used by 1 individual on the project
  2. Business (+€139)
    – Frequently used with tv broadcasts, regional advertising and similar projects
    – Download can be used by up to 5 people on the project
  3. Premium (+$279)
    – Frequently used with feature films, national advertising and similar projects
    – Download can be used by everyone on the project

Pricing:

  1. Subscriptions
    – Yearly: €890 for 120 clips
    – Monthly: €180 for 10 clips
  2. One-off purchases
    – €25 starting price
    – up to €500+

Pond5 is a good choice for agencies making lot’s of content, or for people that need a large variety of footage to cover their video editing needs. Since their library is so big, it is likely that you will find exactly what you are looking for.

Film Supply is a “leader in cinematic footage licensing”. Their collections of footage are exceptionally high quality and have been contributed by many professional filmmakers from all over the world. One of their unique selling points is that the cinematic footage is broken up into collections based on the main theme of the clips. This clip organisation makes it easy to find what you’re looking for based on a particular theme, emotion or category.

Their pricing is very simple and is based on the intended usage of the clip. They only offer videos via one-off purchases, here are the prices:

  1. Internal – $99
    – Internal Meetings
    – Training
    – Shareholder Meetings
  2. Industrial – $199
    – Events
    – Tradeshow displays
    – Sales meetings
    – In-store promos
  3. Web/Digital – $199
    – Website
    – Social media
    – Web ads
  4. Extended use – by Quote
    – TV
    – Film
    – Video games
    – VOD
    – other

Key features – high quality, emotionally driven footage, purchasable one-off. Film Supply is a great alternative to Artgrid when you don’t want to be tied into an annual membership.

Dissolve is the last on our list of best stock video sites 2021, but is no means the least. A site for footage and photography, Dissolve has grown it’s video library to over 1.7 million video clips. Their mission has been to change the average standard of the stock industry and provide something spectacular. Based in Canada, they are a team of ex-industry professionals which means they really know their stock!

Split into collectionspopular searches and exclusive collections Dissolve has organised their library in an efficient and easy to discover way. Footage is priced per clip and provides a standard license with every purchase. Extended and premium licenses are available when needed.

Pricing:

  1. SD 480p: $29
  2. HD 1080p: $29 – $499
  3. 4K: $49 – $549

Dissolve is another great option when you need to by individual clips for projects and want to make sure you have a watertight license for your particular use case.

Top 5 Free Stock Video Sites

They made both lists! Well, we happen to think that their resource of free drone footage is really great. The library is very modest at the moment but they add to it regularly and ensure that all clips are 4K and of the highest quality. As a result, the footage is suitable for any kind of video project, including commercials.

One of the larger free footage libraries available, Pexels continue to offer great options for filmmakers on a budget. Their library contains a wide variety of shots of some varying qualities, but overall this is a fantastic resource that shouldn’t be overlooked.

With a library of high-quality free video resources, Coverr is great resource for filmmakers. You are free to use the footage in both commercial and non-commercial projects, without first needing the permission of the videographer or giving them credit (though it is appreciated where possible). You can even get virtual backgrounds for your zoom meetings

Mixkit has thousands of free videos in their library that can be used for any kind of project without the need for attribution. Their library is split into categories such as; Nature, Lifestyle, Business, Animals, Food & more. They even have a selection of vertical videos and virtual backgrounds for your zoom meetings.

Over 15,000 free videos available to download and use in your video projects. There is a mix of different themes and qualities throughout the Pixabay library, but overall this is great resource for video makers of all abilities.

Conclusions of the best stock video sites 2021

At the end of the day, it will come down to pricing, licensing and footage options that will determine which stock videos sites you will find the best.

If you need any help in finding the perfect footage for your next video project, VReel offers a free clip sourcing service. Simply jump into our chat widget on the VReel homepage and we’ll be happy to help.


*This article was originally posted by VReel on the VReel.co blog, read the original article here.

Categories
Uncategorized

How to Add Background Images and Videos

Add Background Images and Videos

How to add background images and videos to your Vidds scenes

Step 1 - Select the correct scene

  • Click on the correct scene thumbnail in the “Scene List”at the bottom of the screen

Step 2 - Select "Add Media" from the top toolbar

  • From the top toolbar, click the “Add Media” icon

Step 3 - Select your background

  • Upload your own media (image or video) from your device, once it’s added to your media list, simply click on it to add it to your video
    or
  • Choose a previously uploaded file by clicking on it
    or
  • Search and add images and videos with our stock media integration provided by Pexels – simply type a keyword term (e.g. “Cats”) in the search bar, click the “Search Pexels” button and select the media you’d like to use by clicking on it

Step 4 - Resize, Save and continue editing

  • Drag the new video or image to cover your video. You can use the snapping points to make sure it’s positioned correctly.
  • Save your changes using the save button in the top right hand corner

Related Tutorials

Categories
Uncategorized

How to Change Video Size

How to Change the Size of a Video

How to change the size of a video

Step 1 - Open the correct Vidds project

Select the correct project from the Vidds creator Dashboard (if you are already creating a video, then skip to step 2).

  • Click the project thumbnail to start editing in the Vidds creator
How to change the size of a video

Step 2 - Edit project settings

  • On the righthand side of your screen, click the “edit” button at the bottom of the “Project Settings section”

Step 3 - Resize dimensions

  • Click on the “Resize” button to the side of the Dimensions information
Resize dimensions - edit project setting screen

Step 4 - Select desired video size

  • Select one of the pre-designed video sizes and click “Update” to make your video that size
    or
  • Select “Custom” – place in your custom dimensions and click “Update”

Step 5 - Check your video

  • Navigate back to your video in the Vidds creator and check that you’re happy with your new video size
The Vidds Creator will use its intelligent processing core to resize and scale your content to fit the new video size. This means that you can create multiple versions of the same video to make it compatible across all the different social media platforms. Completely automatically.
 
Simply save and download the project between each re-sizing.

Related Tutorials

Level up you Vidds by checking out our blog post on the best stock video sites for 2021

Categories
Uncategorized

How to Duplicate a Scene

How to Duplicate a Scene

Categories
Blog

Create Your First Video

Create Your First Video

How to find your way around the Vidds editor for the first time to quickly and easily create the perfect video for your needs!

How to create your first video - step by step

Step 1 - Create a new project

Create a new project from the Vidds creator Dashboard.

  • Click the “New Video” button (highlighted in blue below)
Create new project - Create your first video

Step 2 - Name your project

Give your new Vidds project a name

  • Enter the name in the empty text field
  • Click the “Next” button
New Video Screenshot

Step 3 - Choose the video shape and size

  • Click on the preset size that fits your needs 
  • or create a custom sized video by clicking the “Custom” option
  • Once you’ve chosen the size you want, click the “Next” button
New Video - Select Video Size

Step 4 - Select a video scene template

  • Browse the options or filter the results by using the dropdown list at the top
  • Once you have made your decision, click the thumbnail of the template you’d like to use for your first scene
  • Your video project will be auto generated and you will be redirected to the Vidds creator
    or
  • Click the “Create Your Own” button to start with a blank scene, then add your own elements and begin customising
Create your first video - Scene Select

Step 5 - Customise your first scene

Edit Elements List
  • Click on the video canvas to select an element you would like to edit 
  • or select the element directly in the “Elements Order & Timing” tab on the lefthand side at the bottom of the configurator 

Each element can be edited in multiple ways.

Media

  • Choose media size – “Cover” or “Fit”
  • Select “In animation” & “Out animation” as well as a “Highlight” that will happen during the scene
  • Choose a background color for the element – the default is transparent
  • Resize elements using the sizing handles in the corners and center of each side 
  • Change the position of the element, you can do this by simply dragging it and dropping it where you’d like it
Media Element Edit - Create Your first video

Text

  •  Update the Text in the box at the top of the text element configurator
  • Select a font and the text alignment you would like
  • Choose a color for your text and the size you’d like it to be
  • Customise the letter spacing, line height and padding (space around the edge of the text)
  • Add and configure a text shadow – useful when the text lacks contrast from the background
  • Choose an “in animation”, “out animation” & “Highlight”
  • Add a color block behind the text by clicking the circle below “Background” label in the “Container” section
  • Change the position of the text element by dragging and dropping it to the position you’d like on the scene preview video
Edit Elements

Shape

  • A shape element can be used as overlays or backgrounds for other elements
  • Select the shape that you’d like to use
  • Resize the element using the sizing handles in the corners and center of each side
  • Choose an “in animation”, “out animation” & “Highlight”
  • Change the border width to make it thicker or thinner using the “Border Width” slider control
  • Add or change the color by clicking the circle below the “Fill Color” label
  • Adjust the border color by clicking the circle below the “Border Color” label
  • Adjust the border radius to round the corners
  • Rotate the element to change it’s orientation within the scene
  • Change the position of the block by dragging and dropping it to the position you’d like
Edit Shape Element - Create your first video

Click the icons above the video canvas to add more elements to your scene. You can edit the scene by clicking on an element in the Element Order & Timing tab to the left or by clicking on the video canvas itself.

Media

  • Change the background image or video – upload your own or use the stock media search that we provide through Pexels
  • Edit the size of the background media, choose from: “fit” and “cover”
  • Control the amount of zoom that is applied to the background image or video

Secondary media

  • Change the background image or video – upload your own or use stock media
  • Control the width of the image or video
  • Change the roundness of corners
  • Adjust the spacing around the image
  • Add borders and change colours

Texts

  • Update the texts with your message
  • Change the width of the text area
  • Select font, size & colour
  • Adjust line height
  • Add text box backgrounds, borders and adjust their size and colours

Step 6 - Add more scenes

  • Click the add scene button found in the scene list section at the bottom of the Vidds Creator
  • Choose the scene template you’d like to use (it will automatically be added to your project)
  • Customise that scene
  • Add more scenes and repeat
Add New Scene

Step 7 - Edit Project Settings

To the right of the video playback window, you will find the Project Settings section. Here you can update a number of different aspects of the project.

  • Add a logo or watermark to your video
  • Add music to your video
  • Adjust size and dimensions

All changes made in the Project Settings section will have an affect on the whole video. Music does not currently playback inside the Vidds Creator and will only playback after exporting the video.

Step 8 - Save and Download your video

In the top righthand corner of the Vidds Creator you will find the two buttons “Save” & “Download”

  • Click the “Save” button after making any significant changes and before downloading
  • Click the “Download” button when you are happy with your video and ready to download it
  • Check the video details and click “Get Video”

Once you’ve clicked “Download” your video will begin to be rendered (built) and will soon be ready to download. If you don’t want to wait around for the video to render you can find it in your dashboard when it is ready to download. Or by clicking the user icon in the top righthand corner and selecting “Completed Projects” – this will show you a list of all your previous videos and provide you the option to download them.

Create your first video - Step 8 Download Video
Create your first video - Step 8 Download Video Render