How to Use AI to Video Generator
How to Use AI to Video Generator Click “AI to Video” in the Automations section To use the Vidds AI Video Generator, click the “AI
I received a great email from my friend, Rufus the other day. He makes a YouTube series about his family farm, more specifically he documents the day-to-day life of how his mum runs the farm.
The email was a mini update about upcoming shorter videos that he’s planning to make. Not only was it a very nicely designed and written email, but it perfectly utilised a GIF thumbnail as a call-to-action to get readers to watch the latest video. Check it out in the video below.
After thinking about how cool the animated GIF thumbnail was, and realising that it made me want to click the video way more than an image would have, I thought “I bet I could recreate that with Vidds”.
So in this article I will breakdown how to recreate this kind of “call-to-action” GIF thumbnail.
For those who prefer watching videos, you can see a quick overview of how I did this in the video below and if you prefer reading your tutorials, continue down the page for all the good stuff.
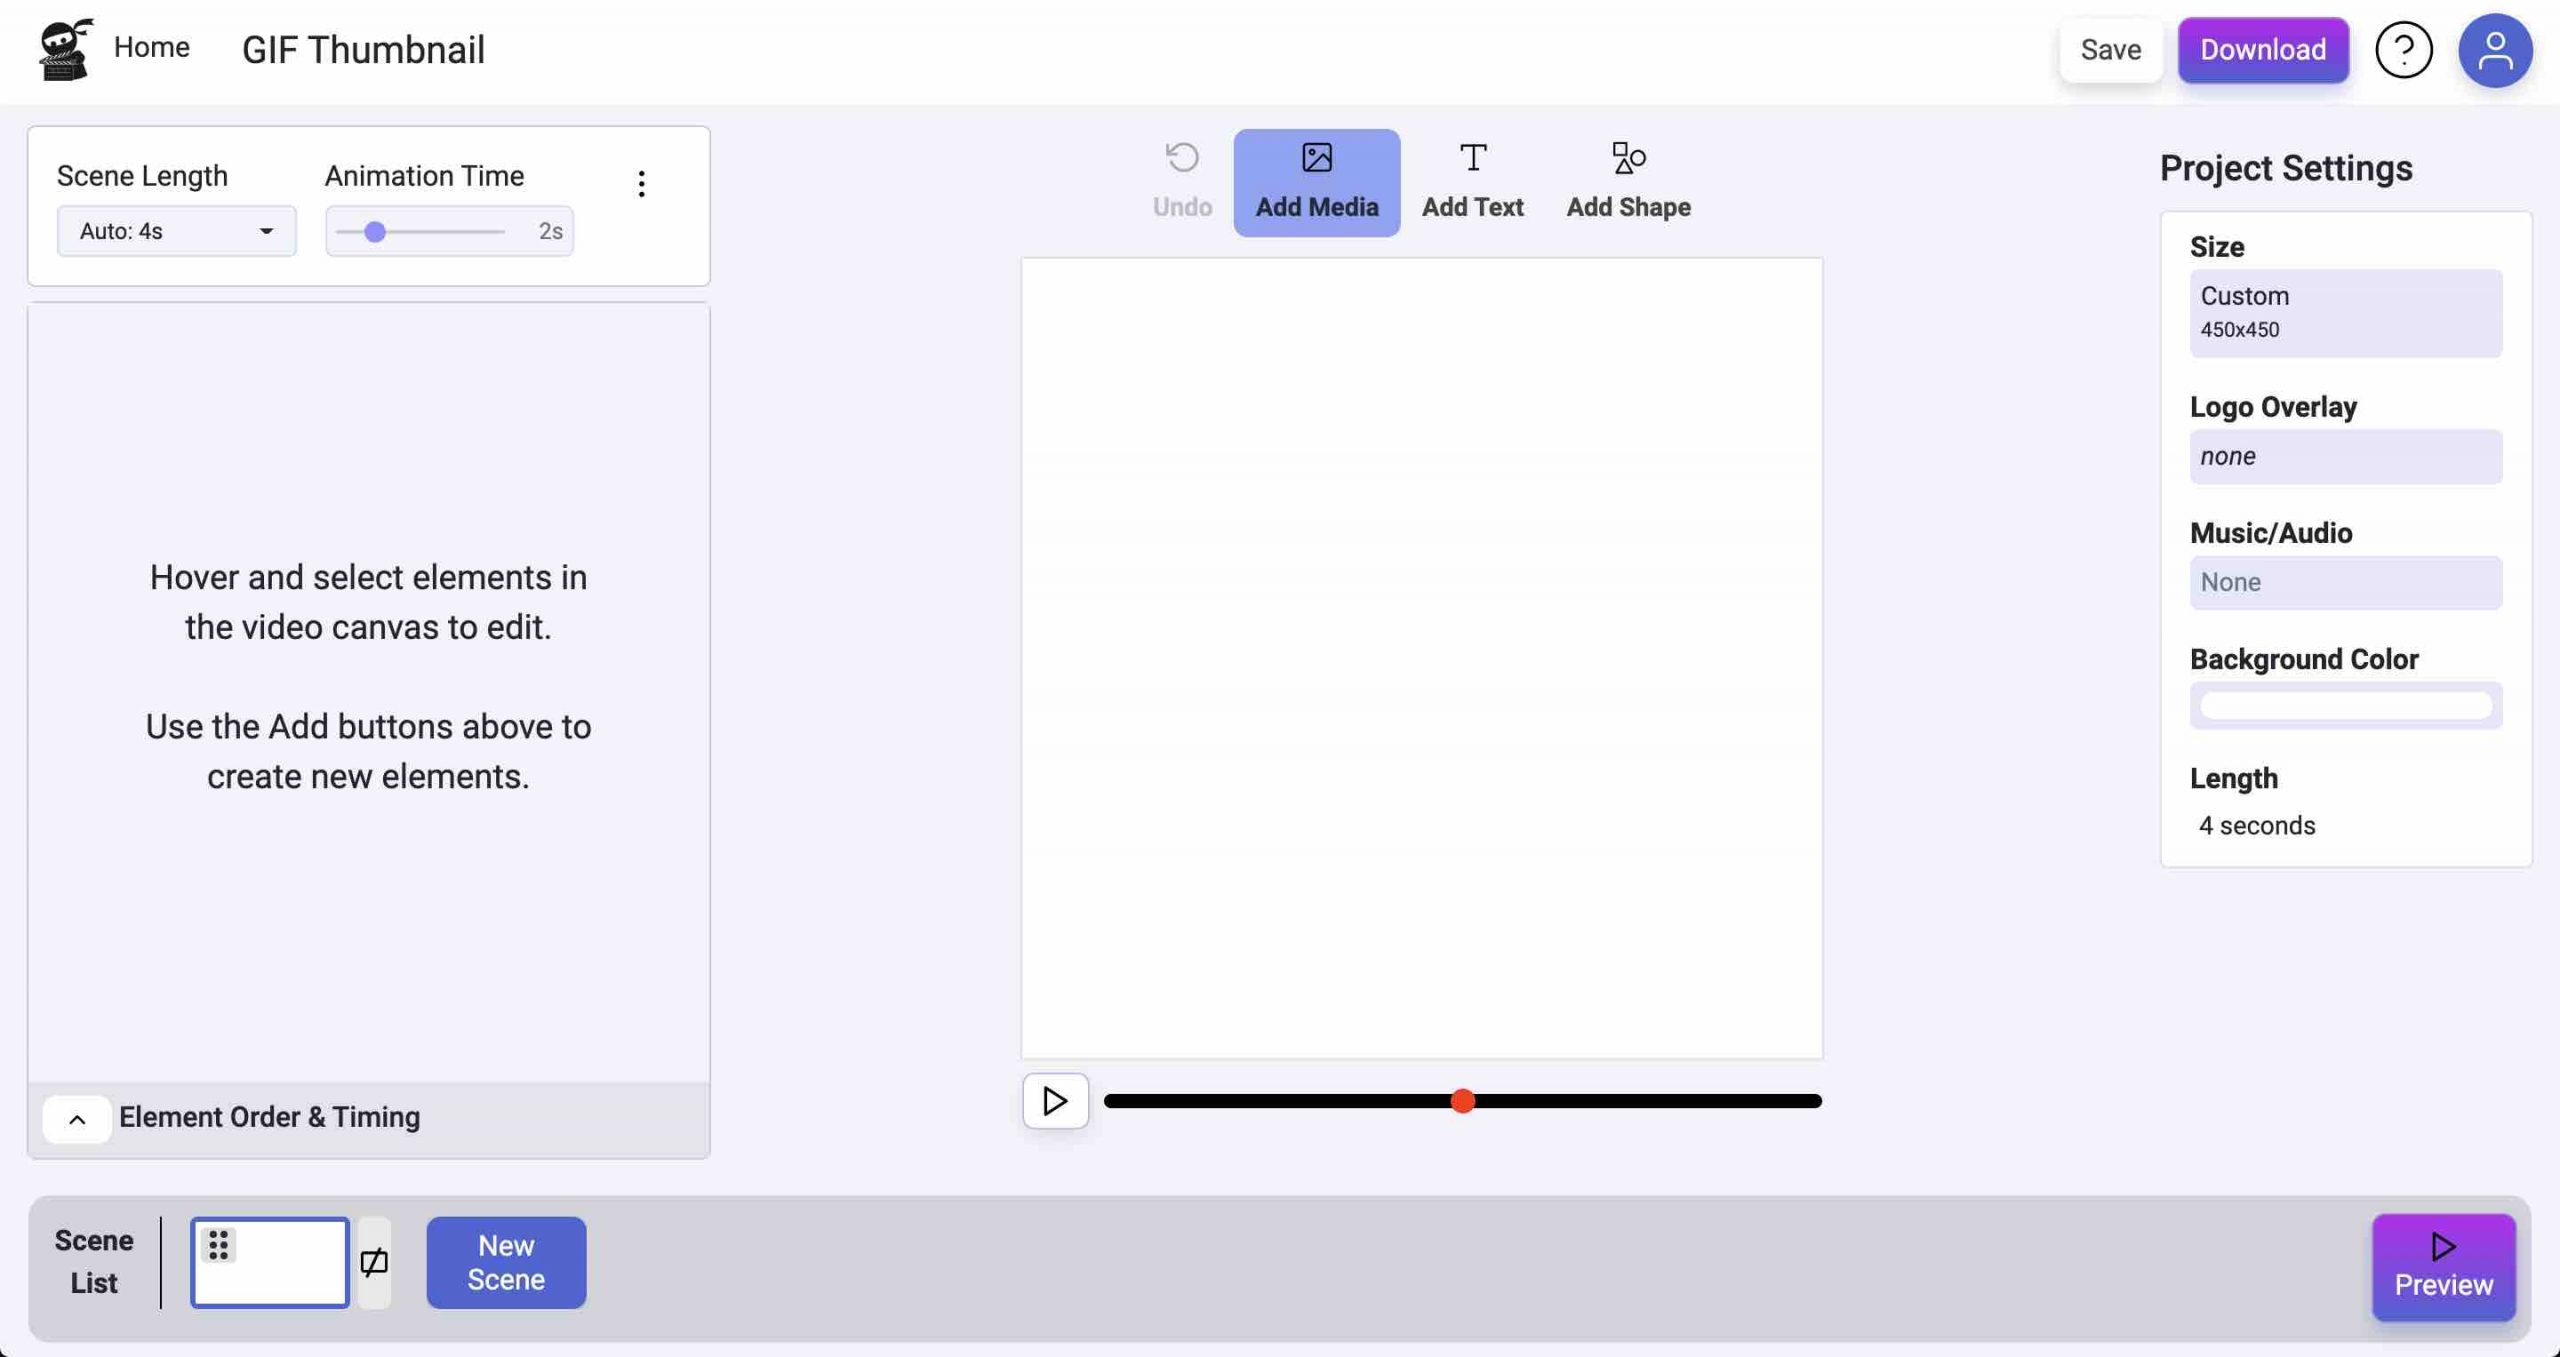
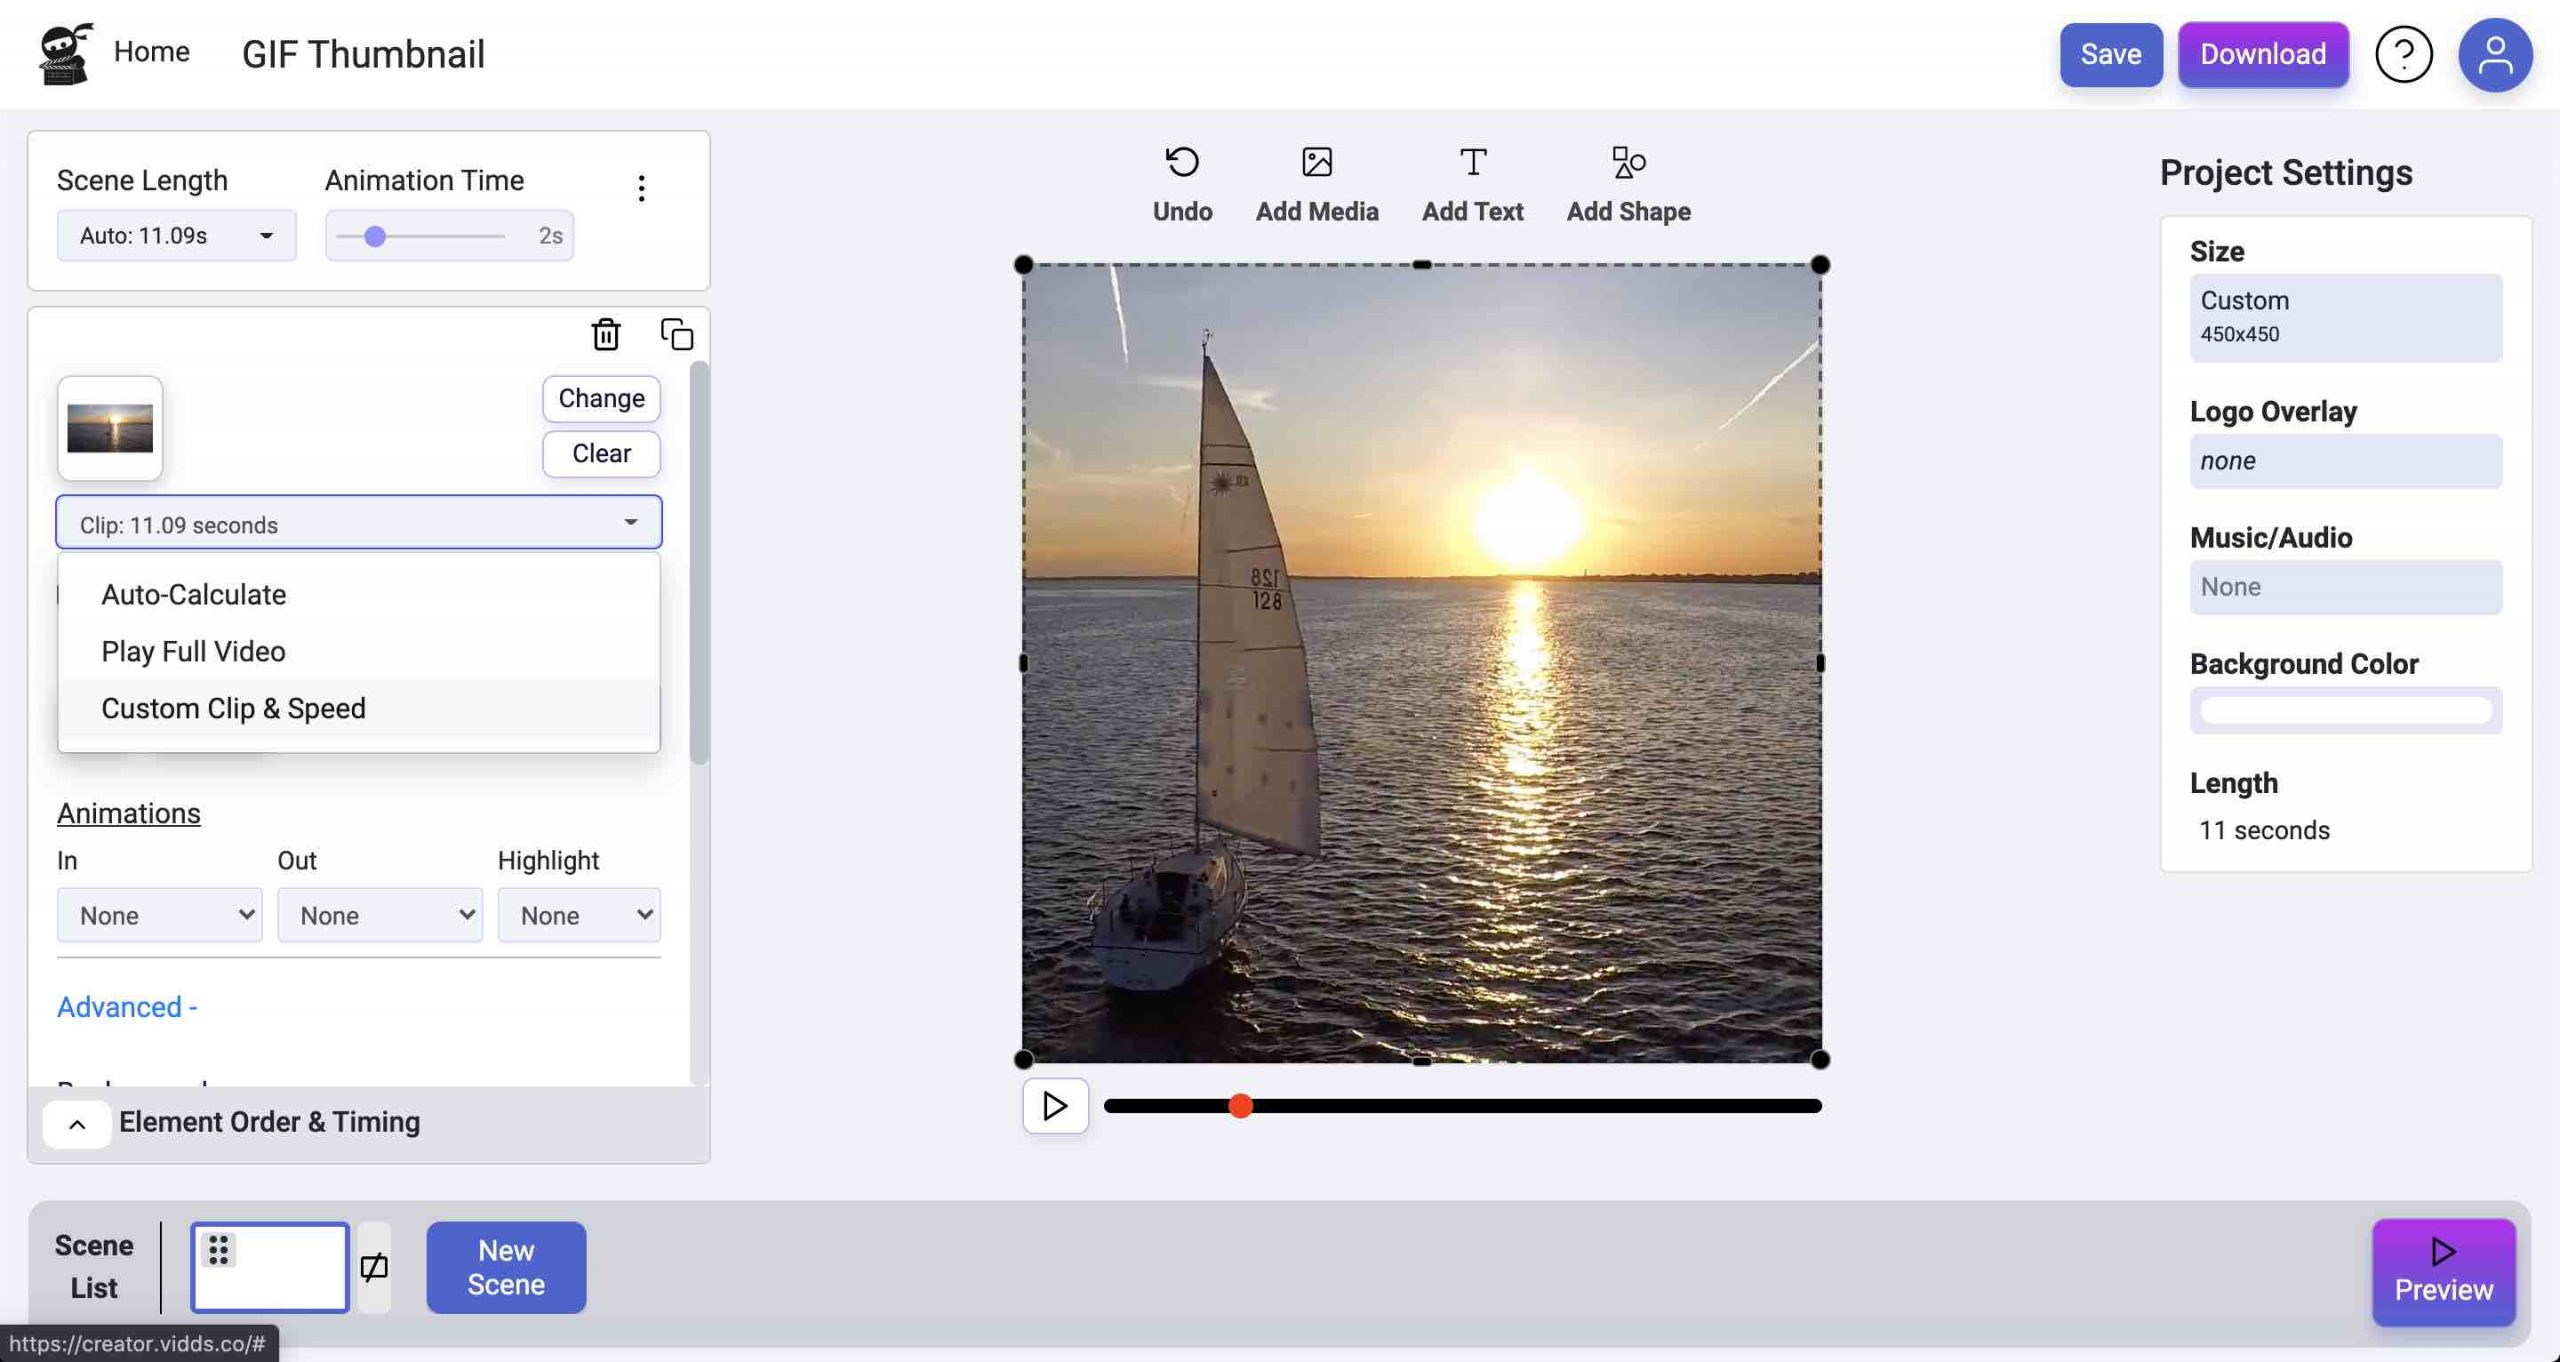
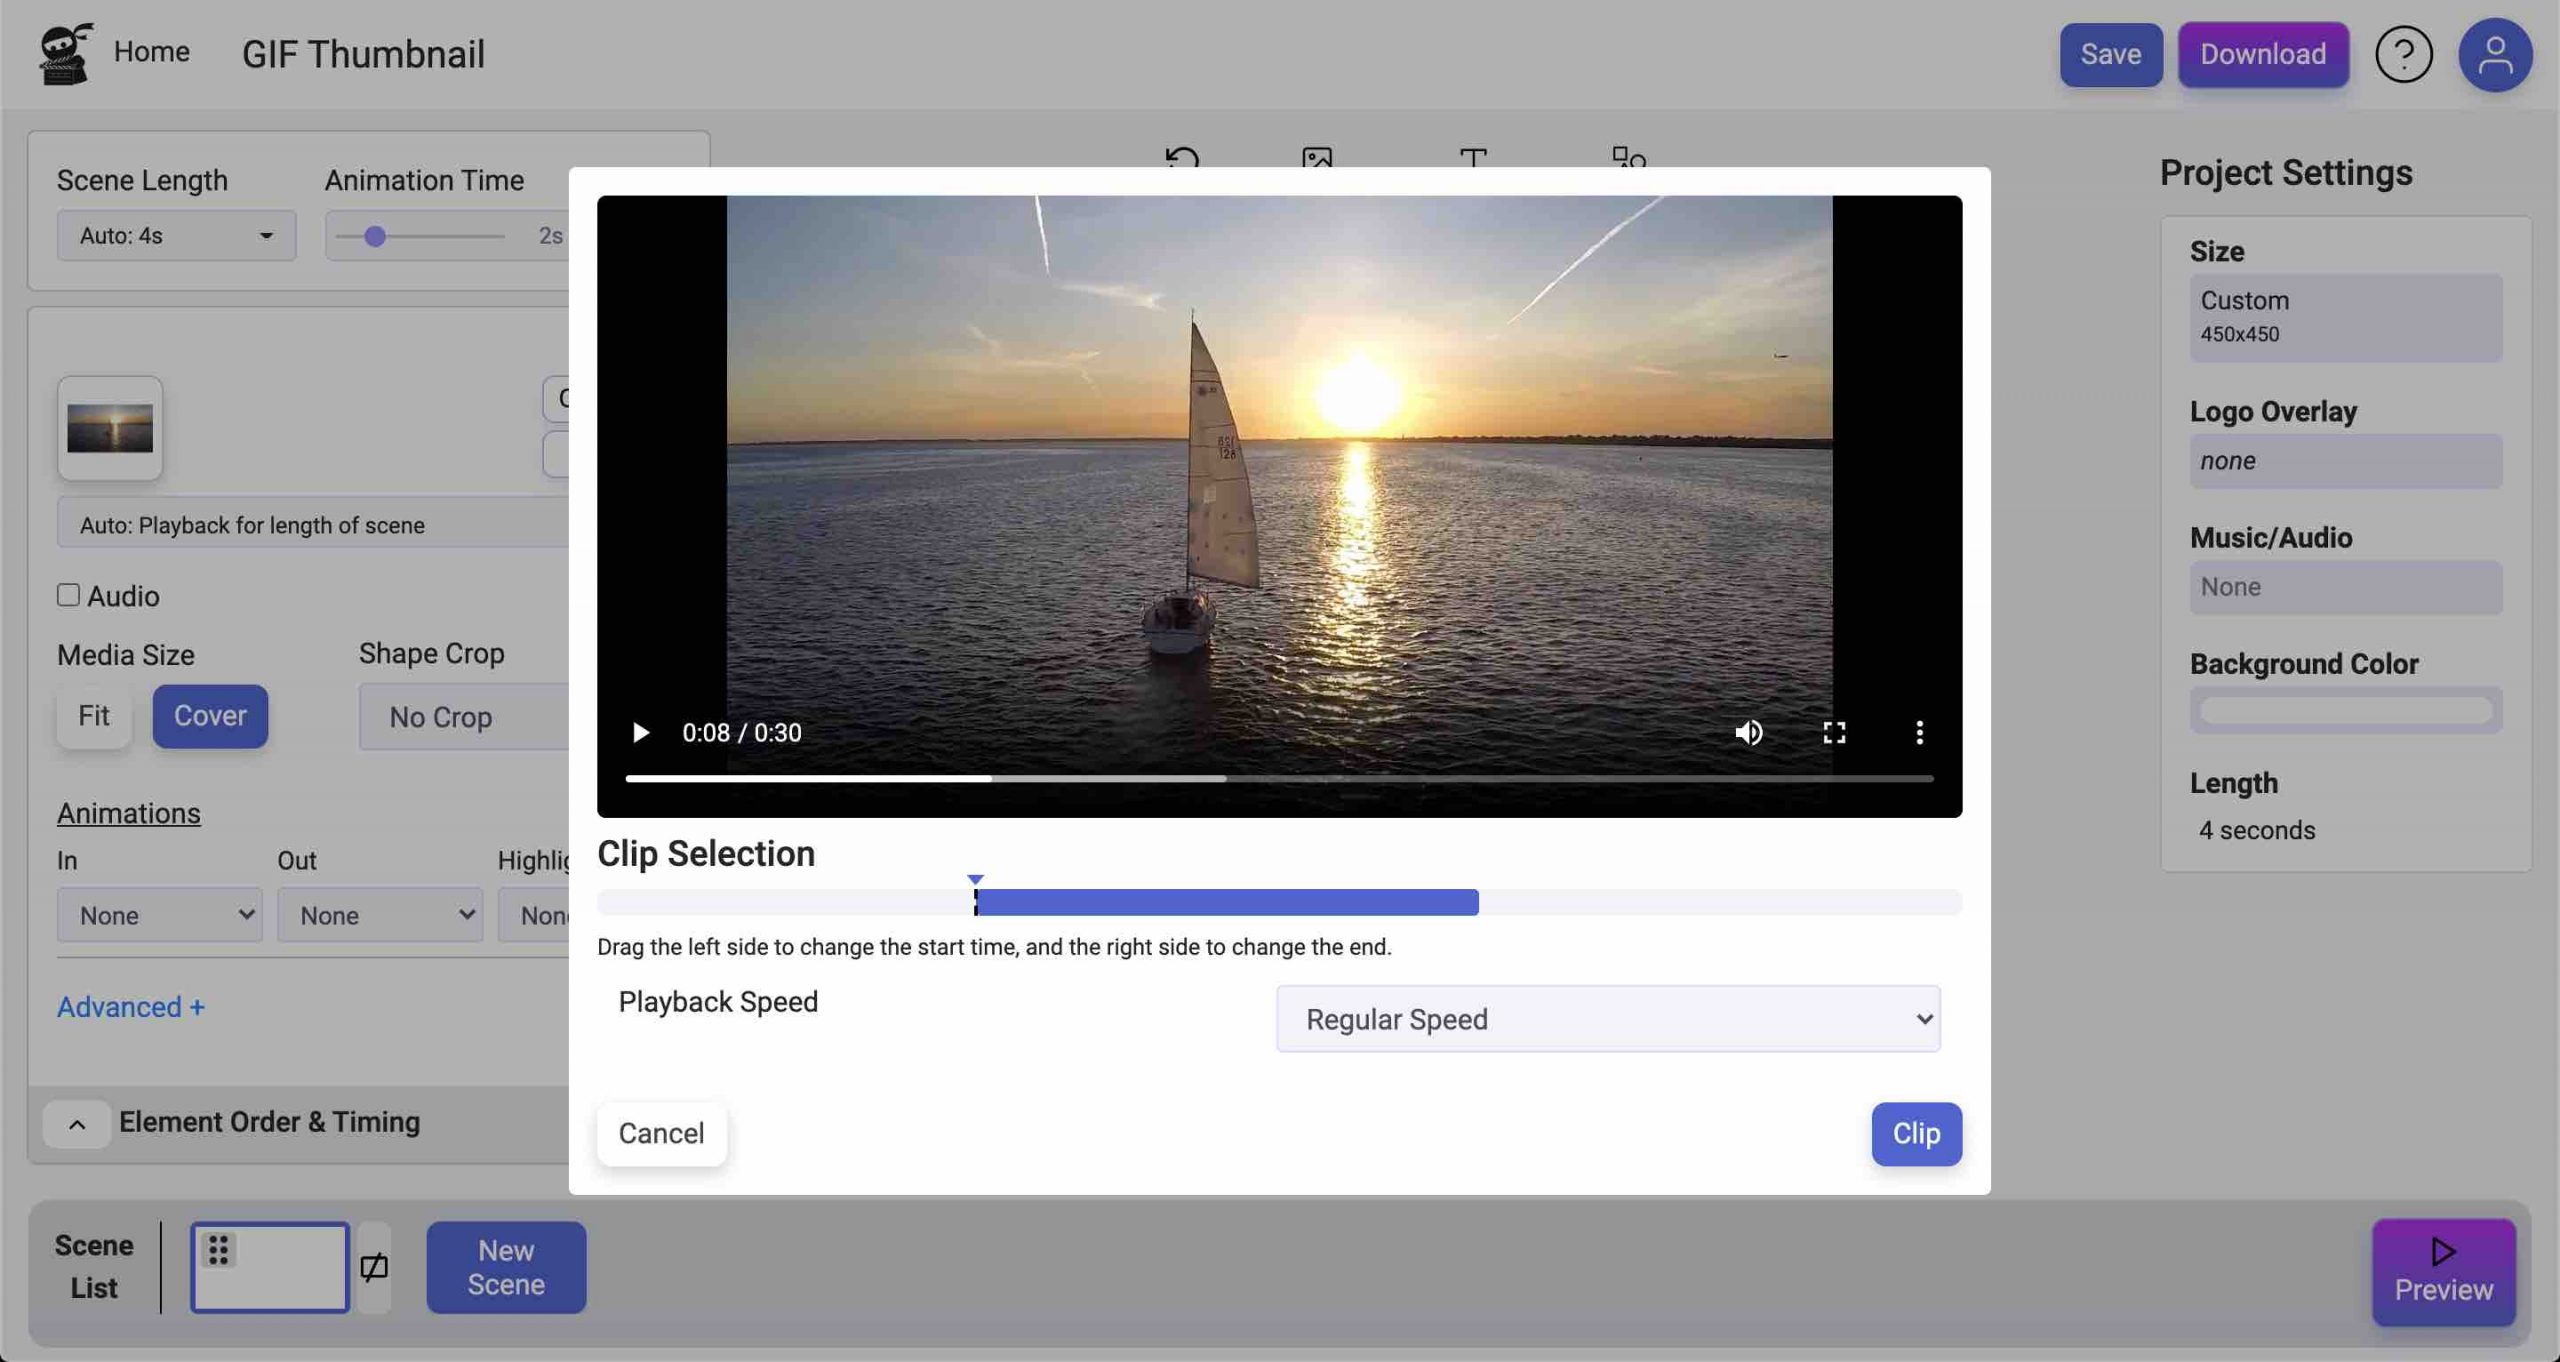
For the first part of this tutorial we are going assume that you have already prepared the video snippet that you’d like to turn into a GIF. If you need to create the snippet first, go ahead and check out this tutorial first and be sure to look at our other “getting started” tutorials too.

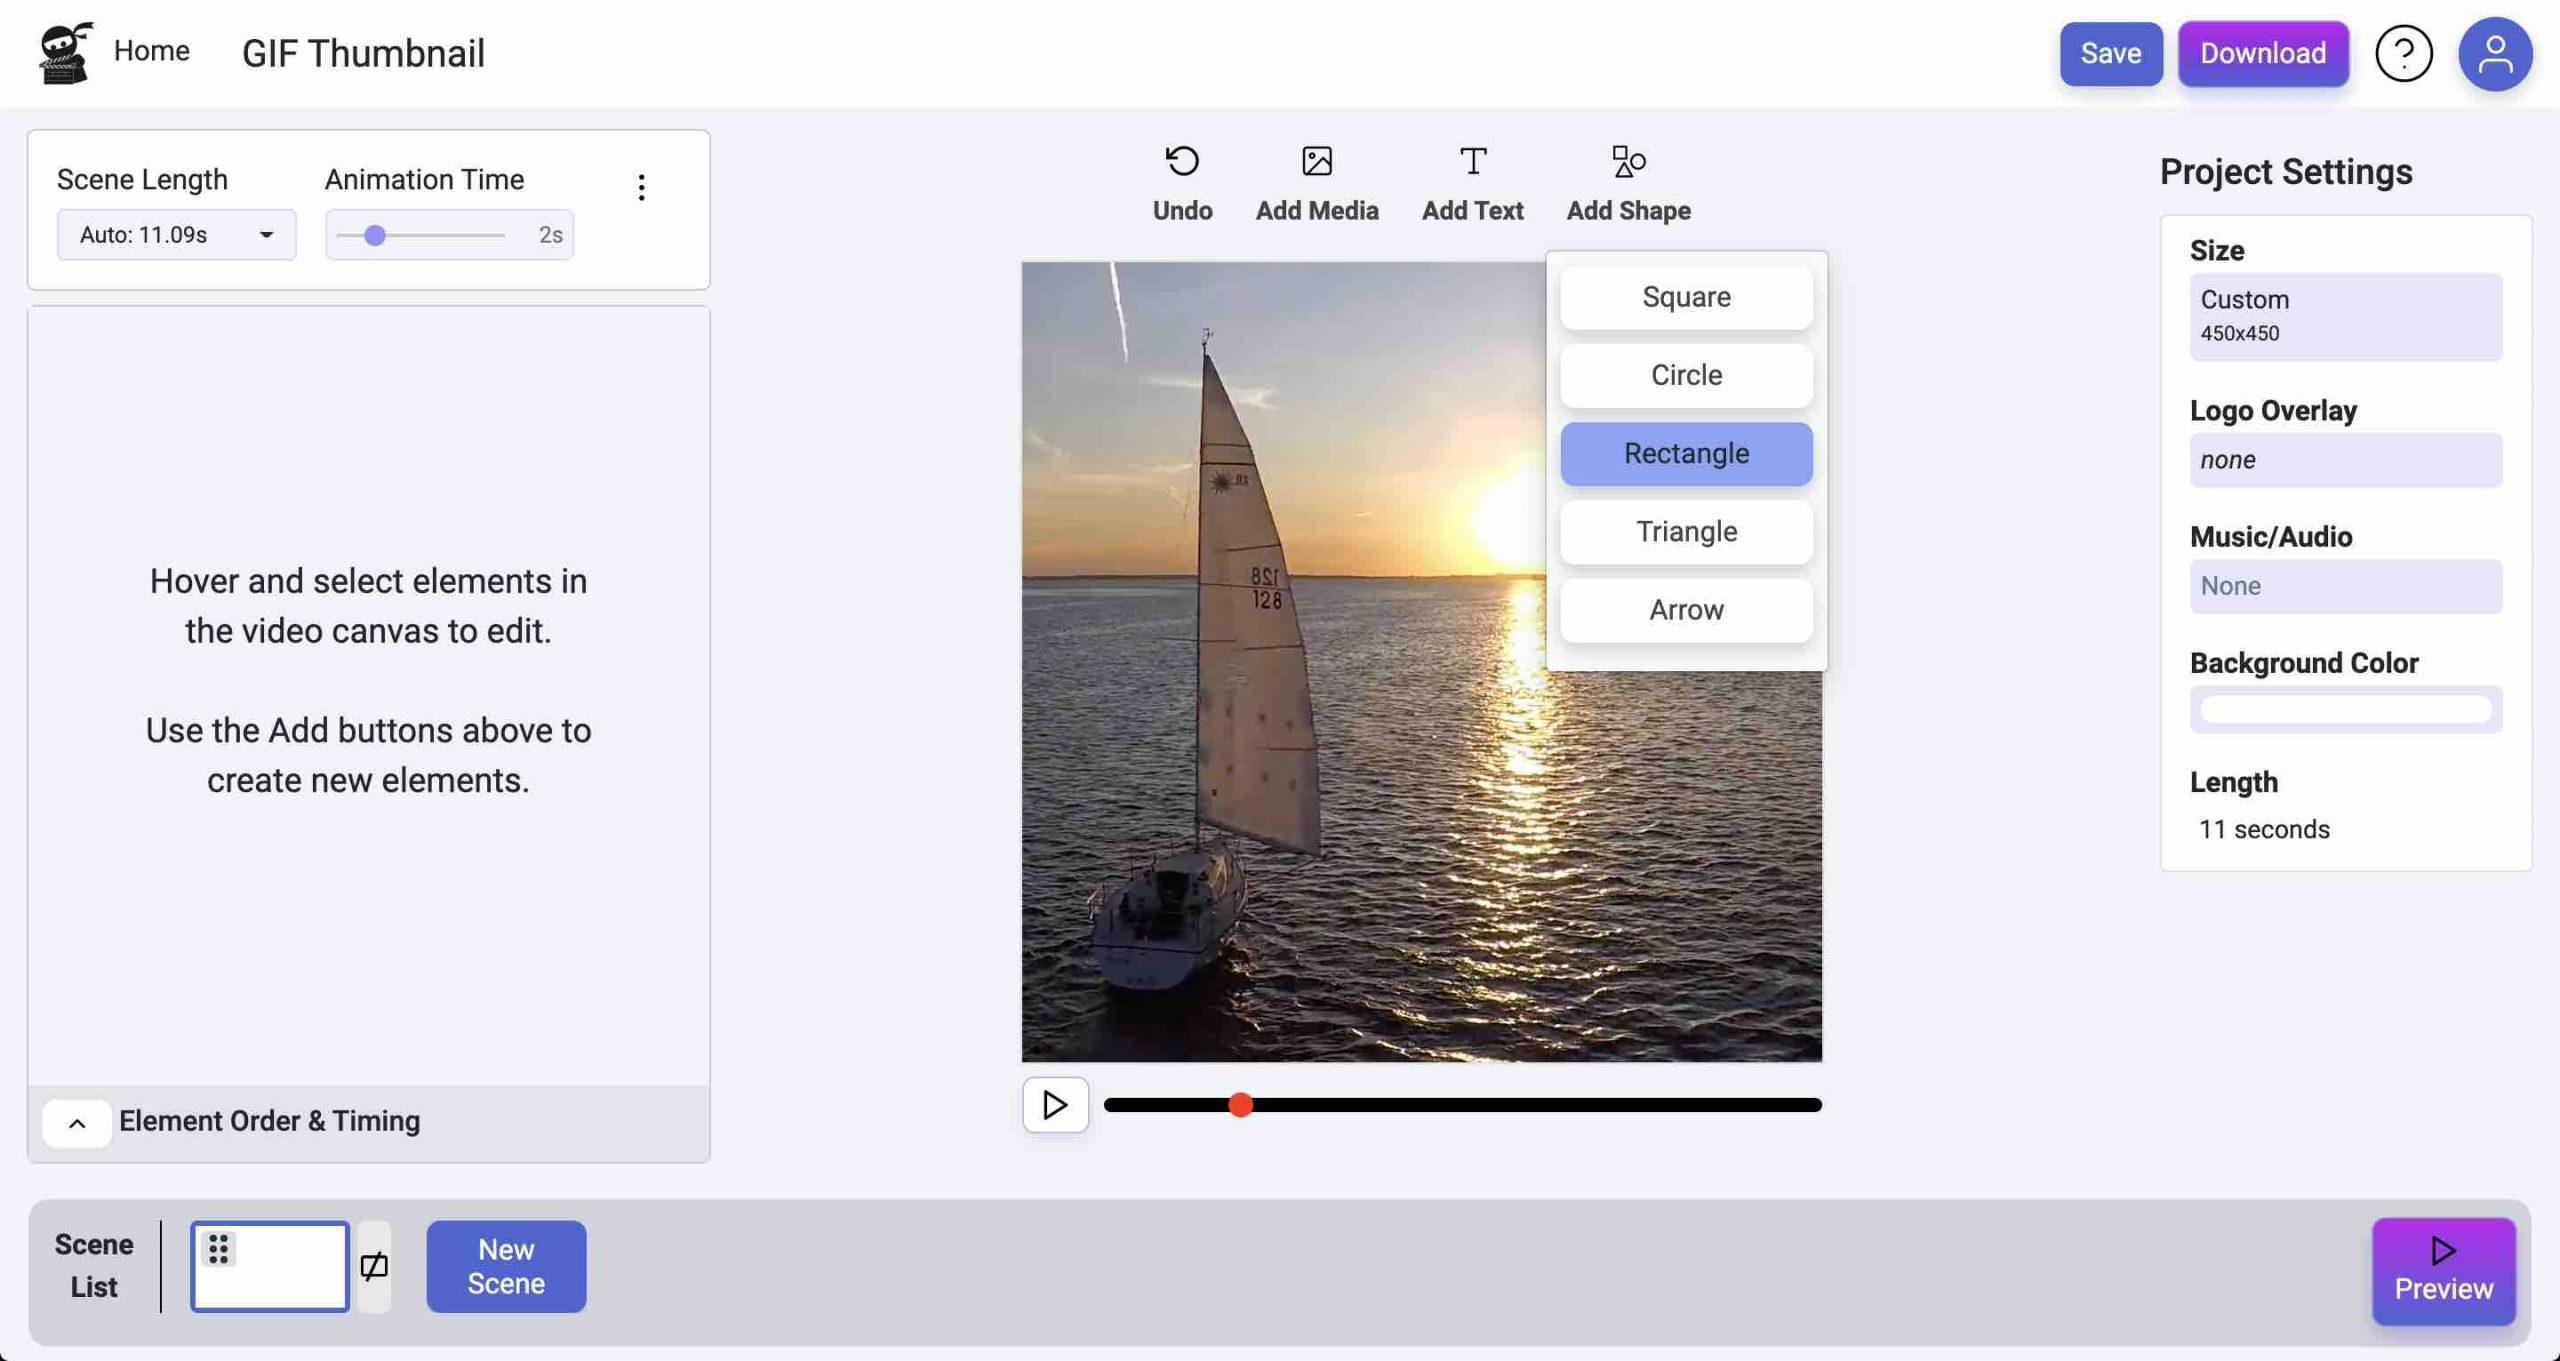
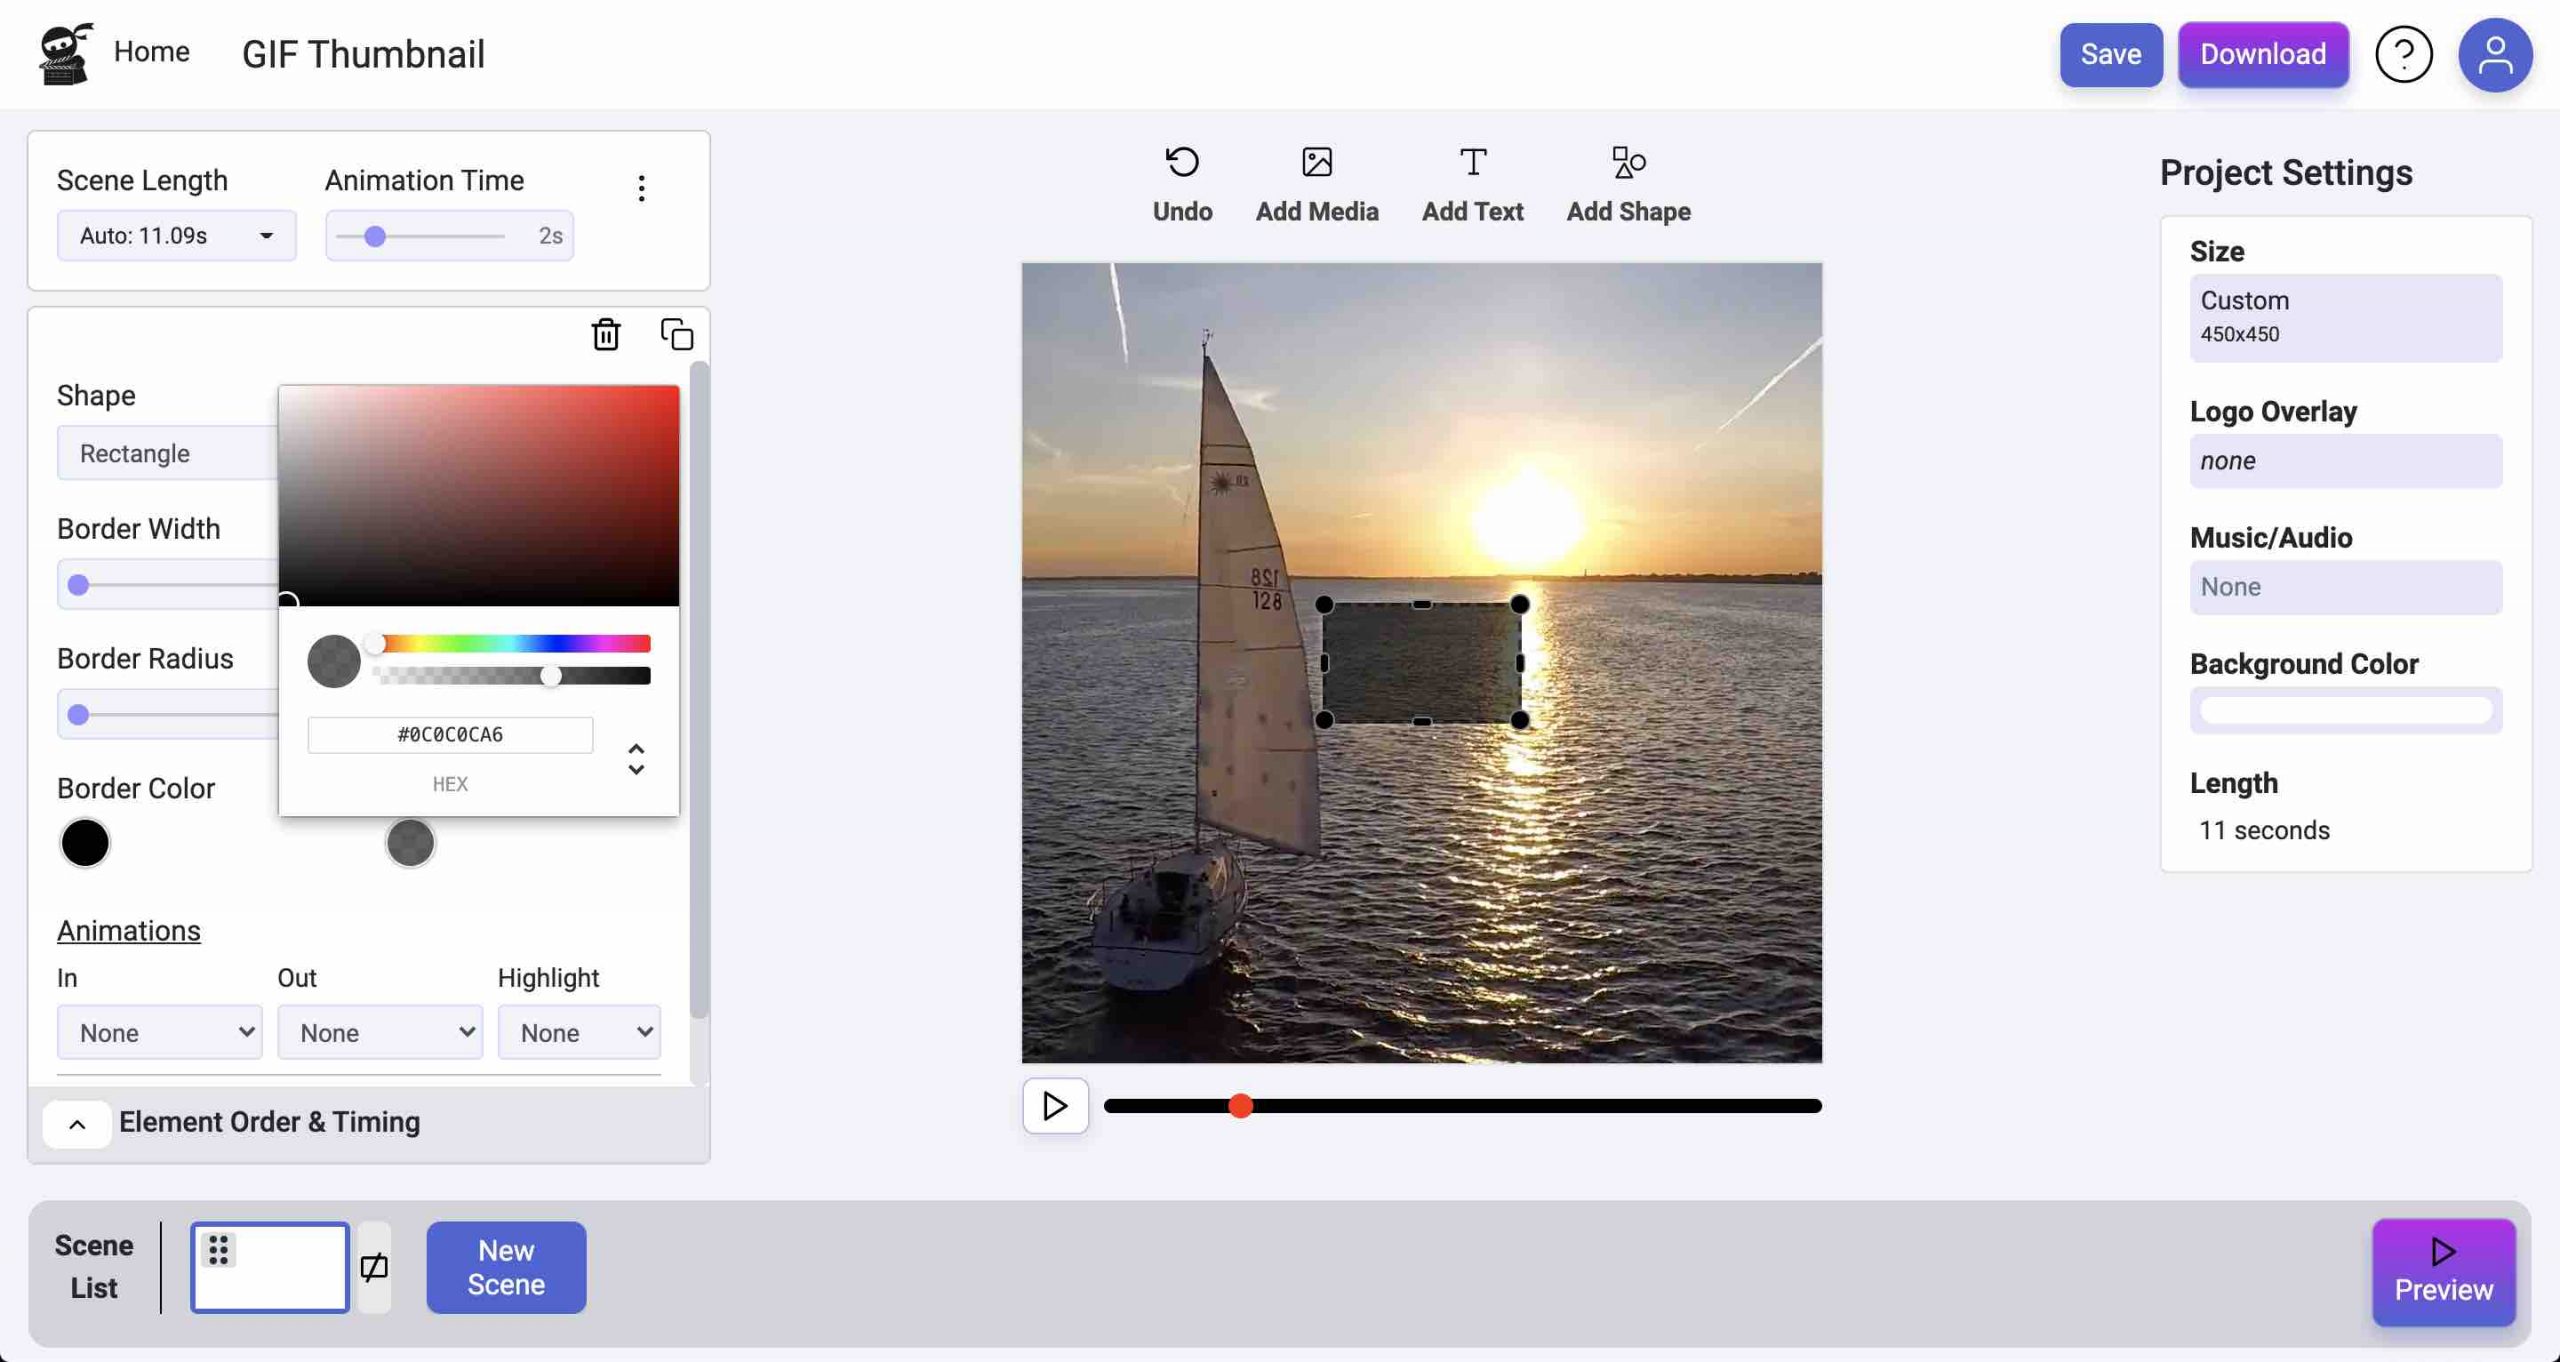
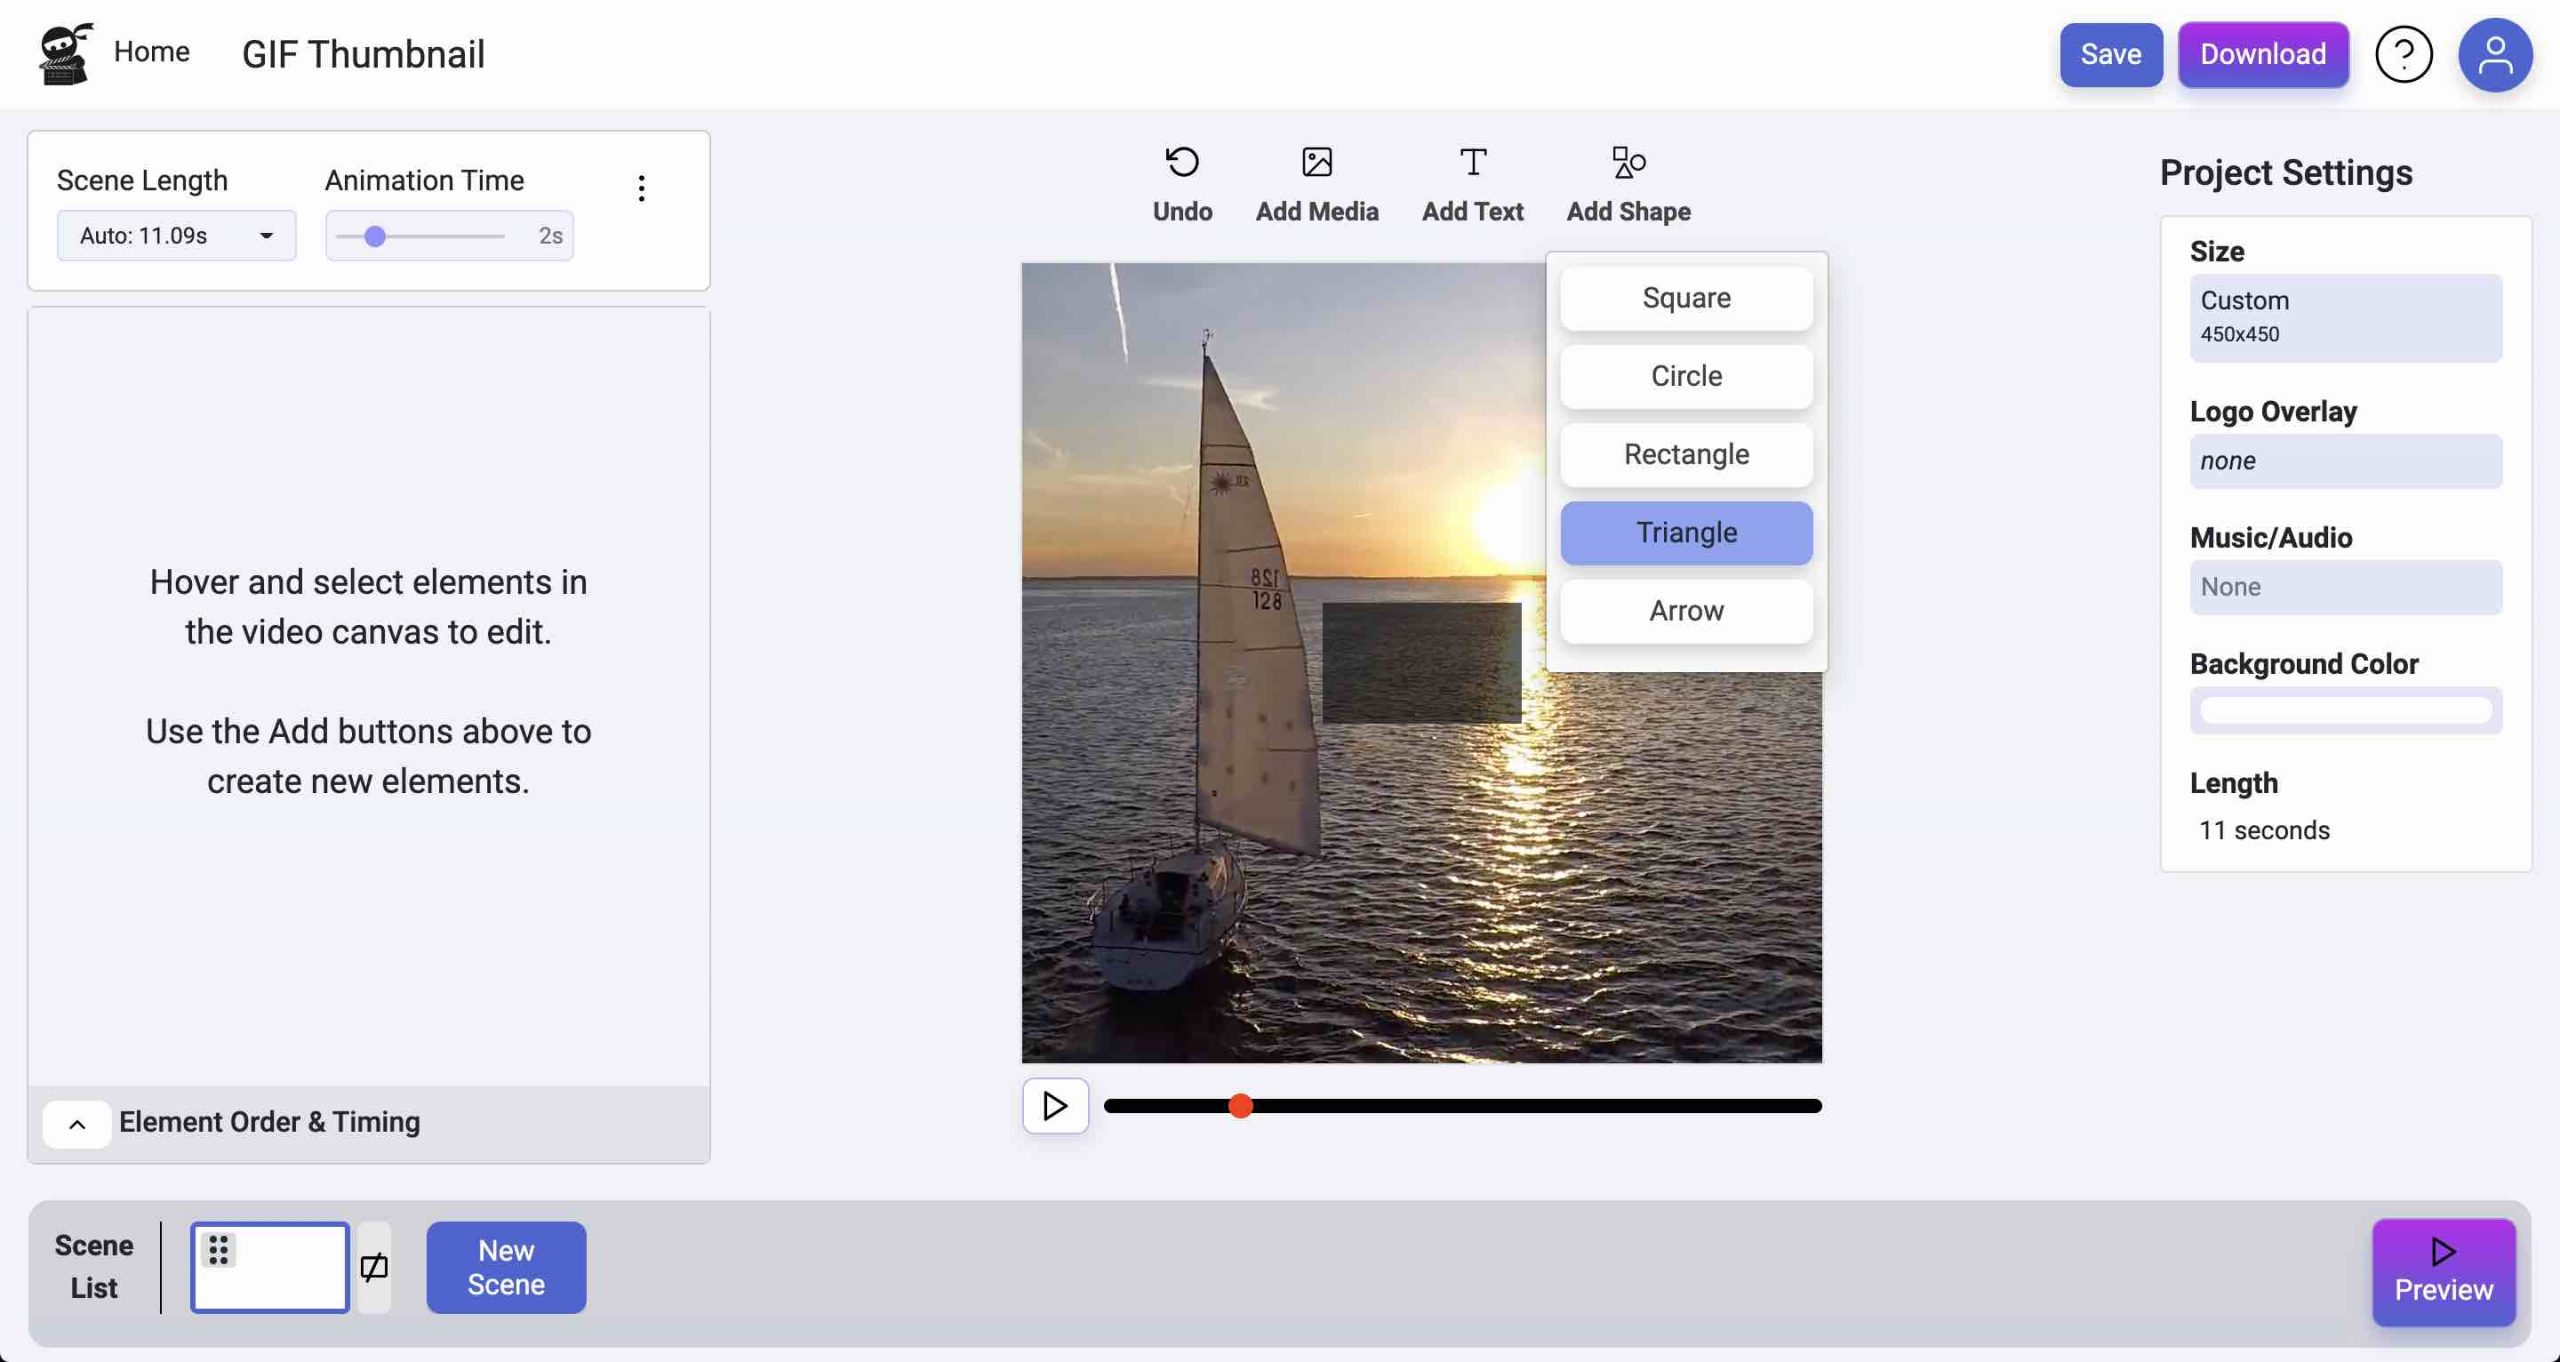
Rectangle
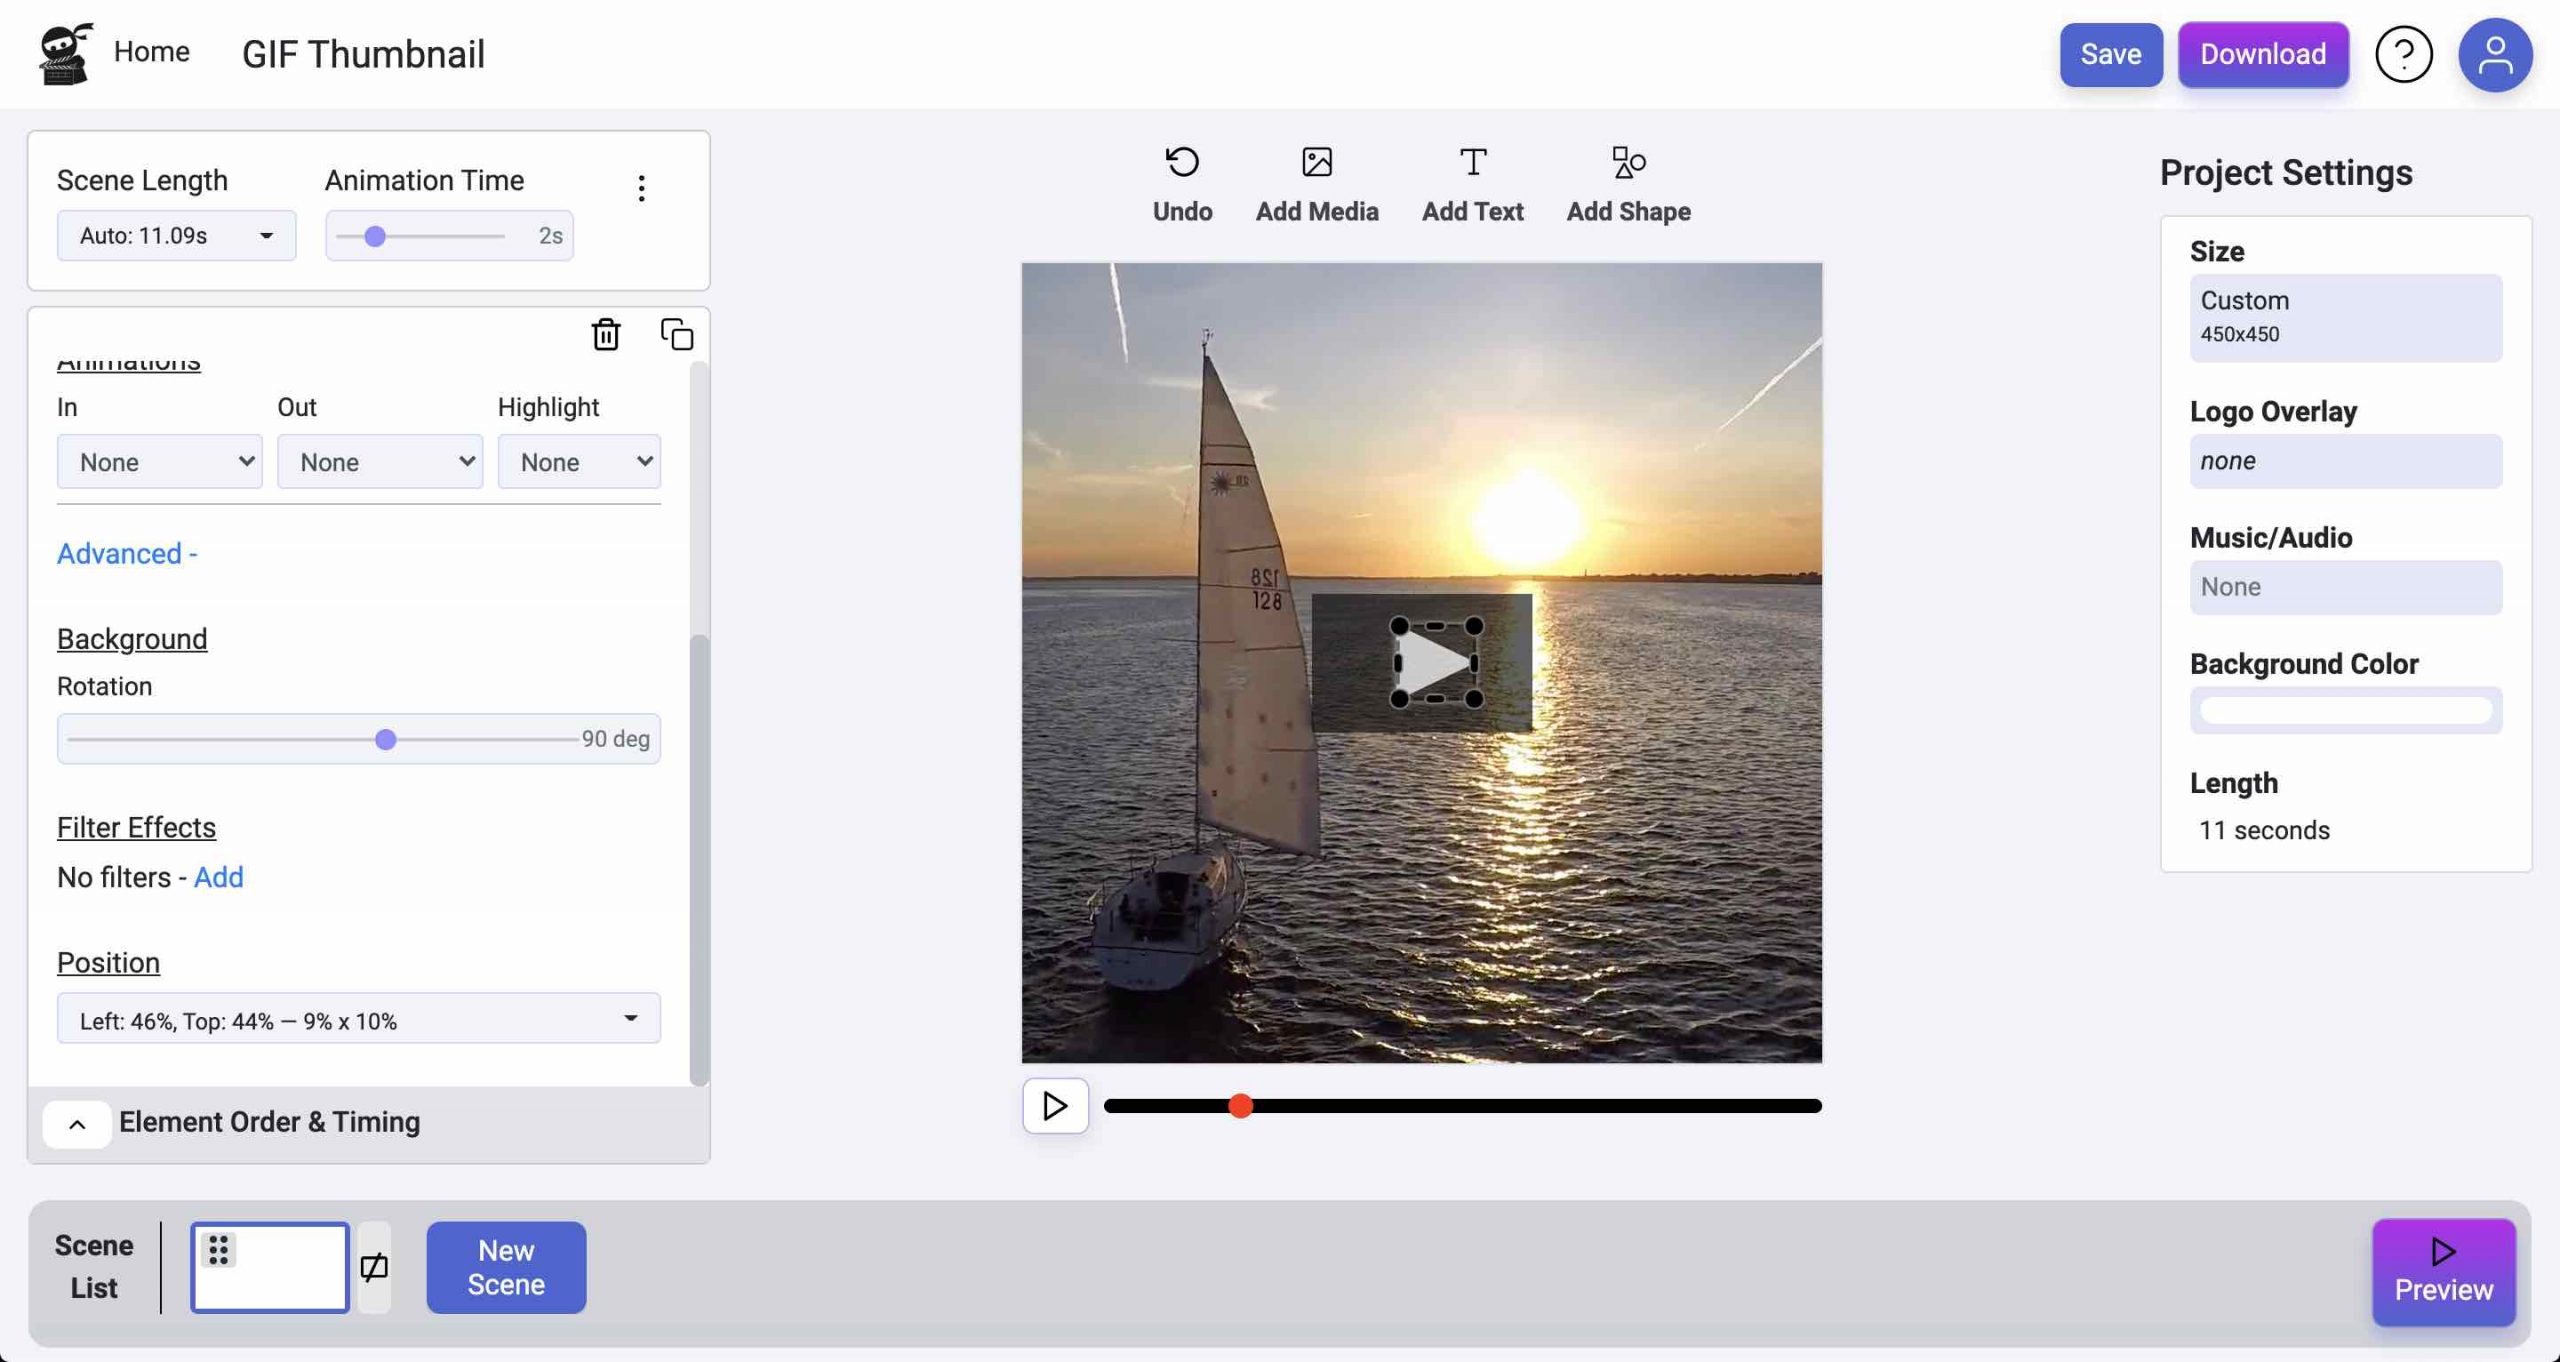
Triangle
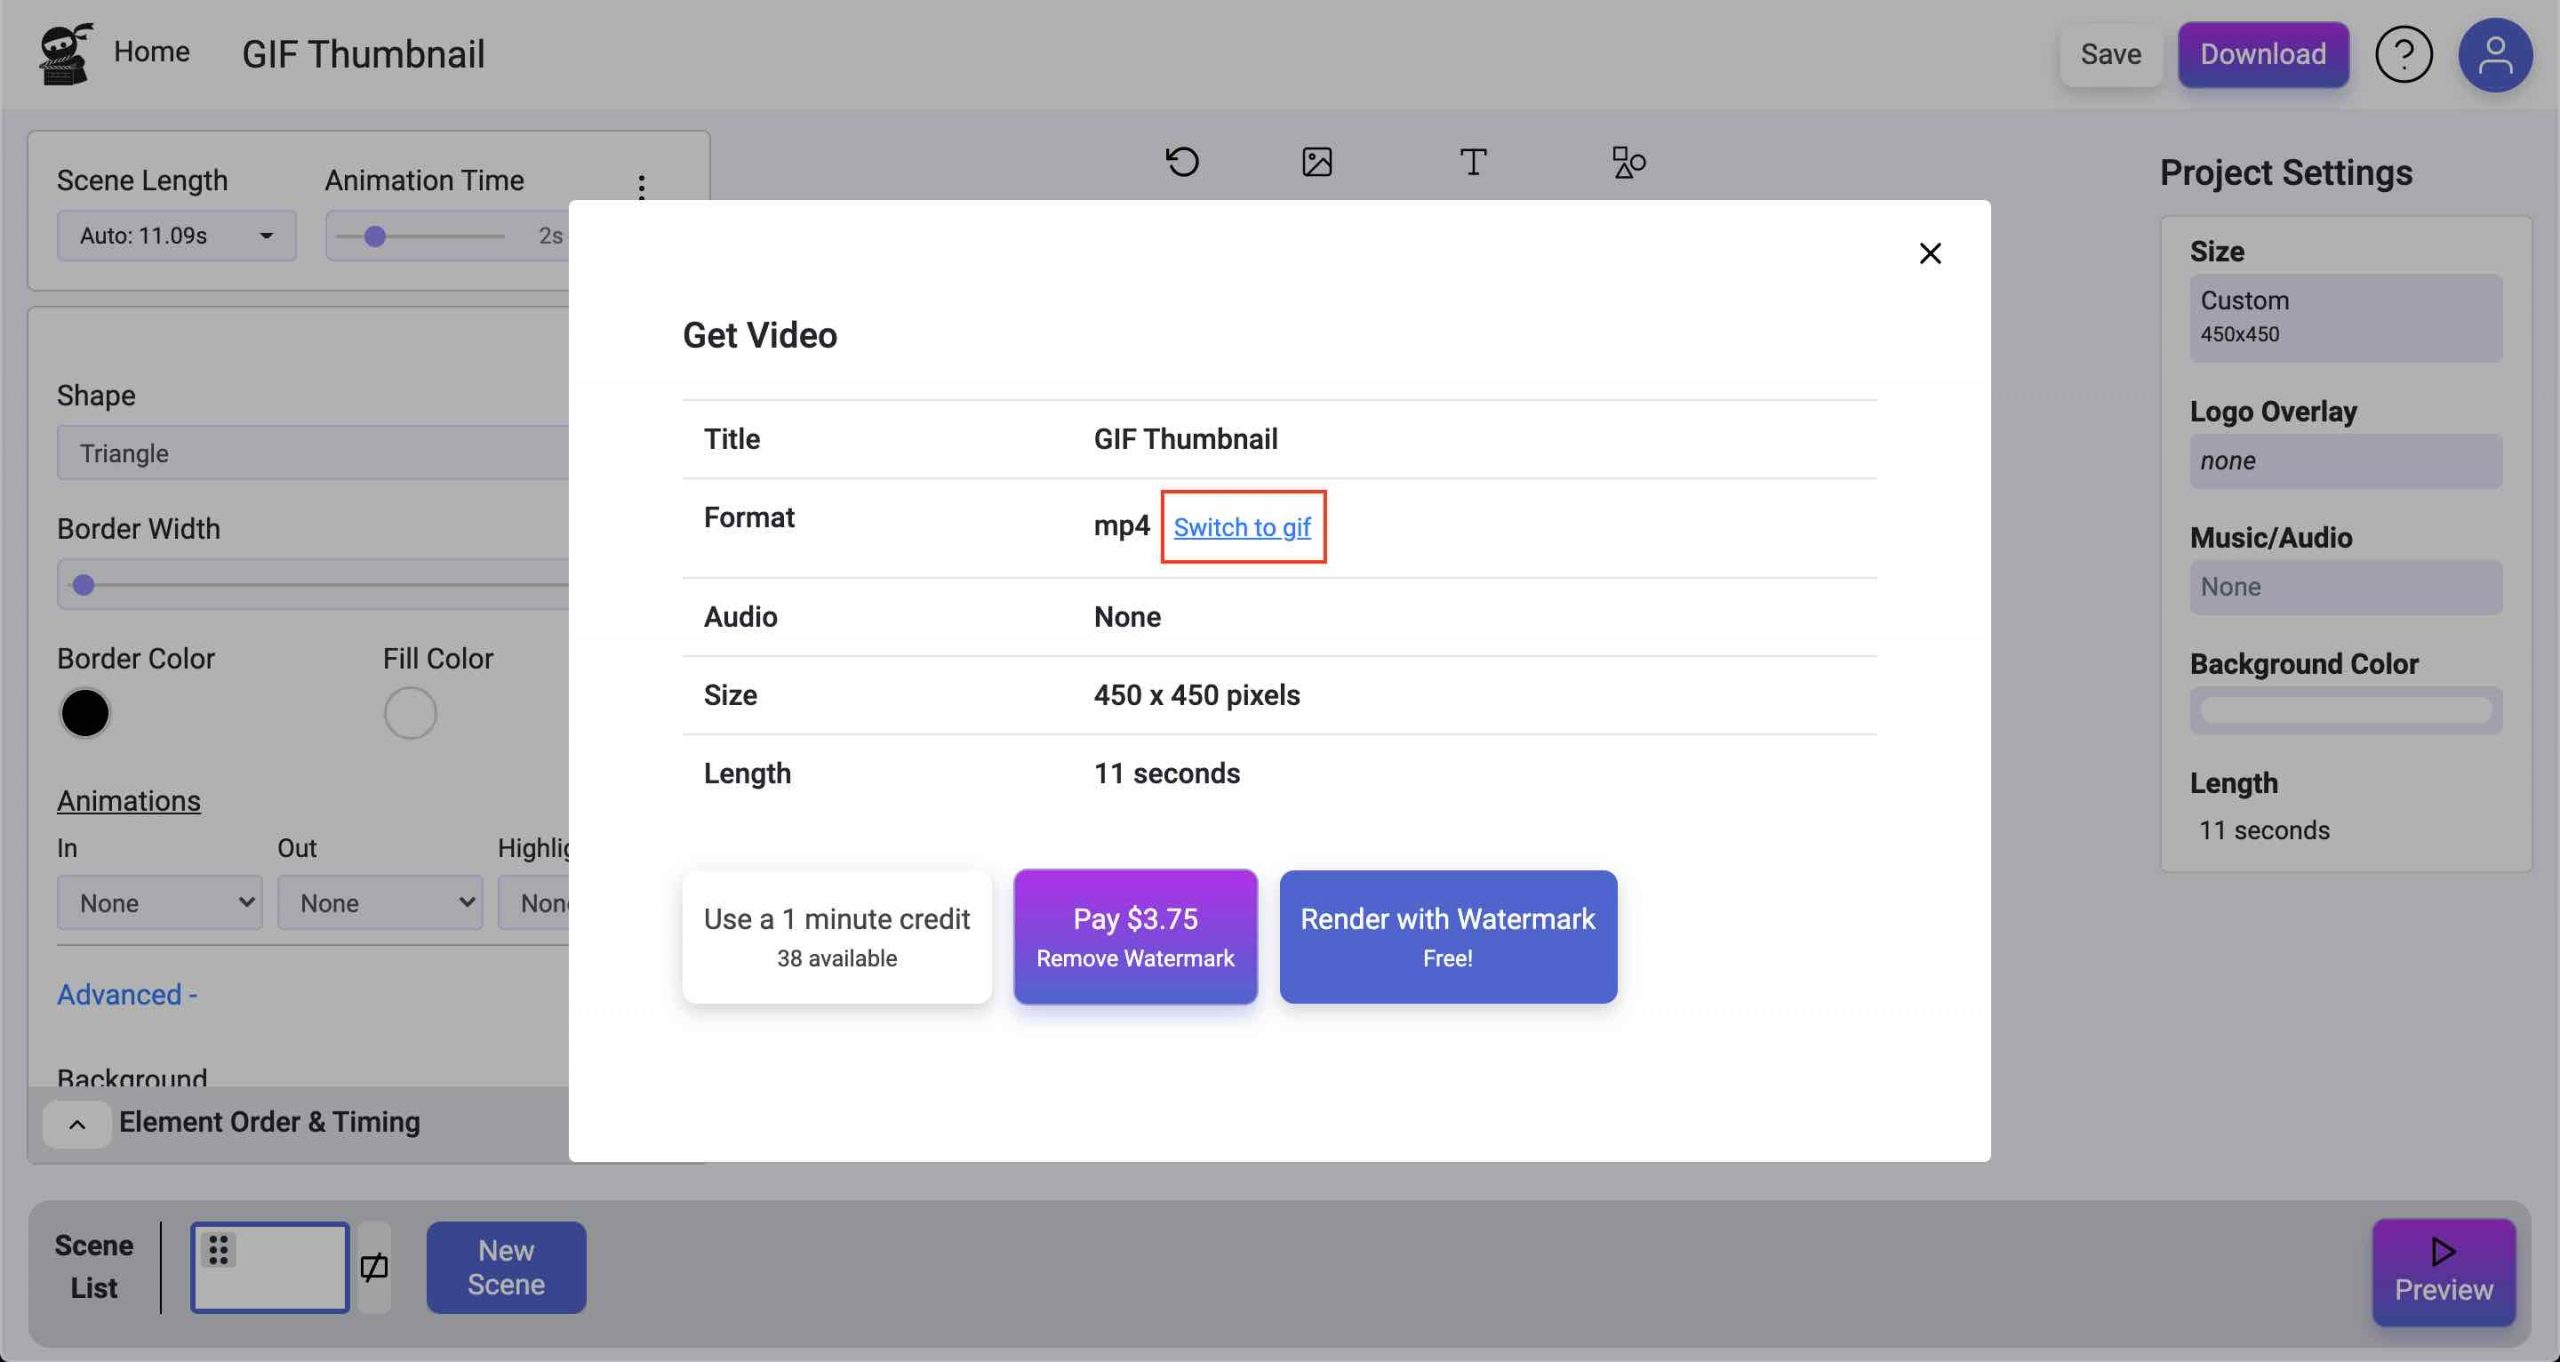

If you followed these steps you should now understand how to create an animated GIF thumbnail, and in a matter of minutes no less. It truly is a great way to make your emails more engaging and to encourage your readers to click through to whatever you want to show them!
Give it a try and send us an email so we can see the result. Happy creating!
Don’t forget to check out Rufus and his videos about the farm, the links are below:
Rufus’ Marketing Website
Video series
Farm Website
Want to know how to add text to your videos? Check out this tutorial to level up your video!
How to Use AI to Video Generator Click “AI to Video” in the Automations section To use the Vidds AI Video Generator, click the “AI
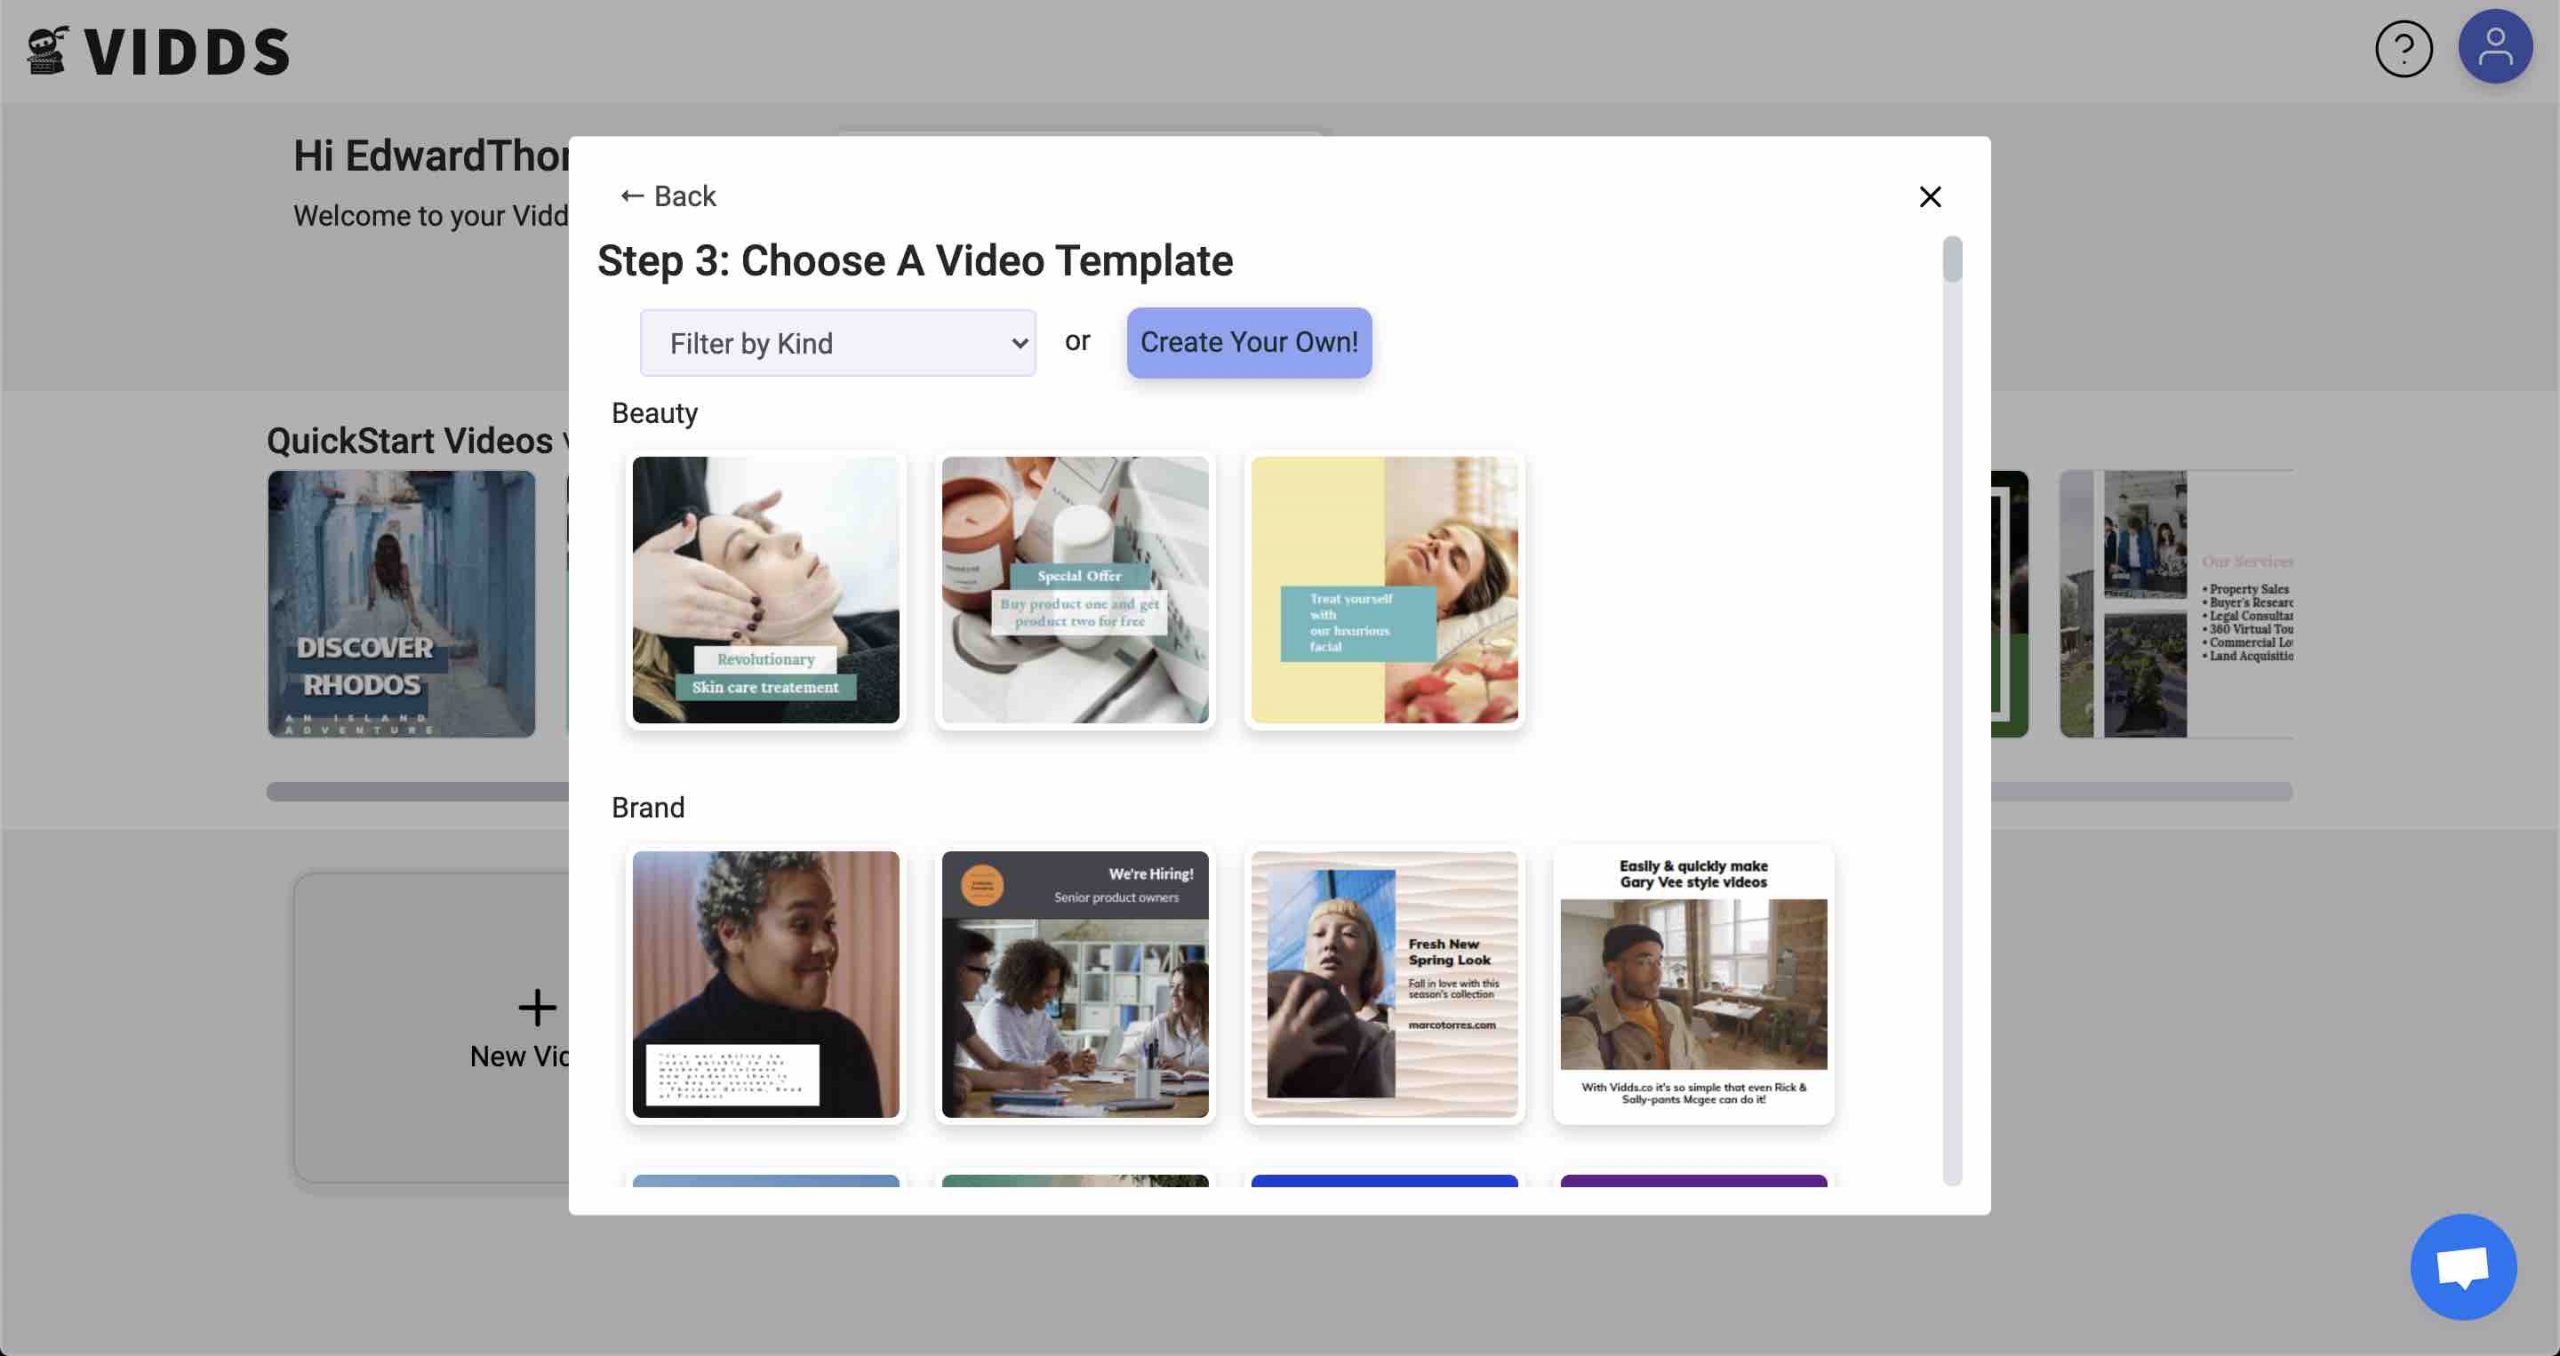
Create a video from a template Getting started There are two ways to get started with on of our pre-designed templates. Head to the “Templates”
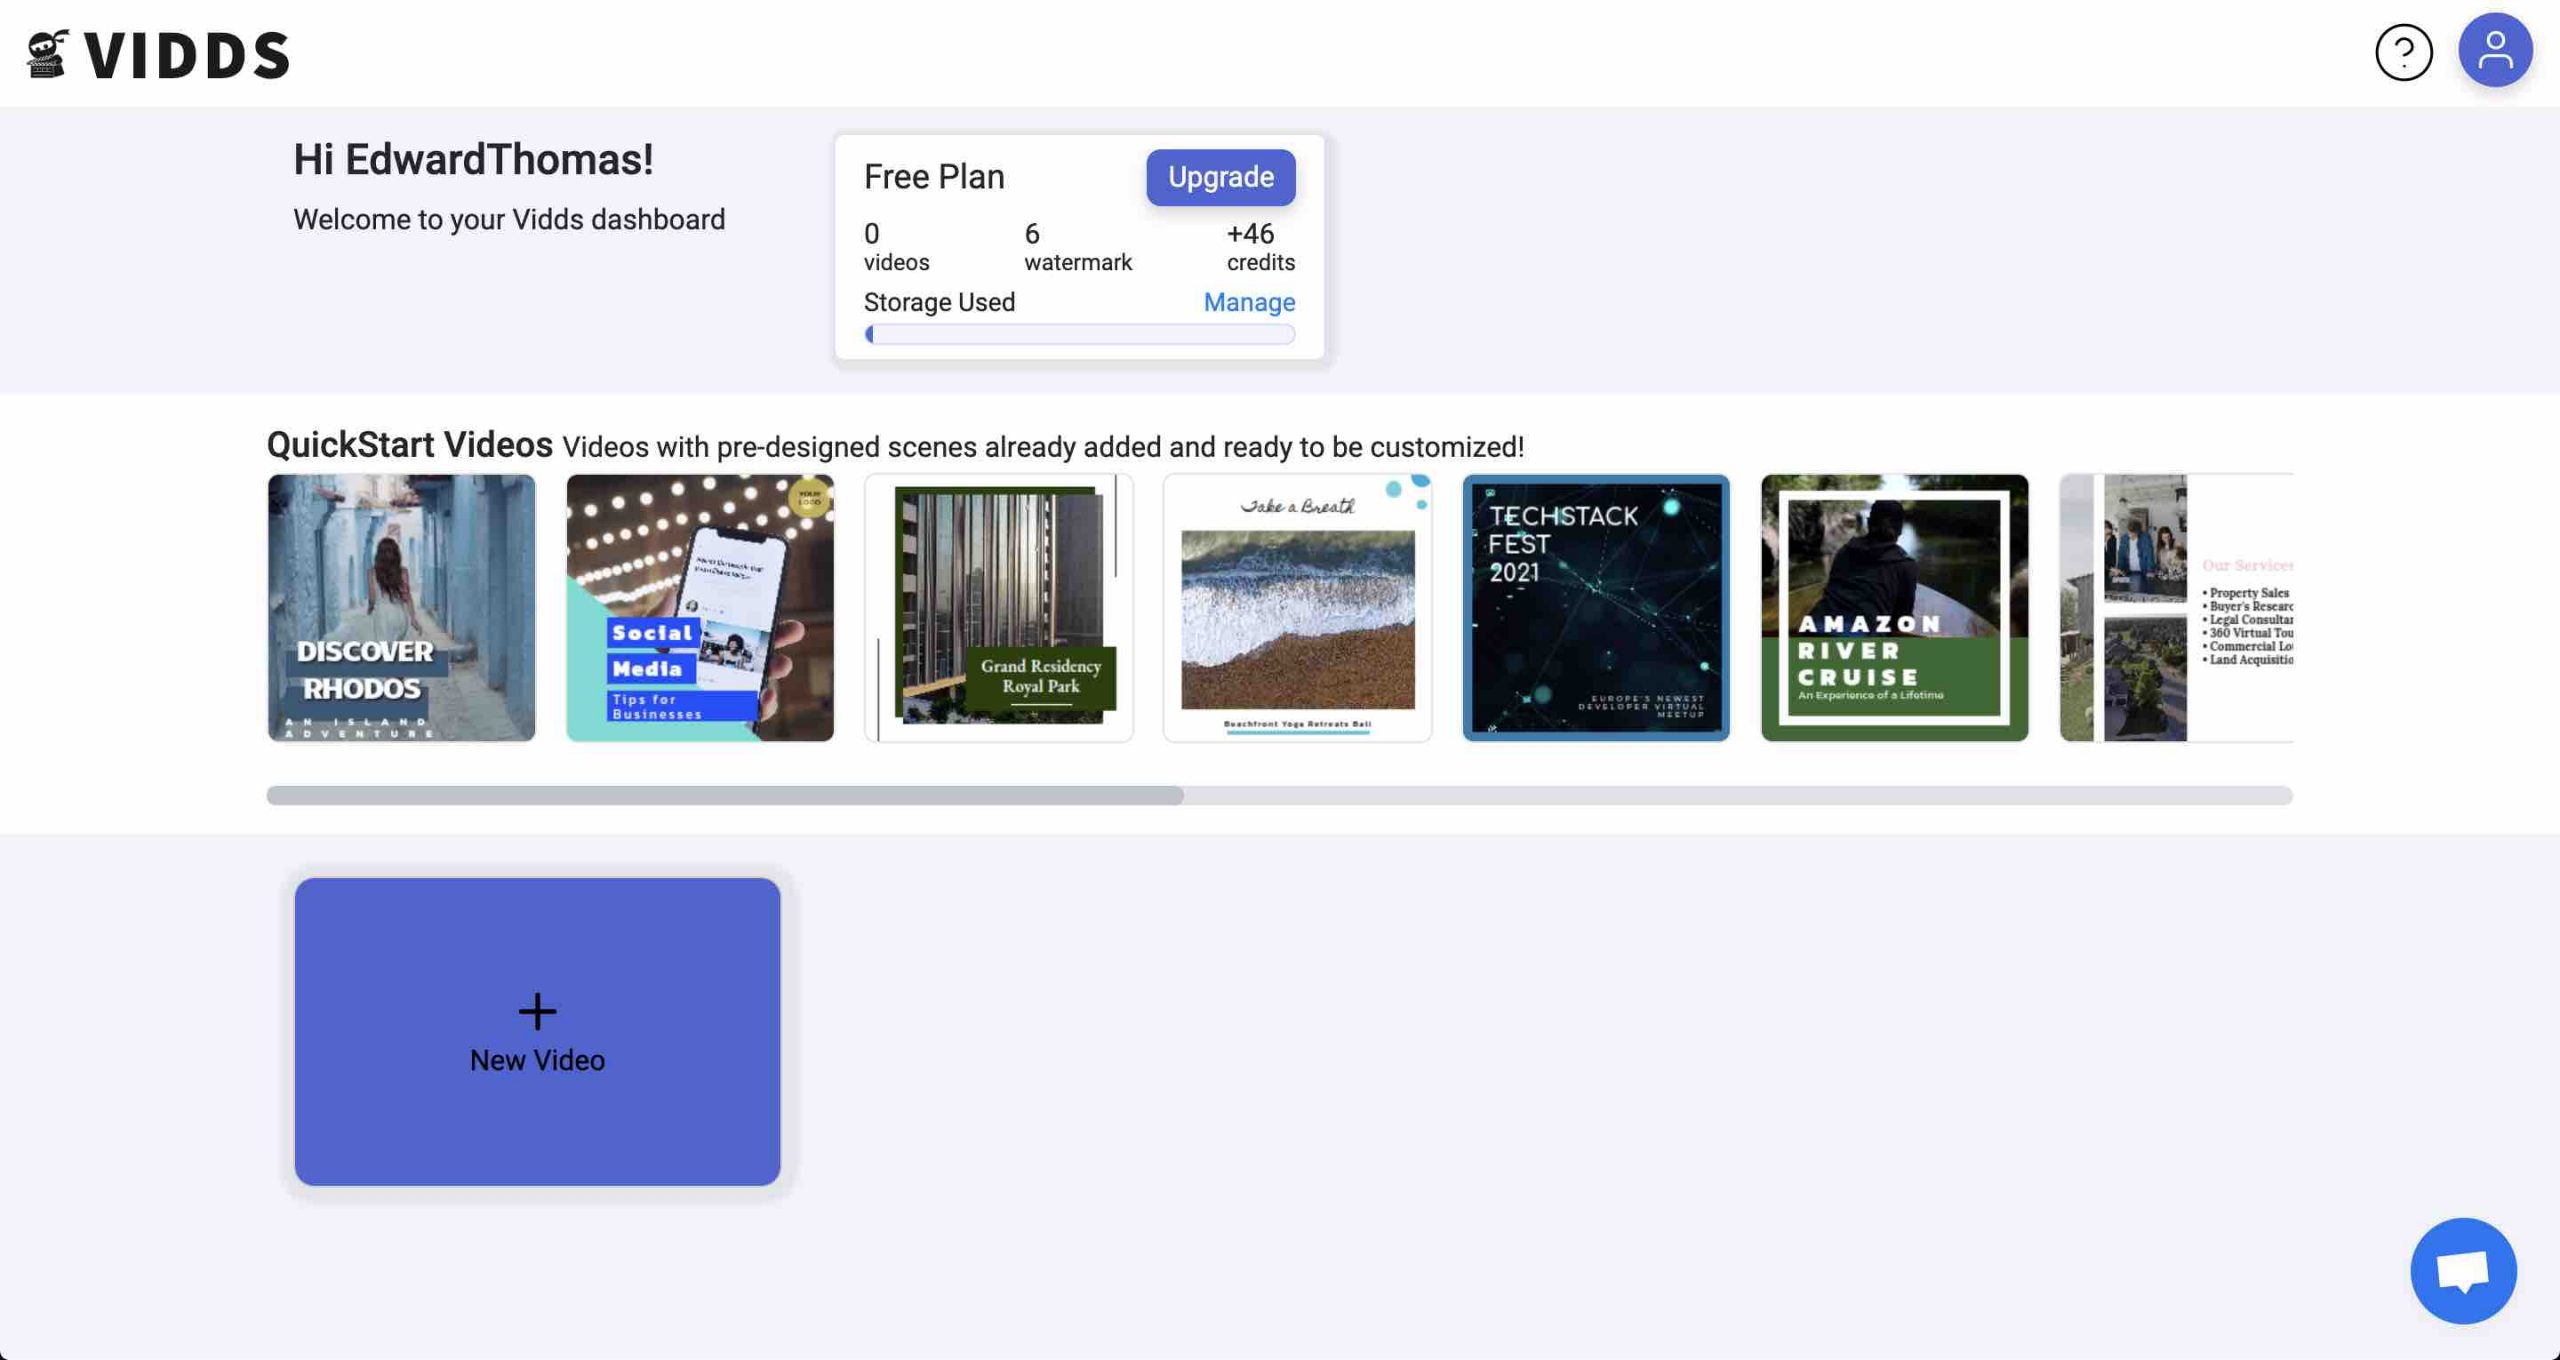
Getting Started with Vidds The Dashboard – “Create” Section Above is the Create section – here you’ll find the most common videos you can create with Vidds.
| Cookie | Duration | Description |
|---|---|---|
| cookielawinfo-checbox-analytics | 11 months | This cookie is set by GDPR Cookie Consent plugin. The cookie is used to store the user consent for the cookies in the category "Analytics". |
| cookielawinfo-checbox-functional | 11 months | The cookie is set by GDPR cookie consent to record the user consent for the cookies in the category "Functional". |
| cookielawinfo-checbox-others | 11 months | This cookie is set by GDPR Cookie Consent plugin. The cookie is used to store the user consent for the cookies in the category "Other. |
| cookielawinfo-checkbox-necessary | 11 months | This cookie is set by GDPR Cookie Consent plugin. The cookies is used to store the user consent for the cookies in the category "Necessary". |
| cookielawinfo-checkbox-performance | 11 months | This cookie is set by GDPR Cookie Consent plugin. The cookie is used to store the user consent for the cookies in the category "Performance". |
| viewed_cookie_policy | 11 months | The cookie is set by the GDPR Cookie Consent plugin and is used to store whether or not user has consented to the use of cookies. It does not store any personal data. |