Categories
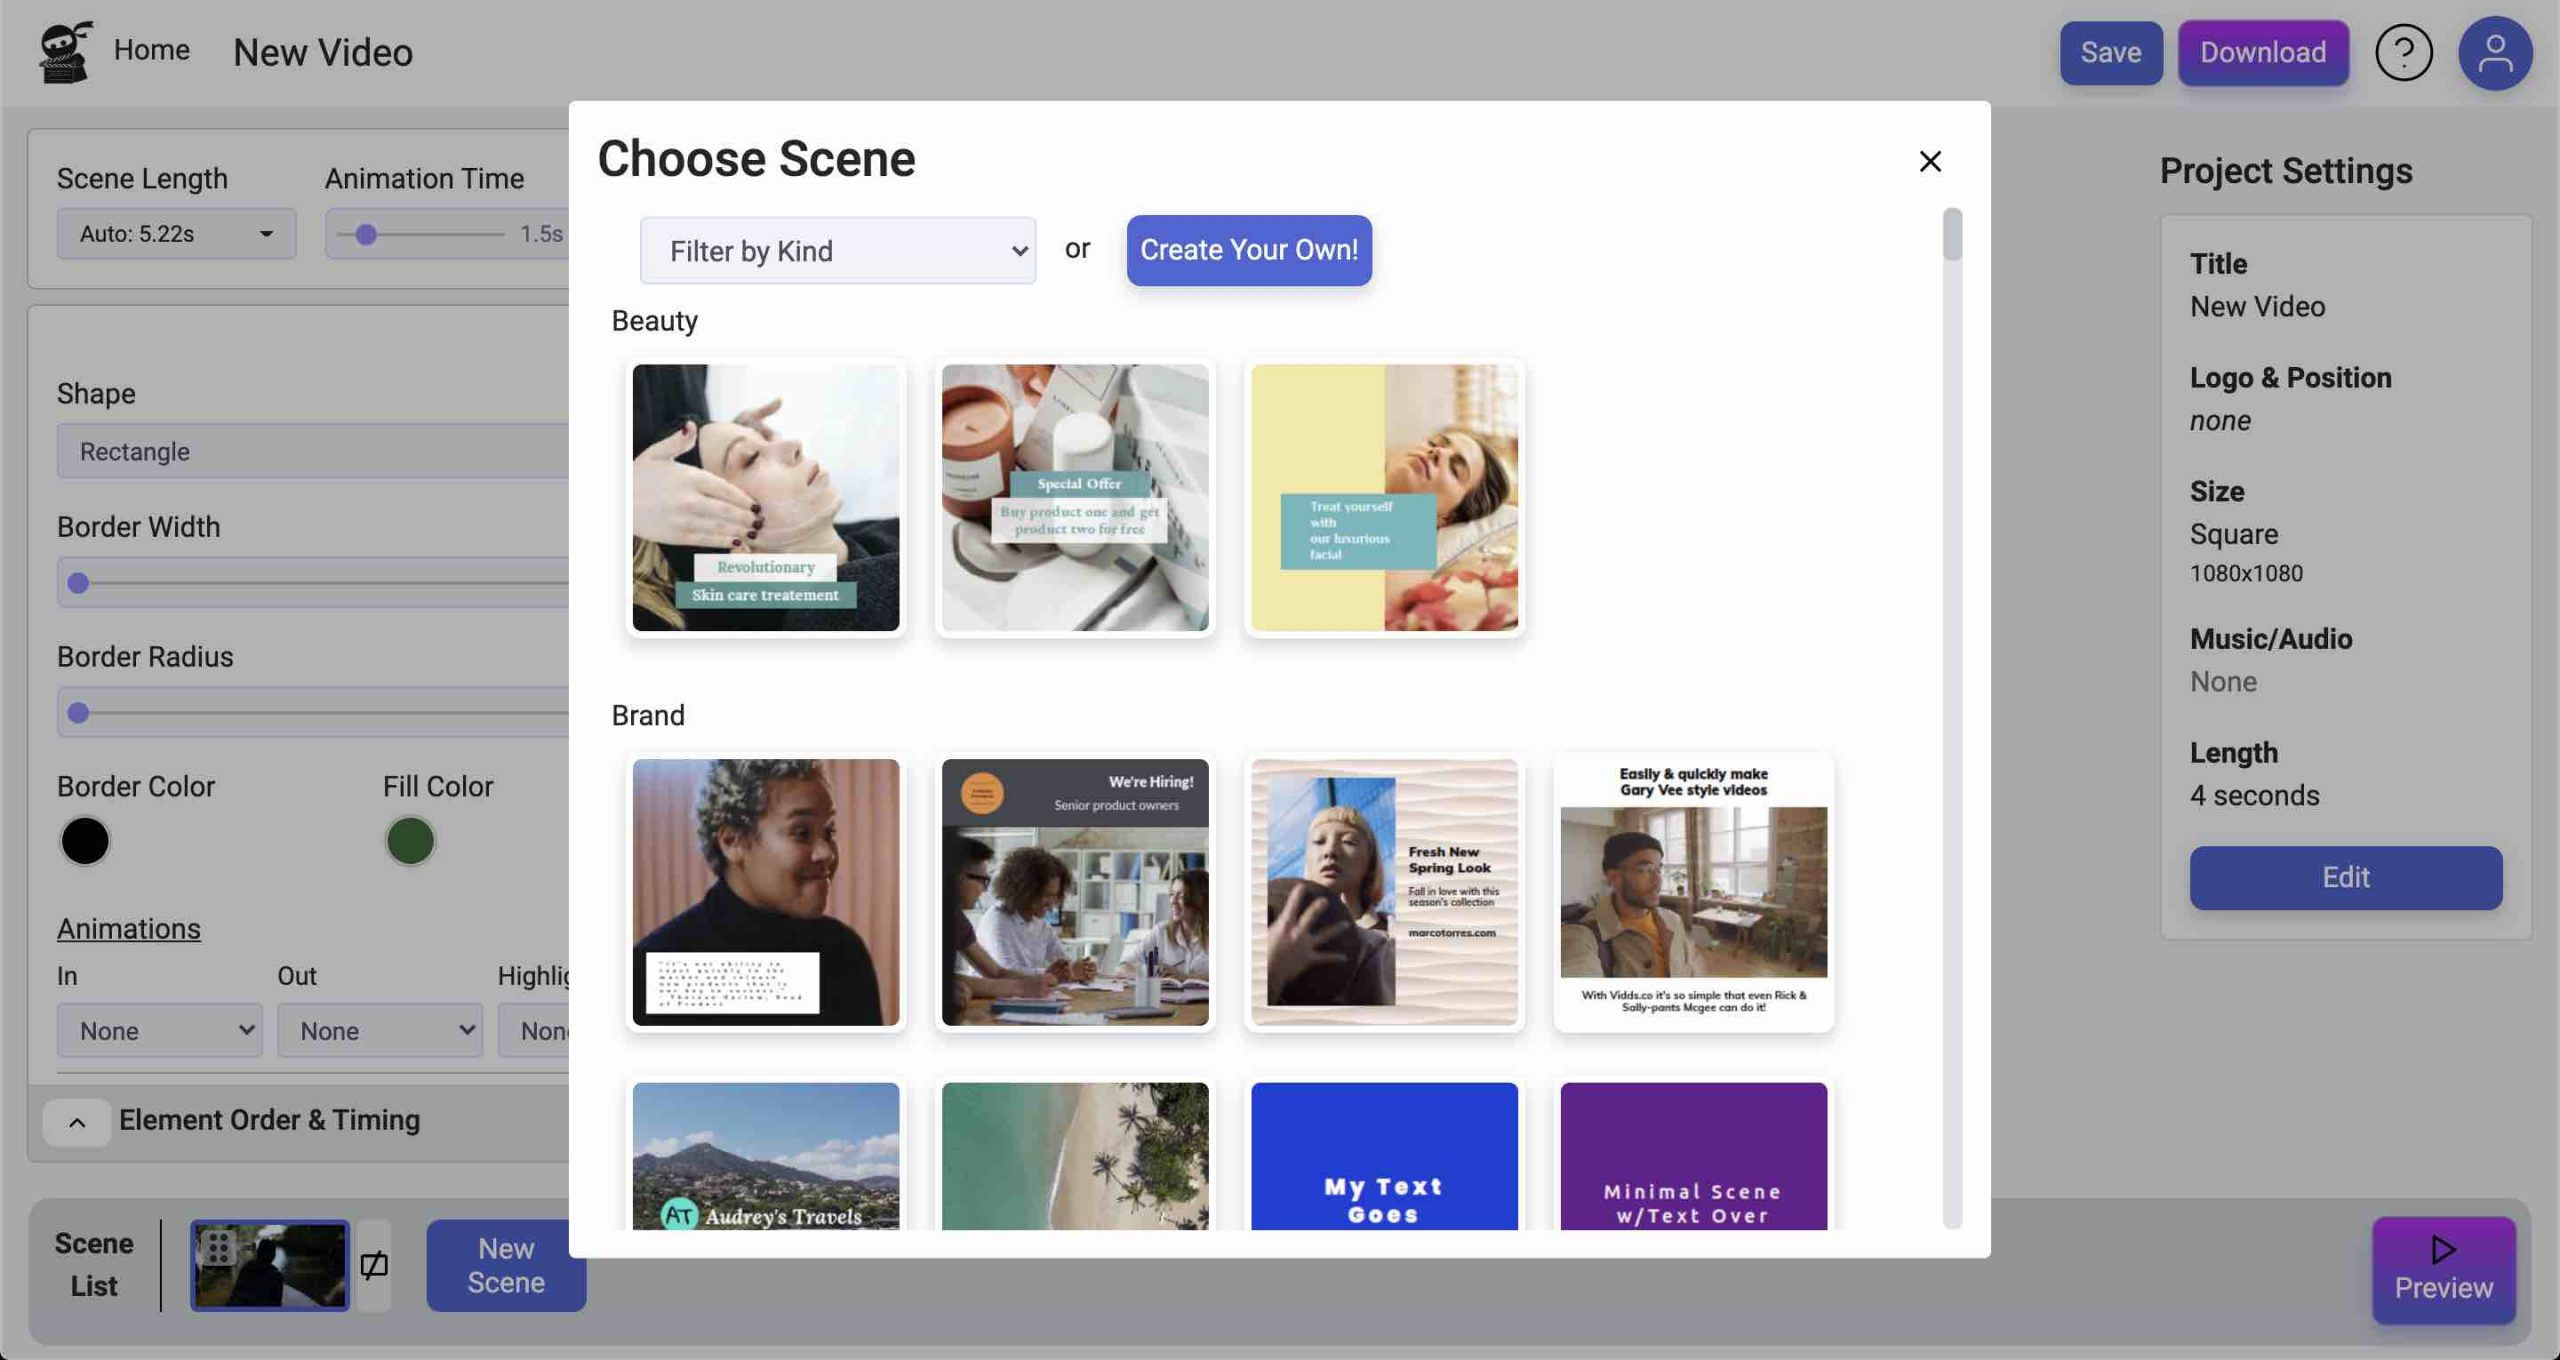
How to Duplicate a Scene
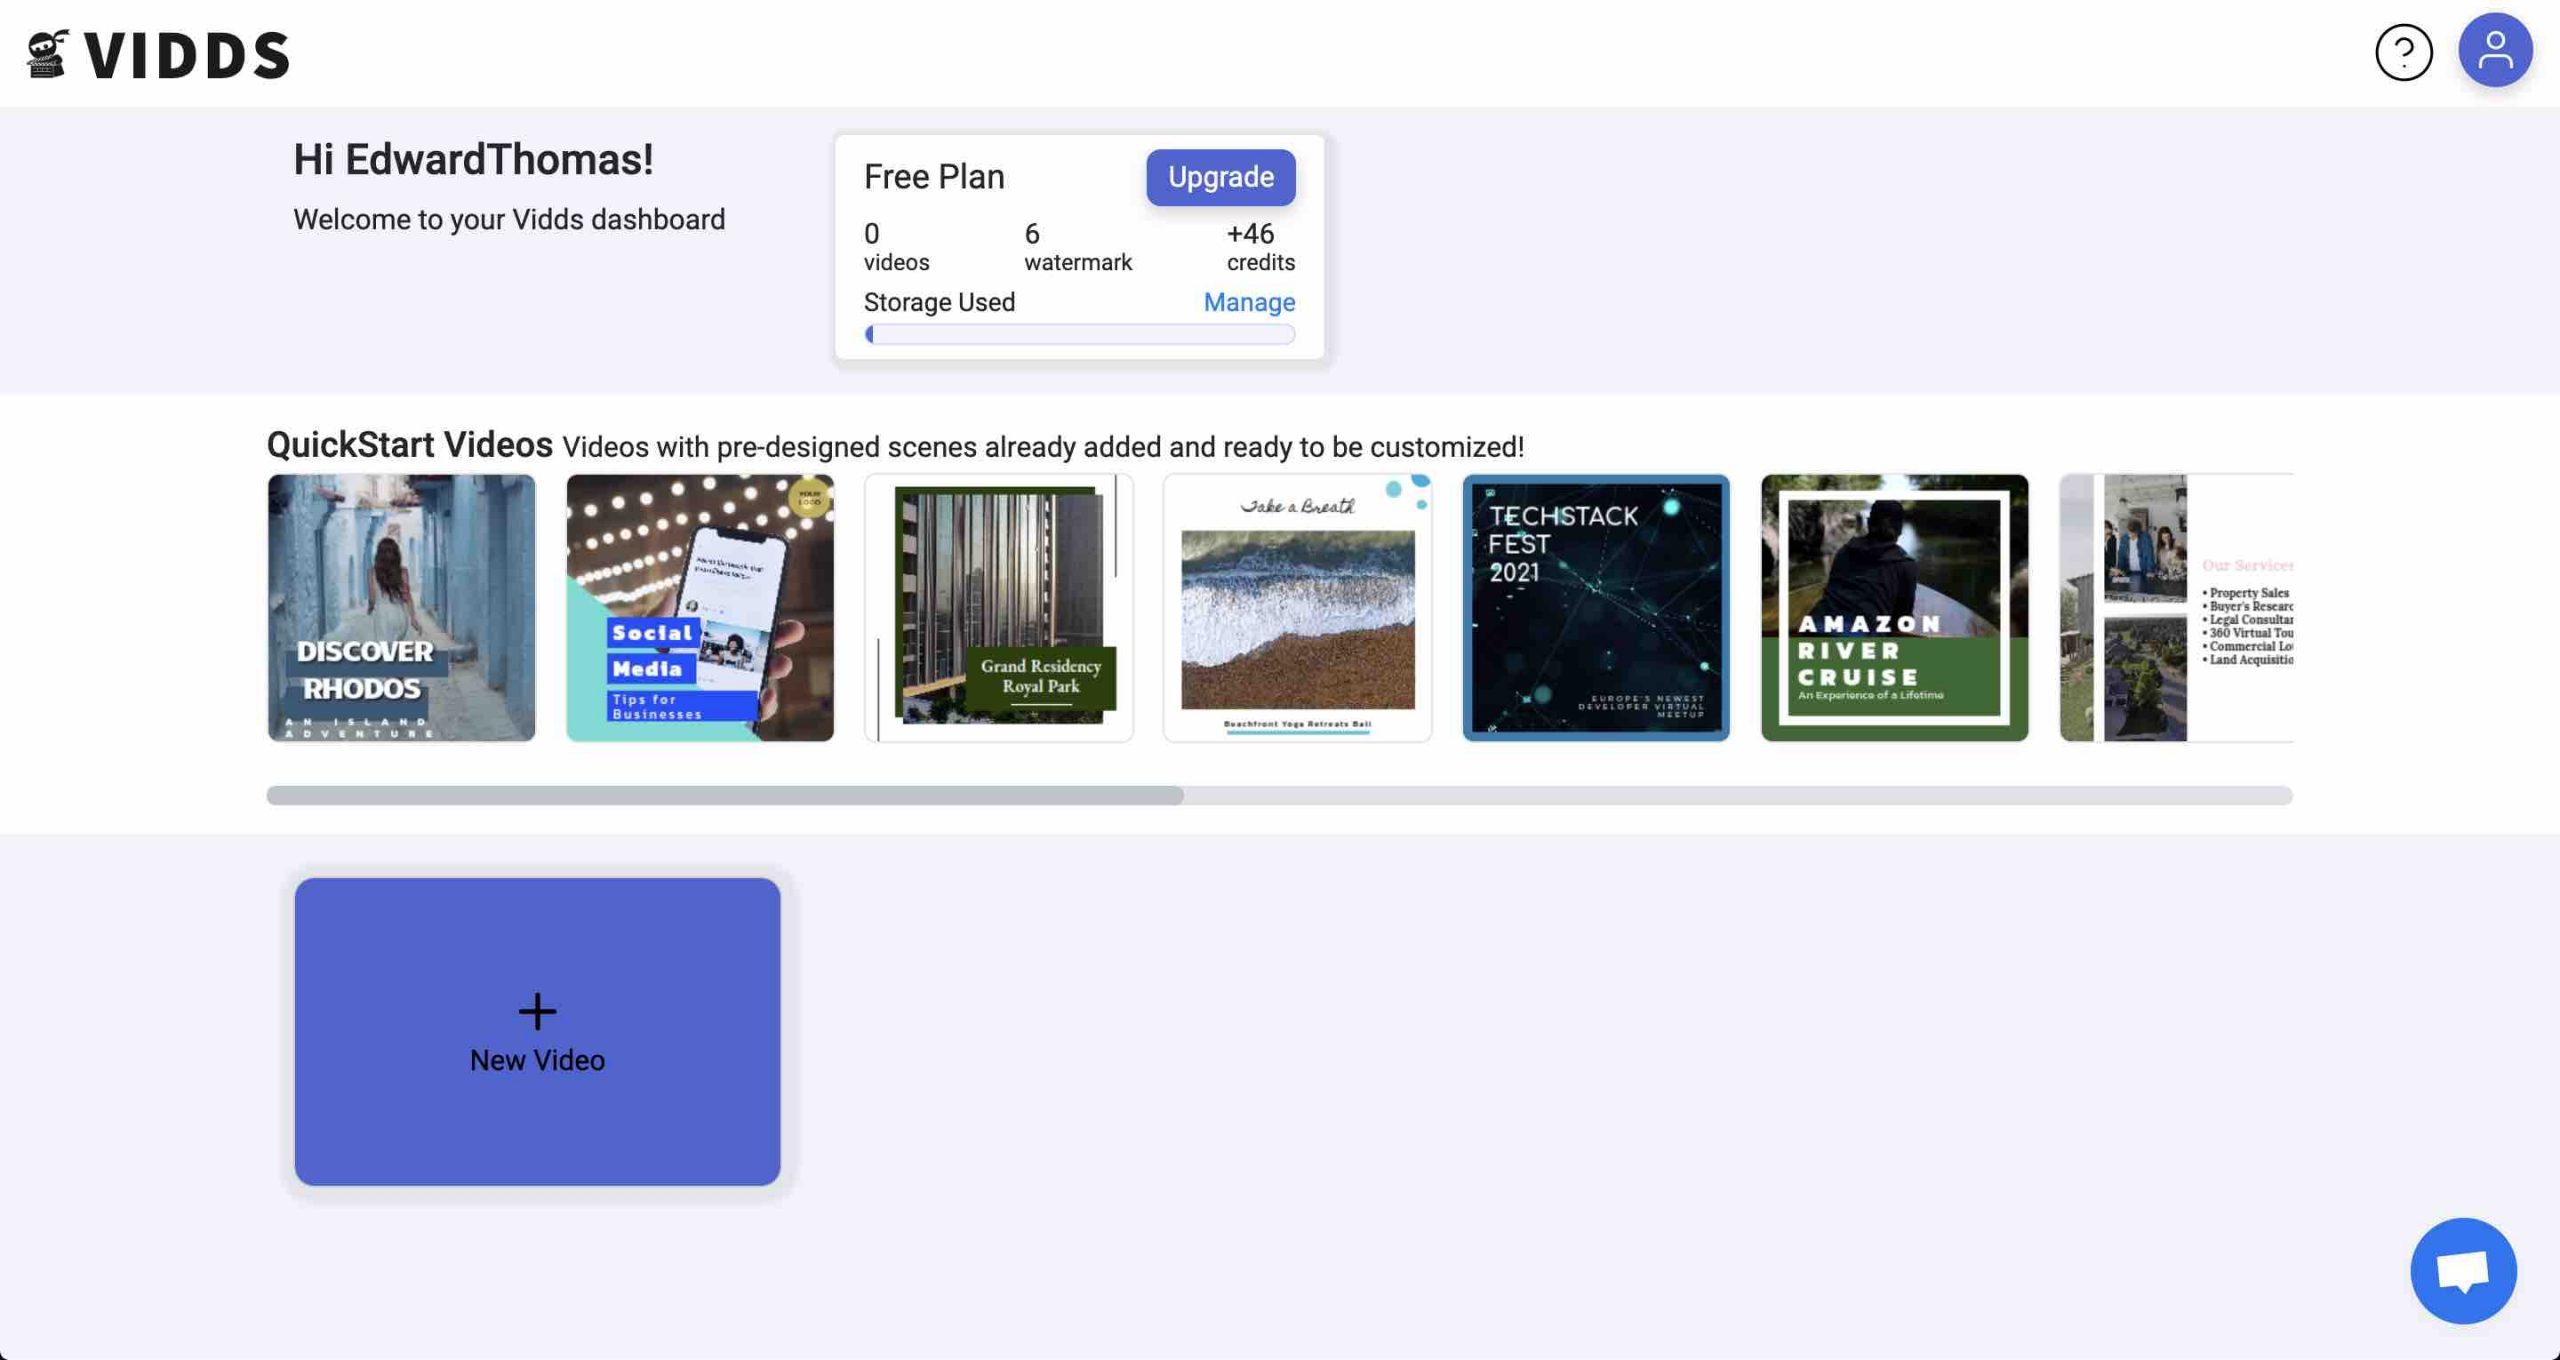
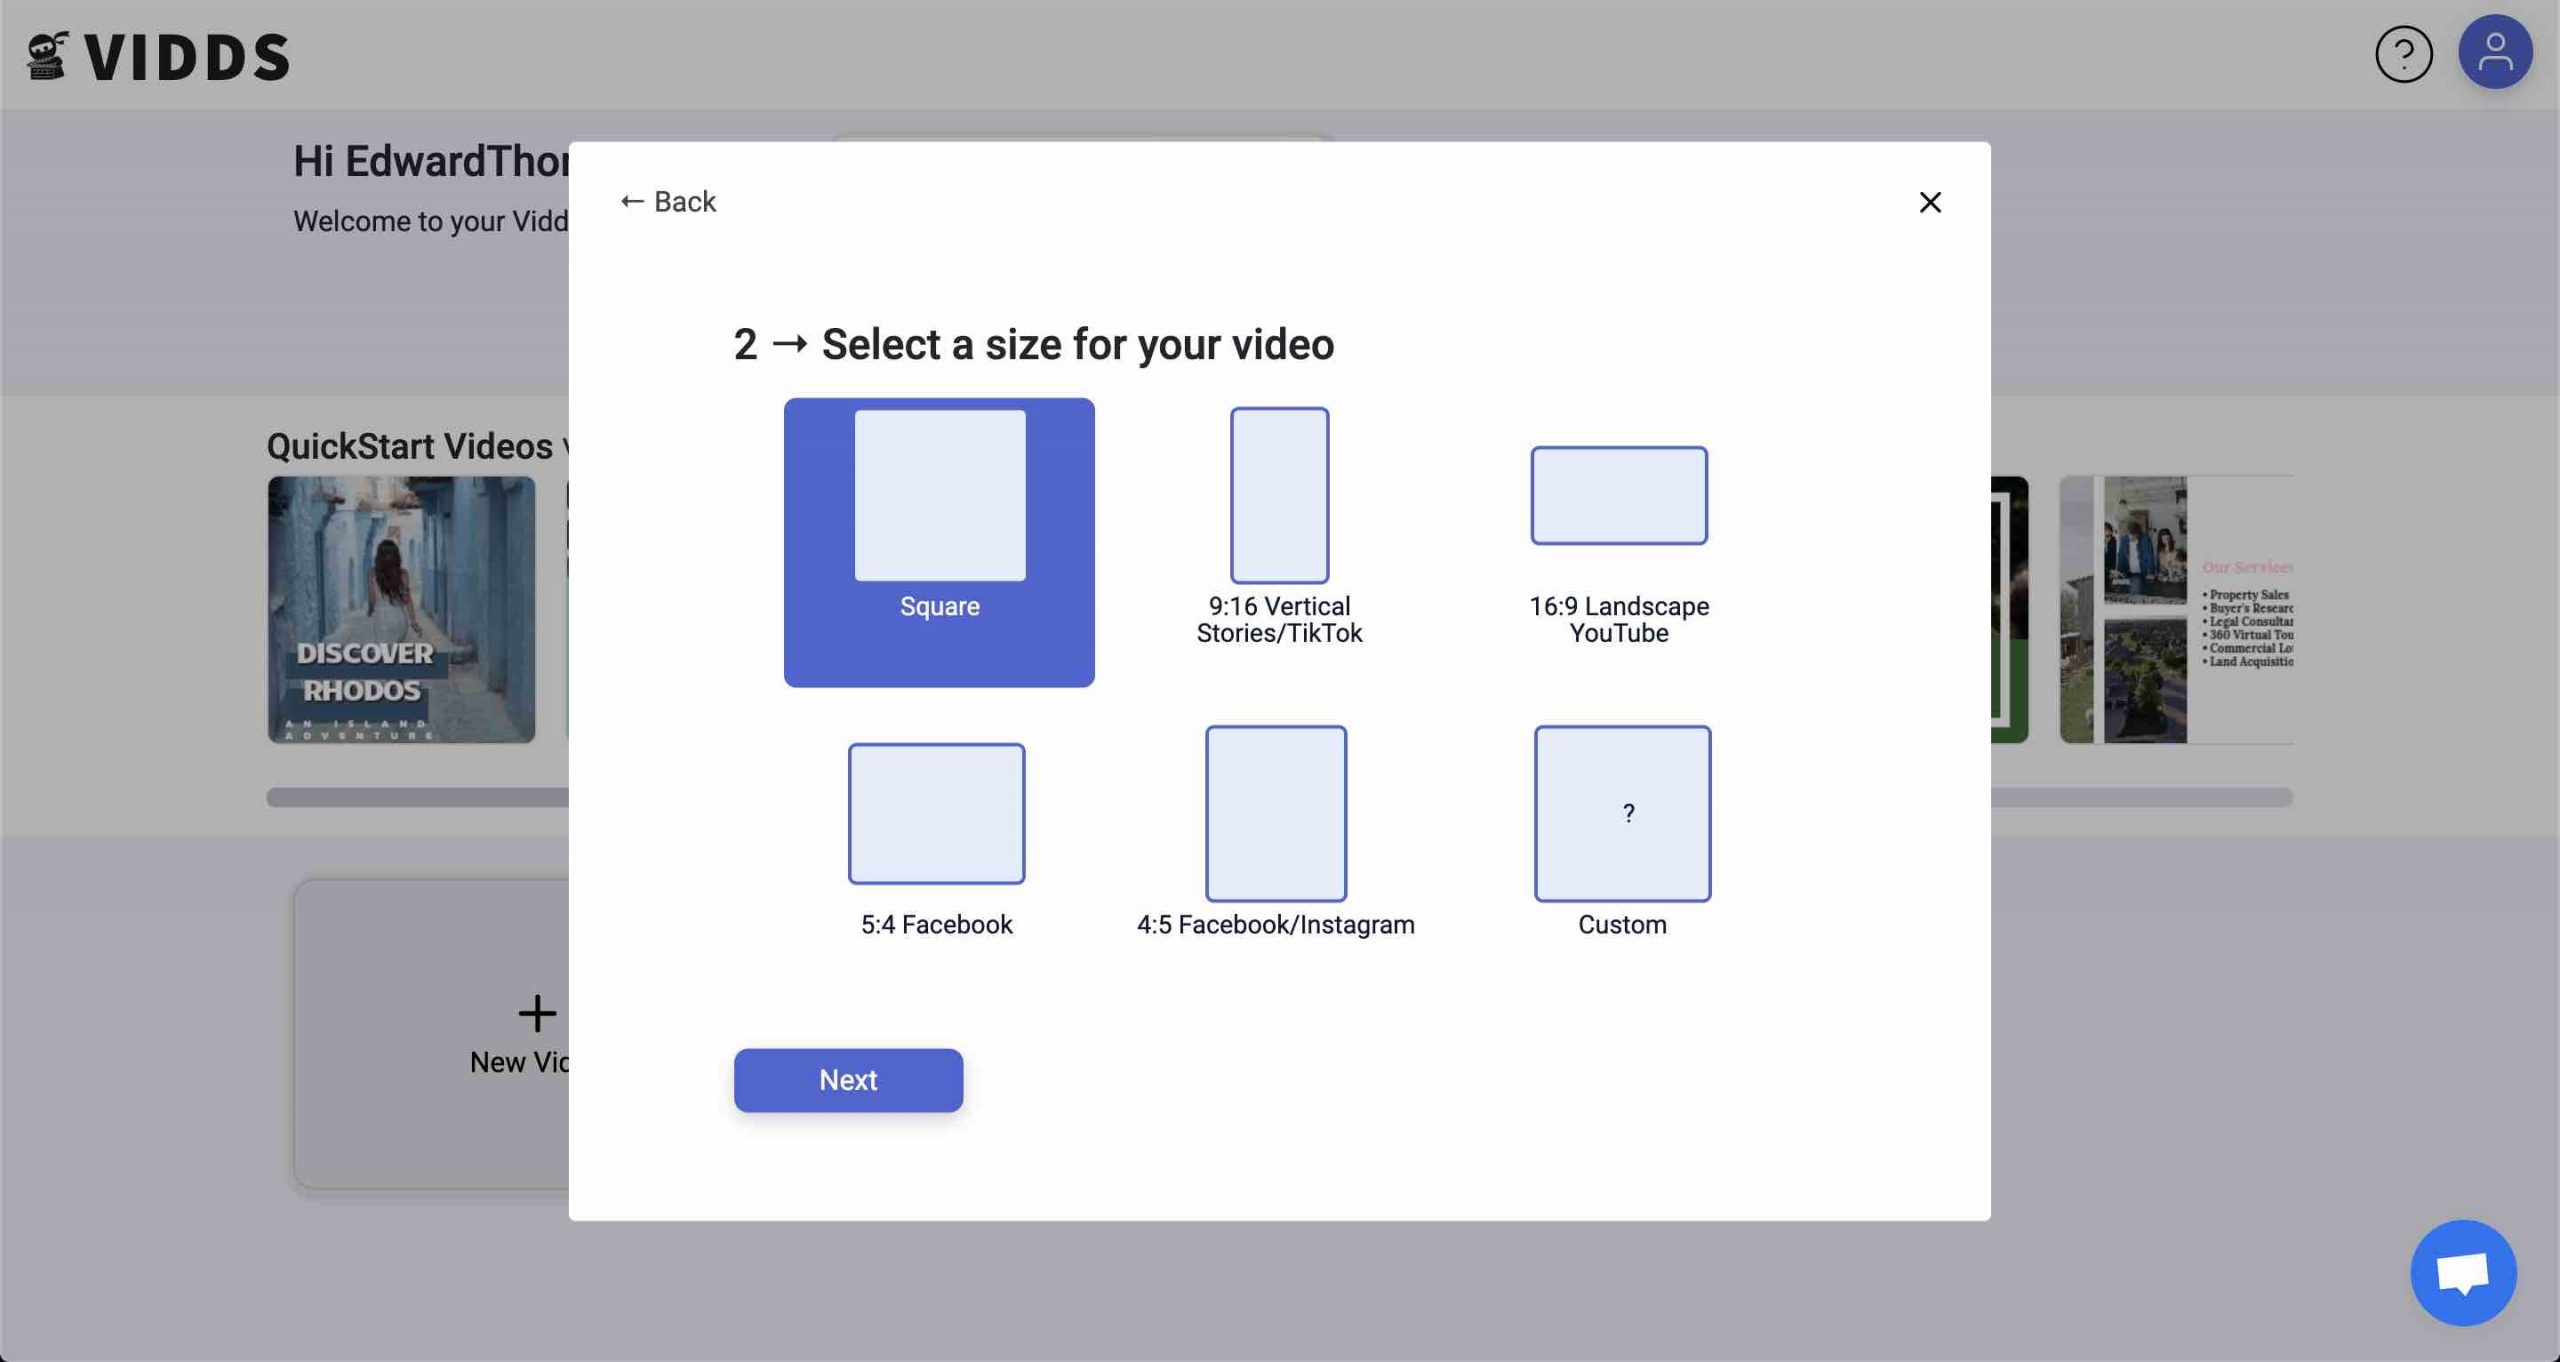
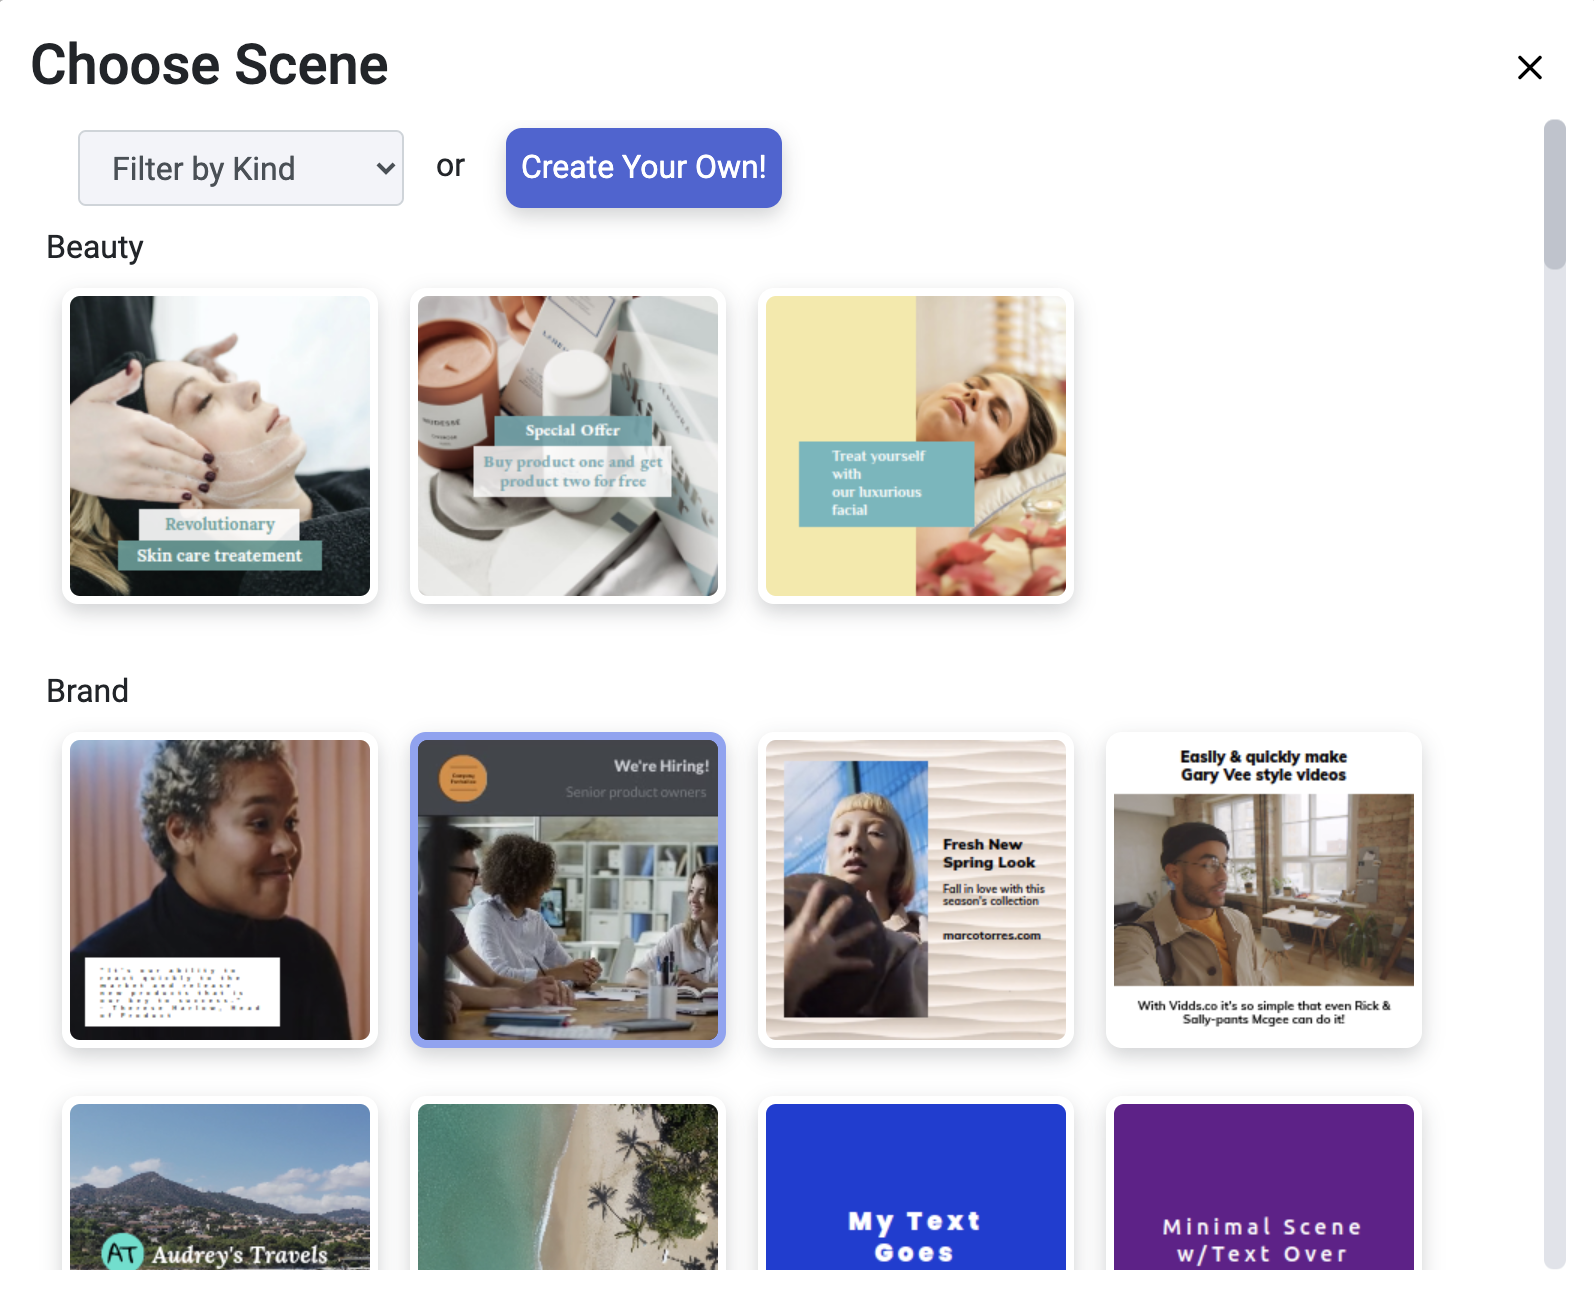
Create a new project from the Vidds creator Dashboard.
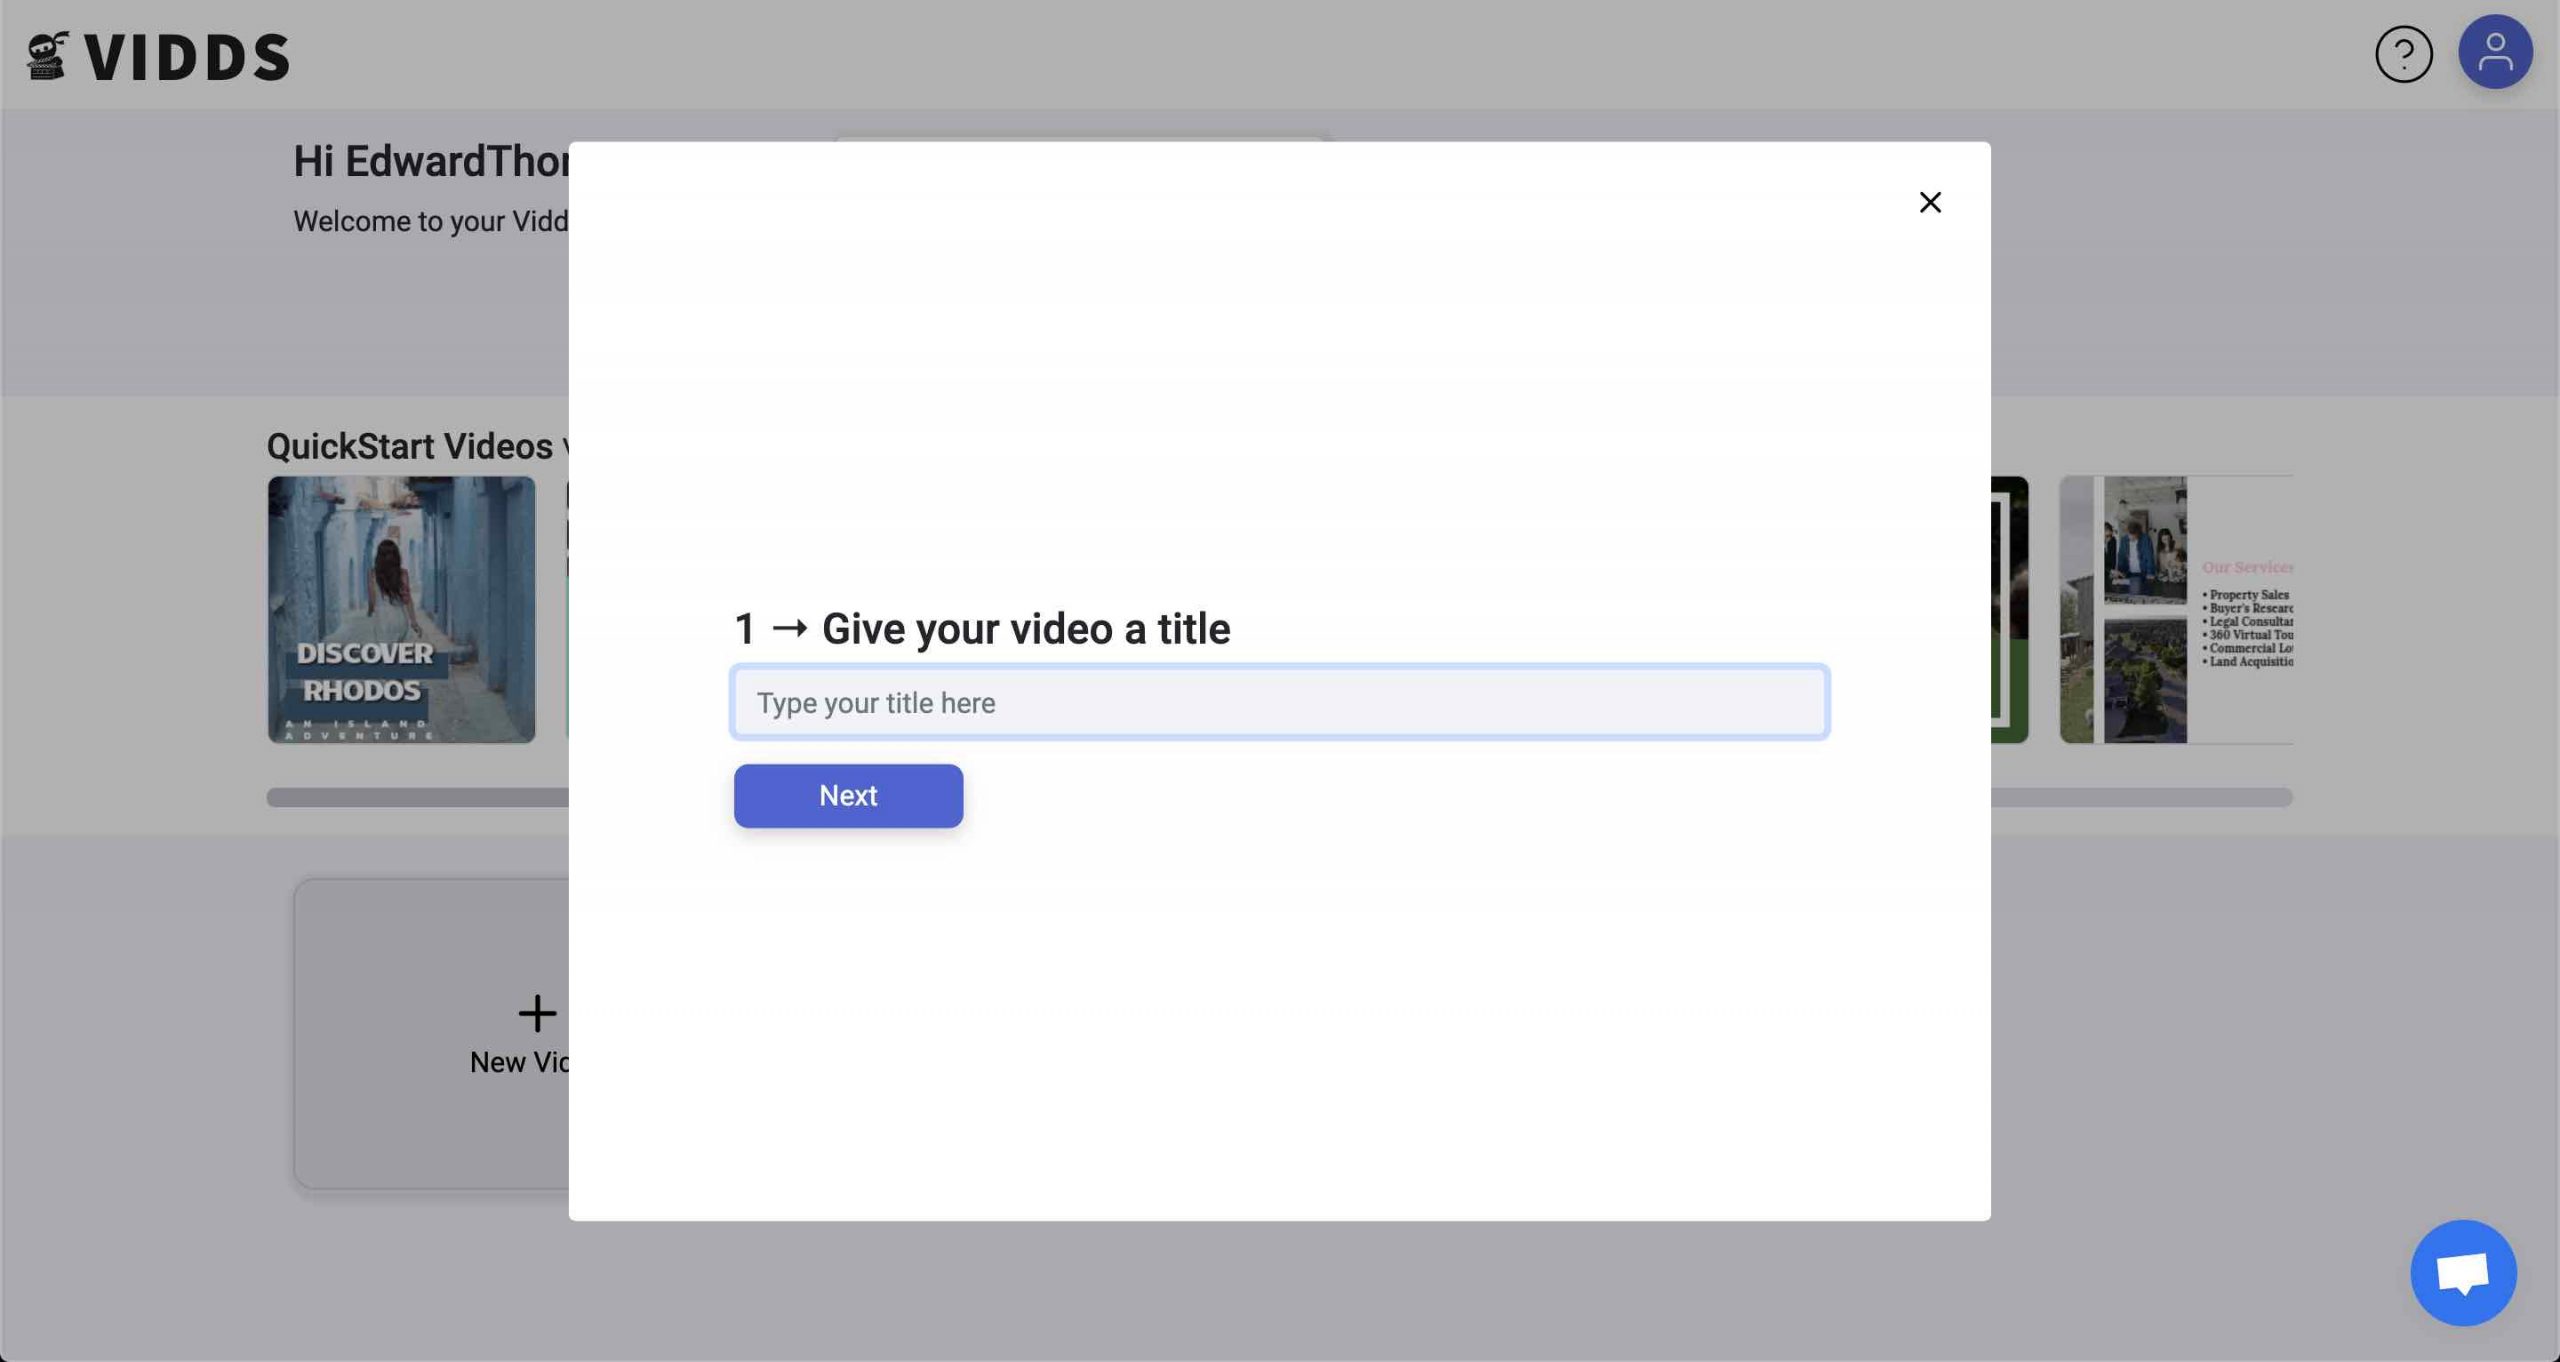
Give your new Vidds project a name
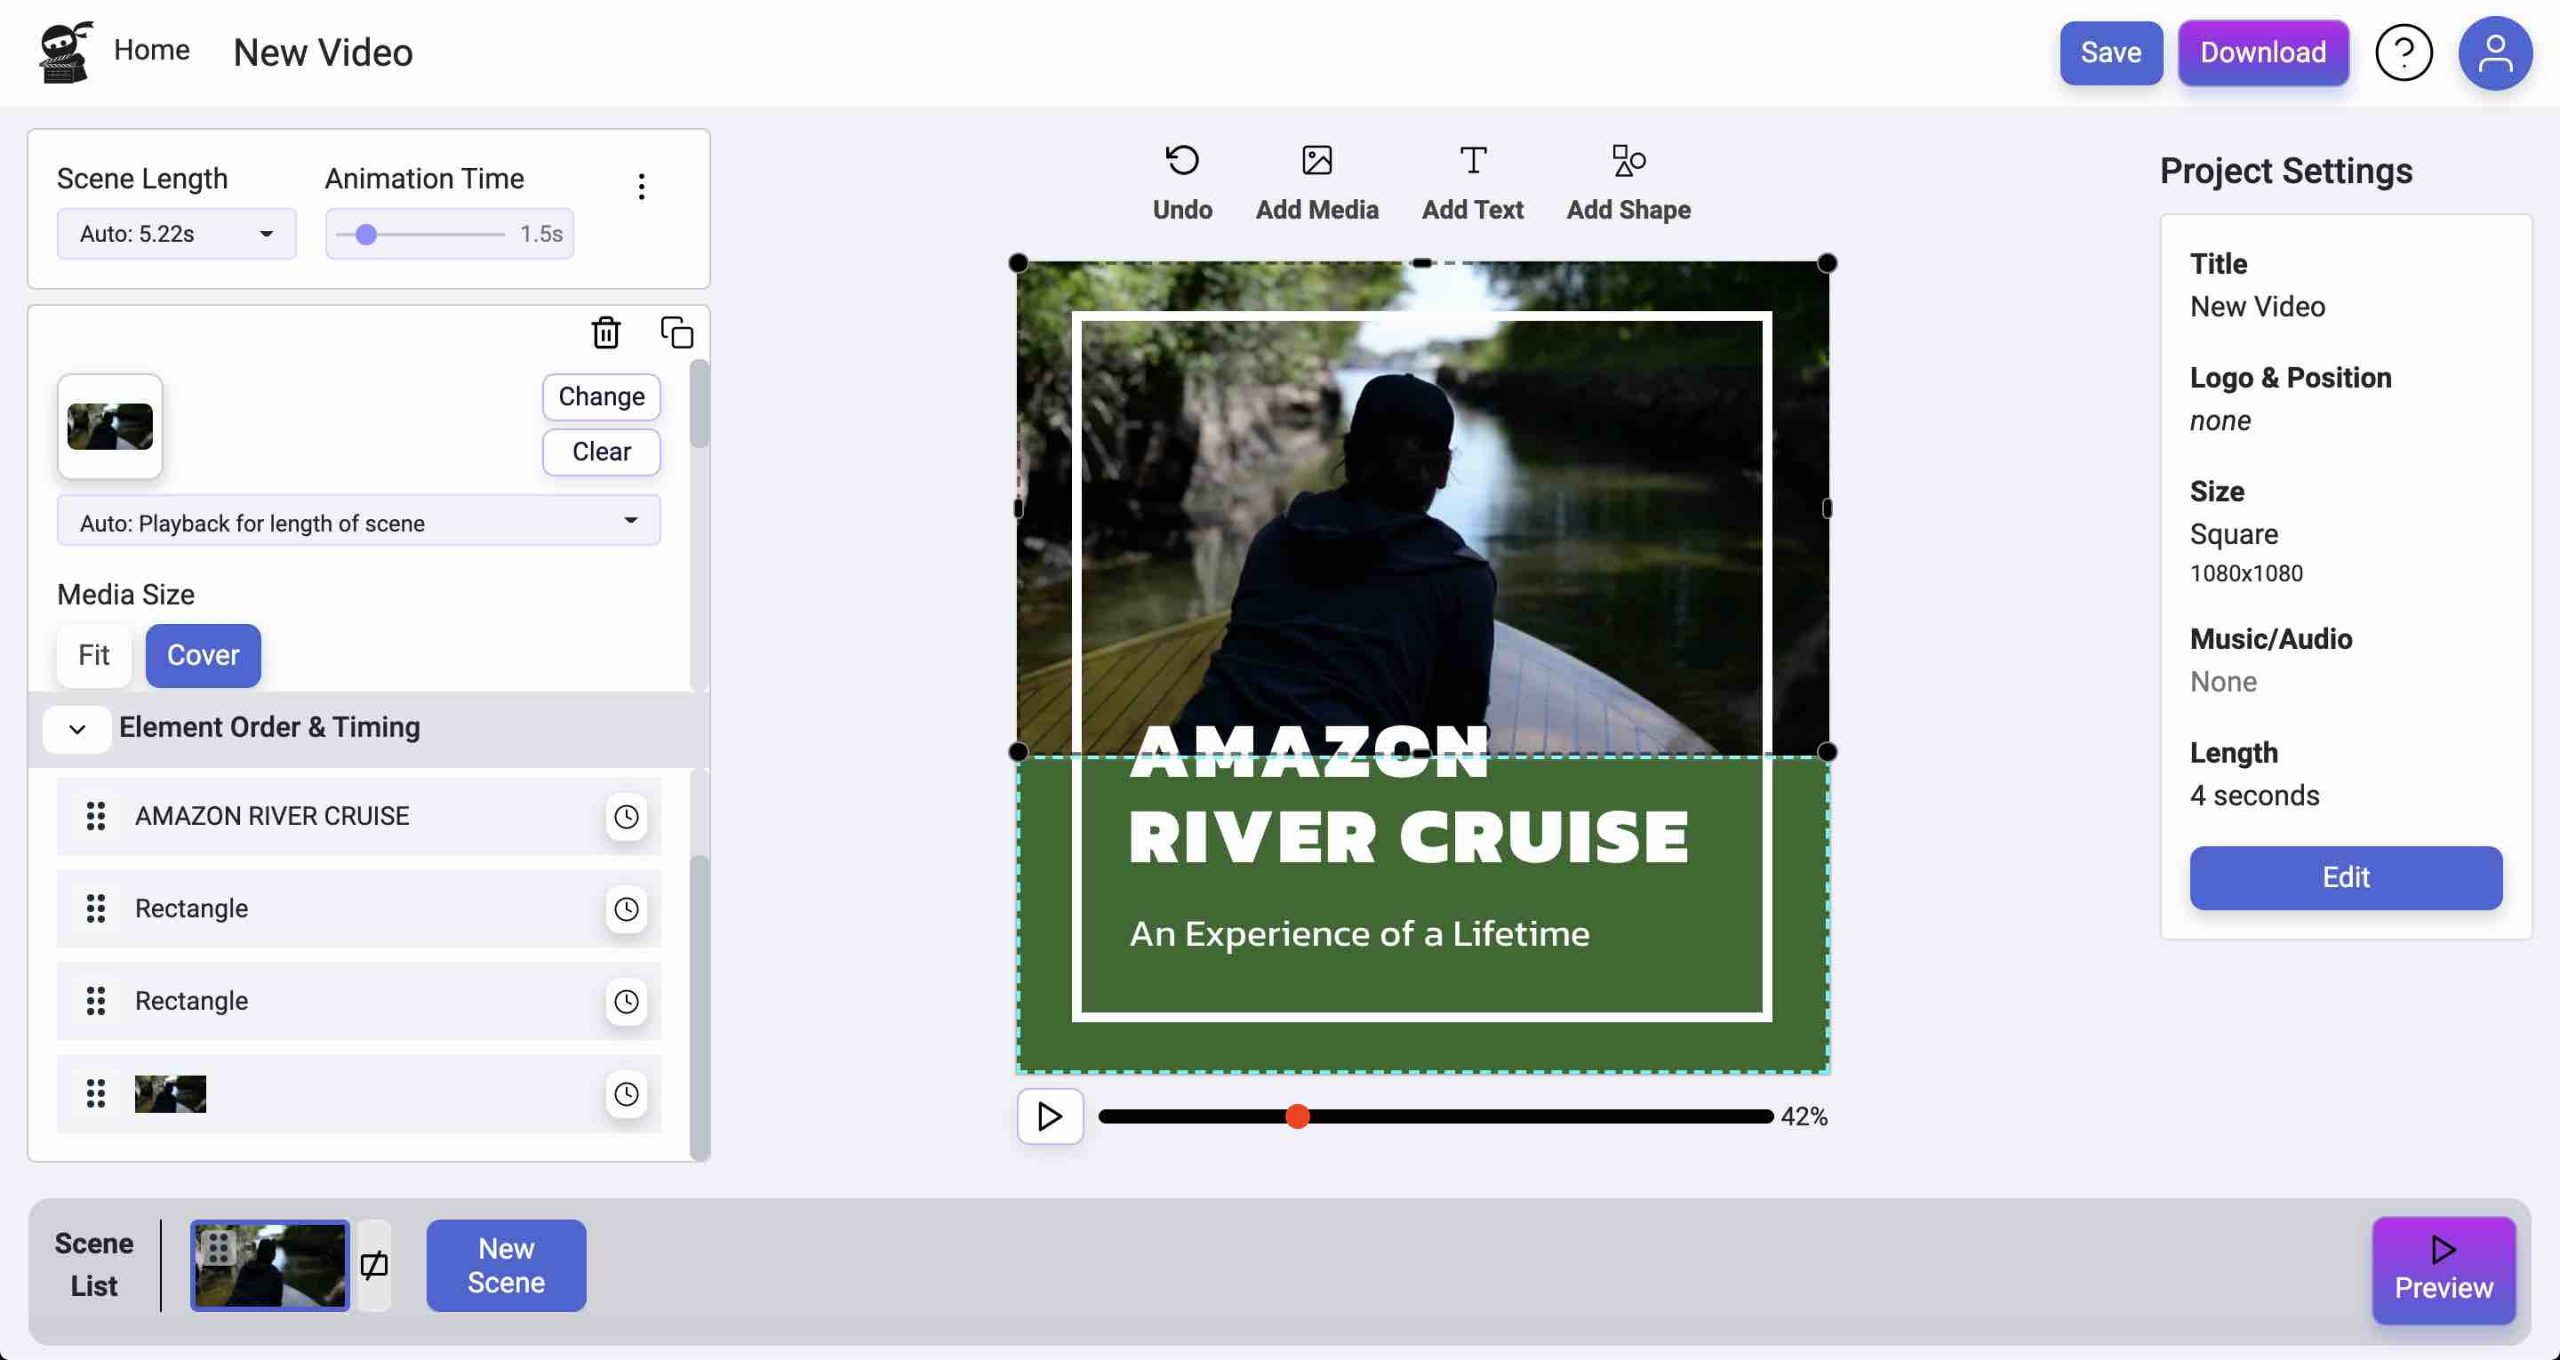
Each element can be edited in multiple ways.
Media
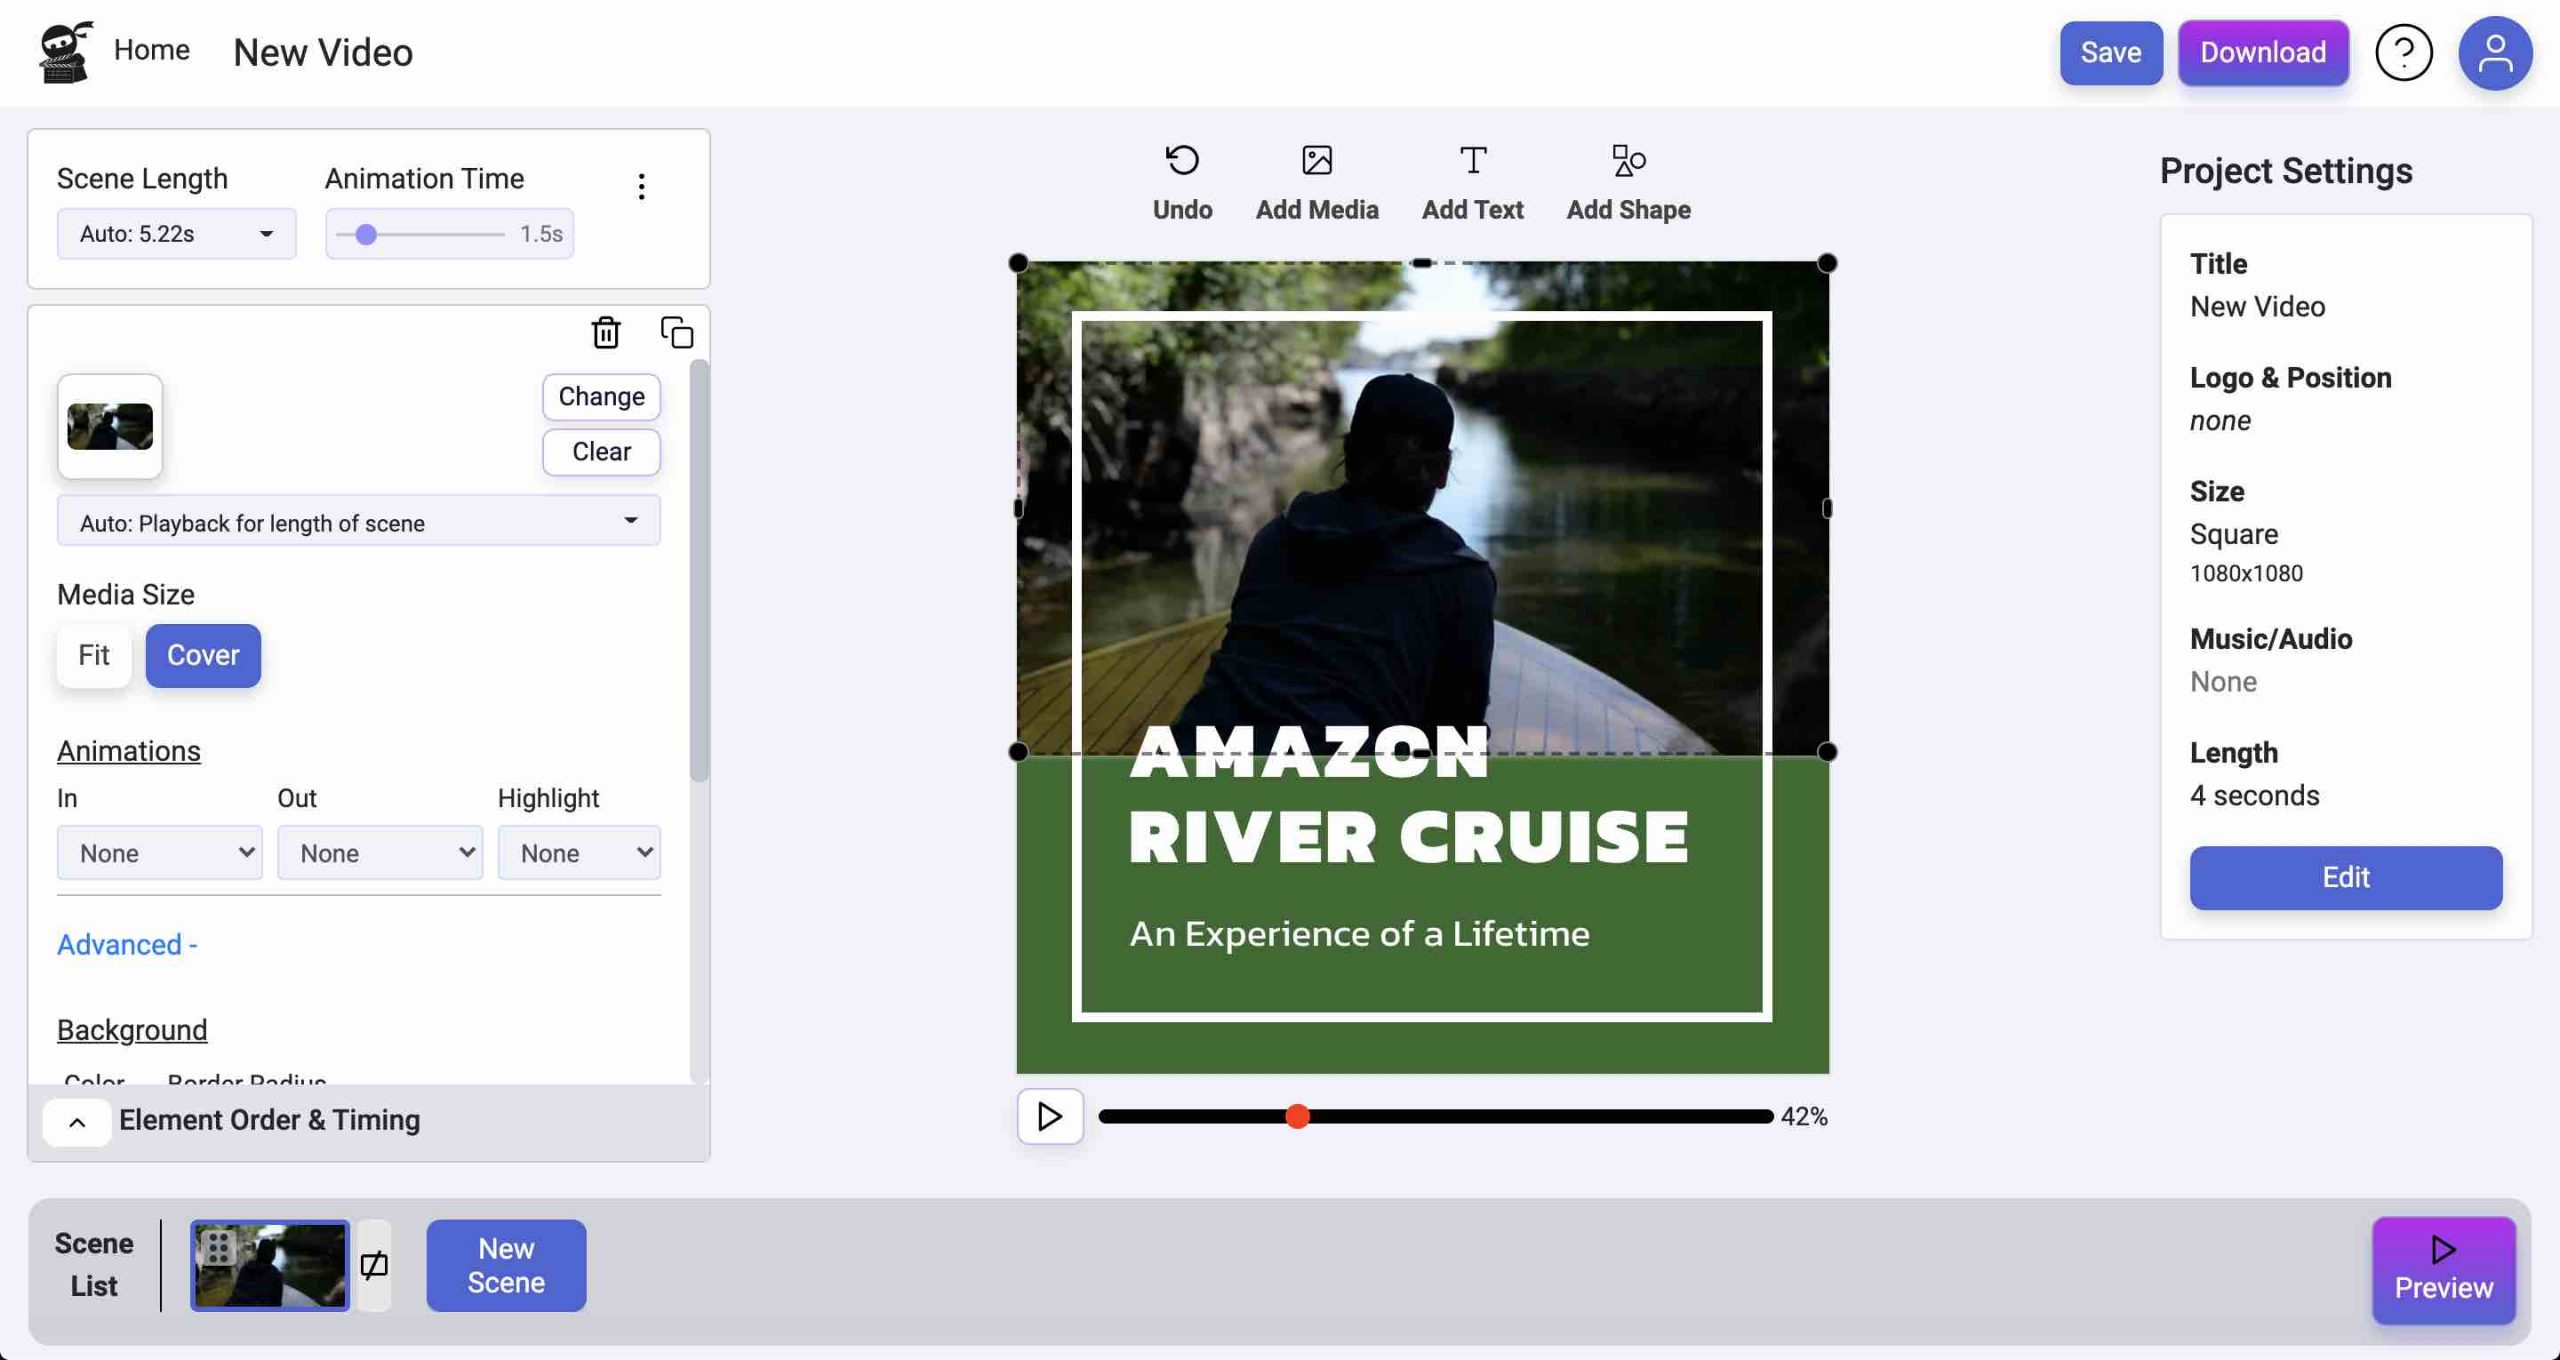
Text
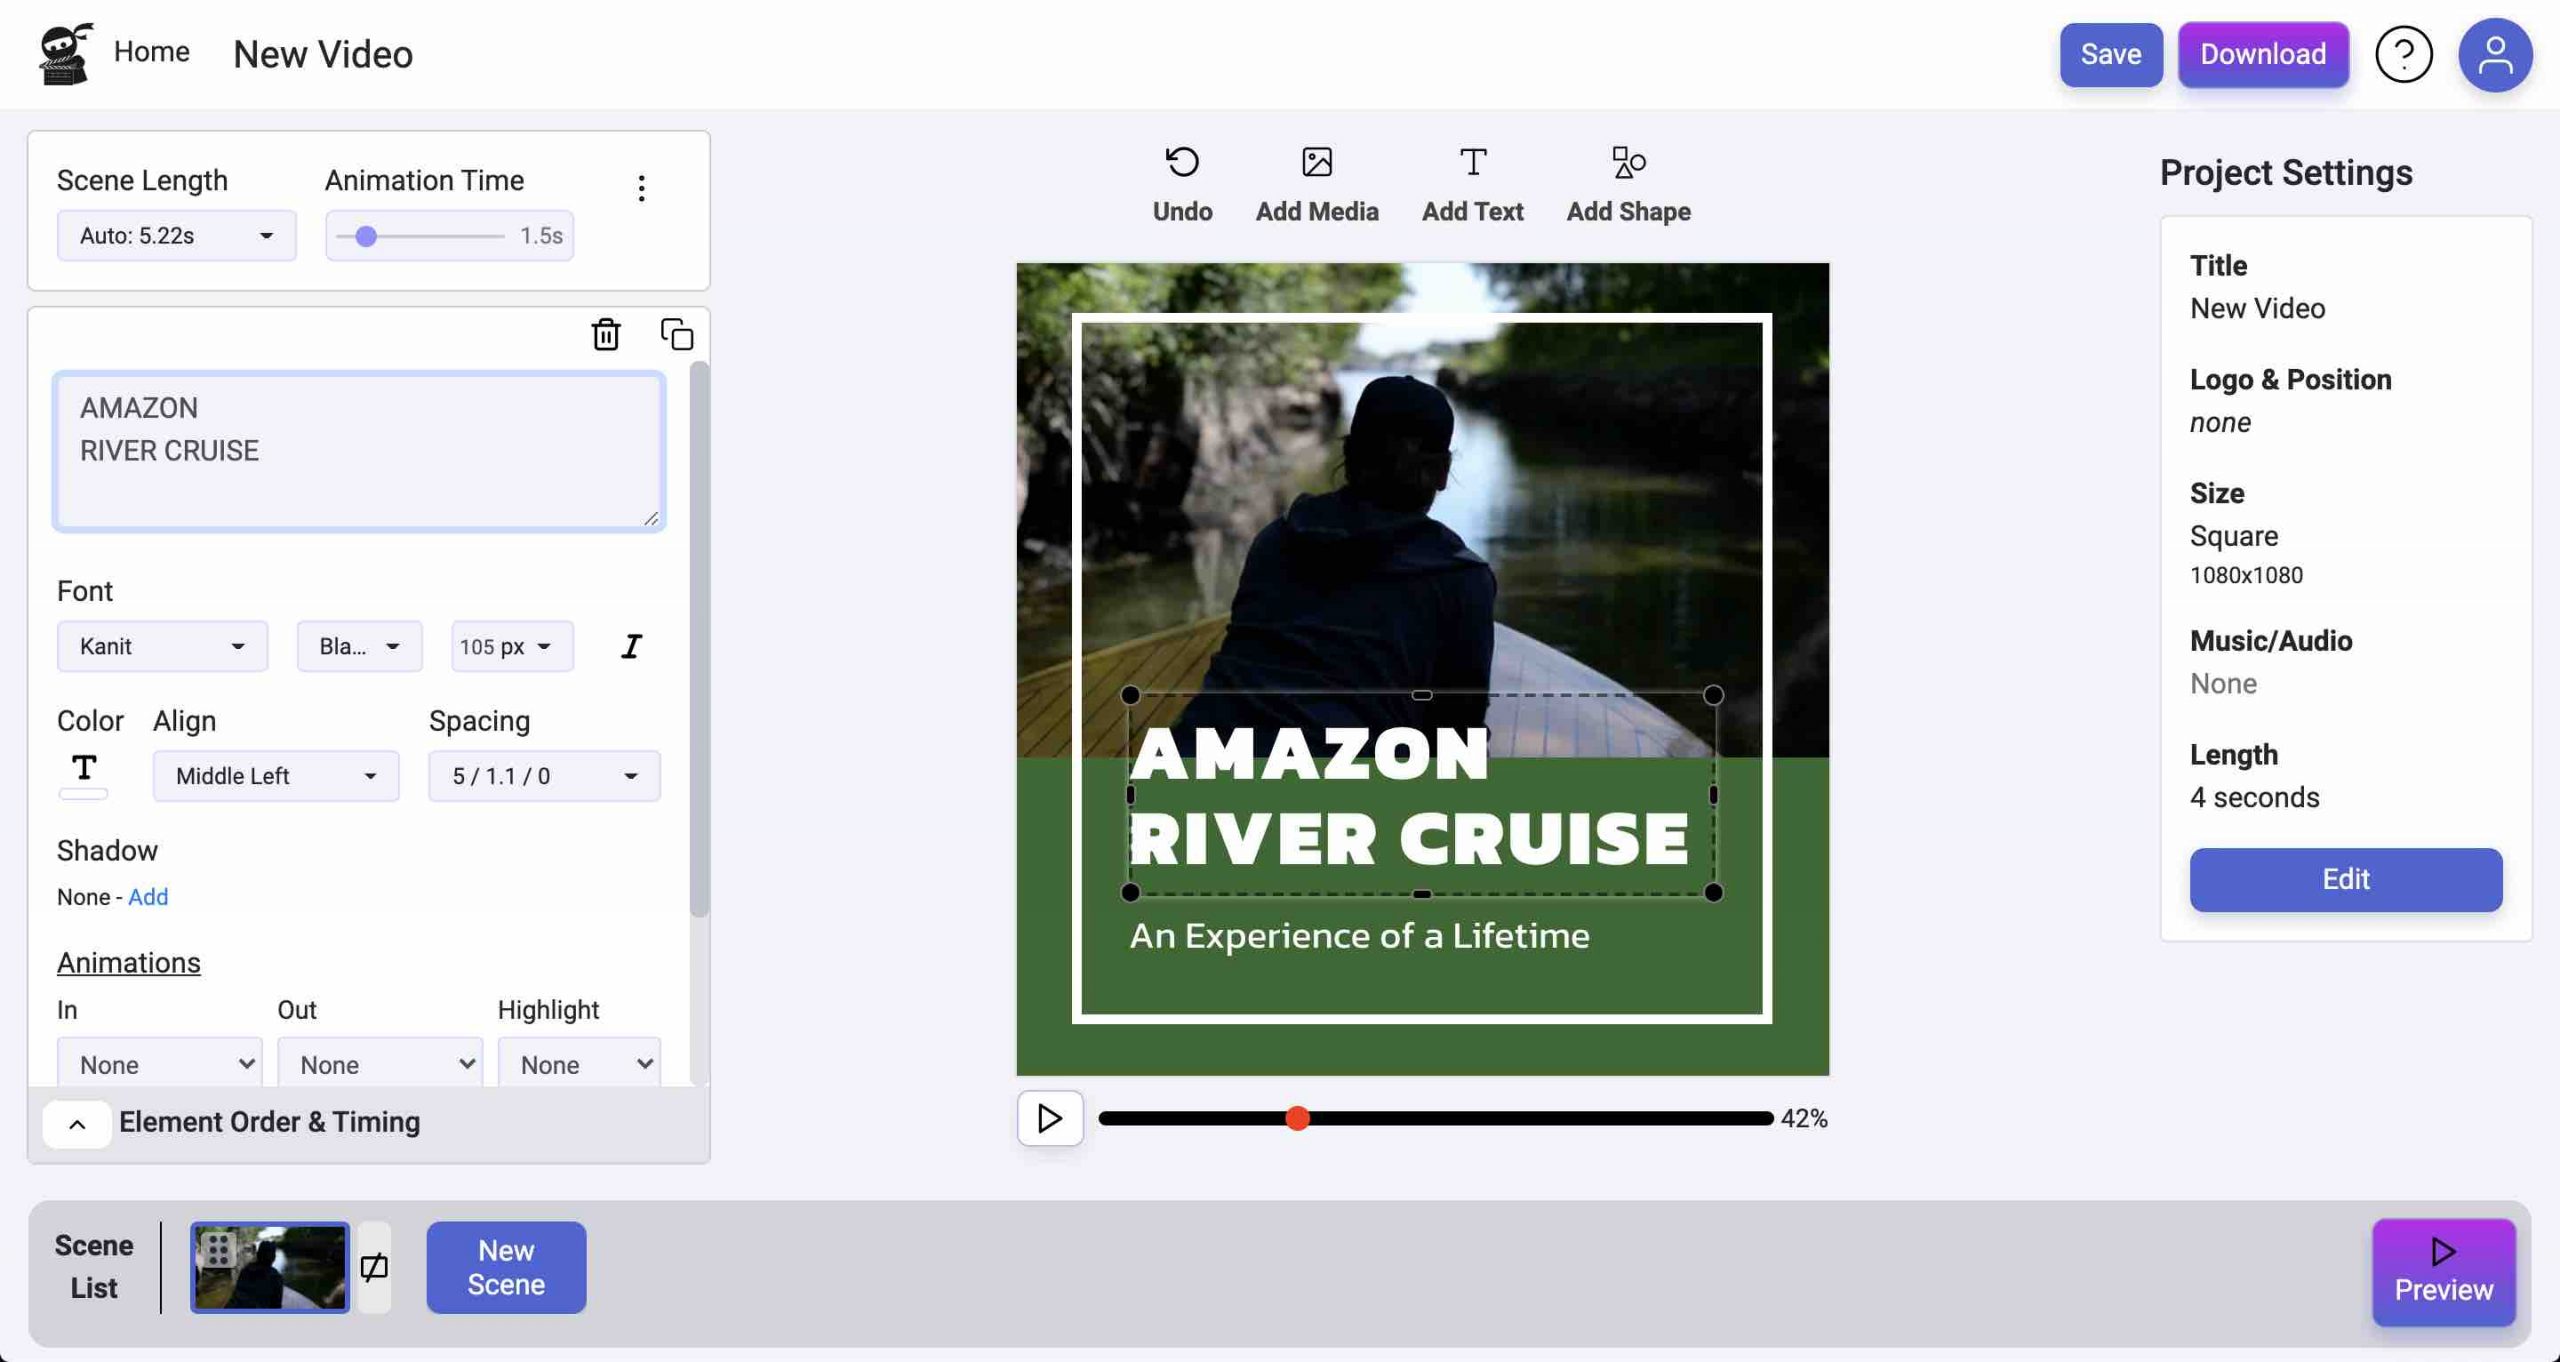
Shape
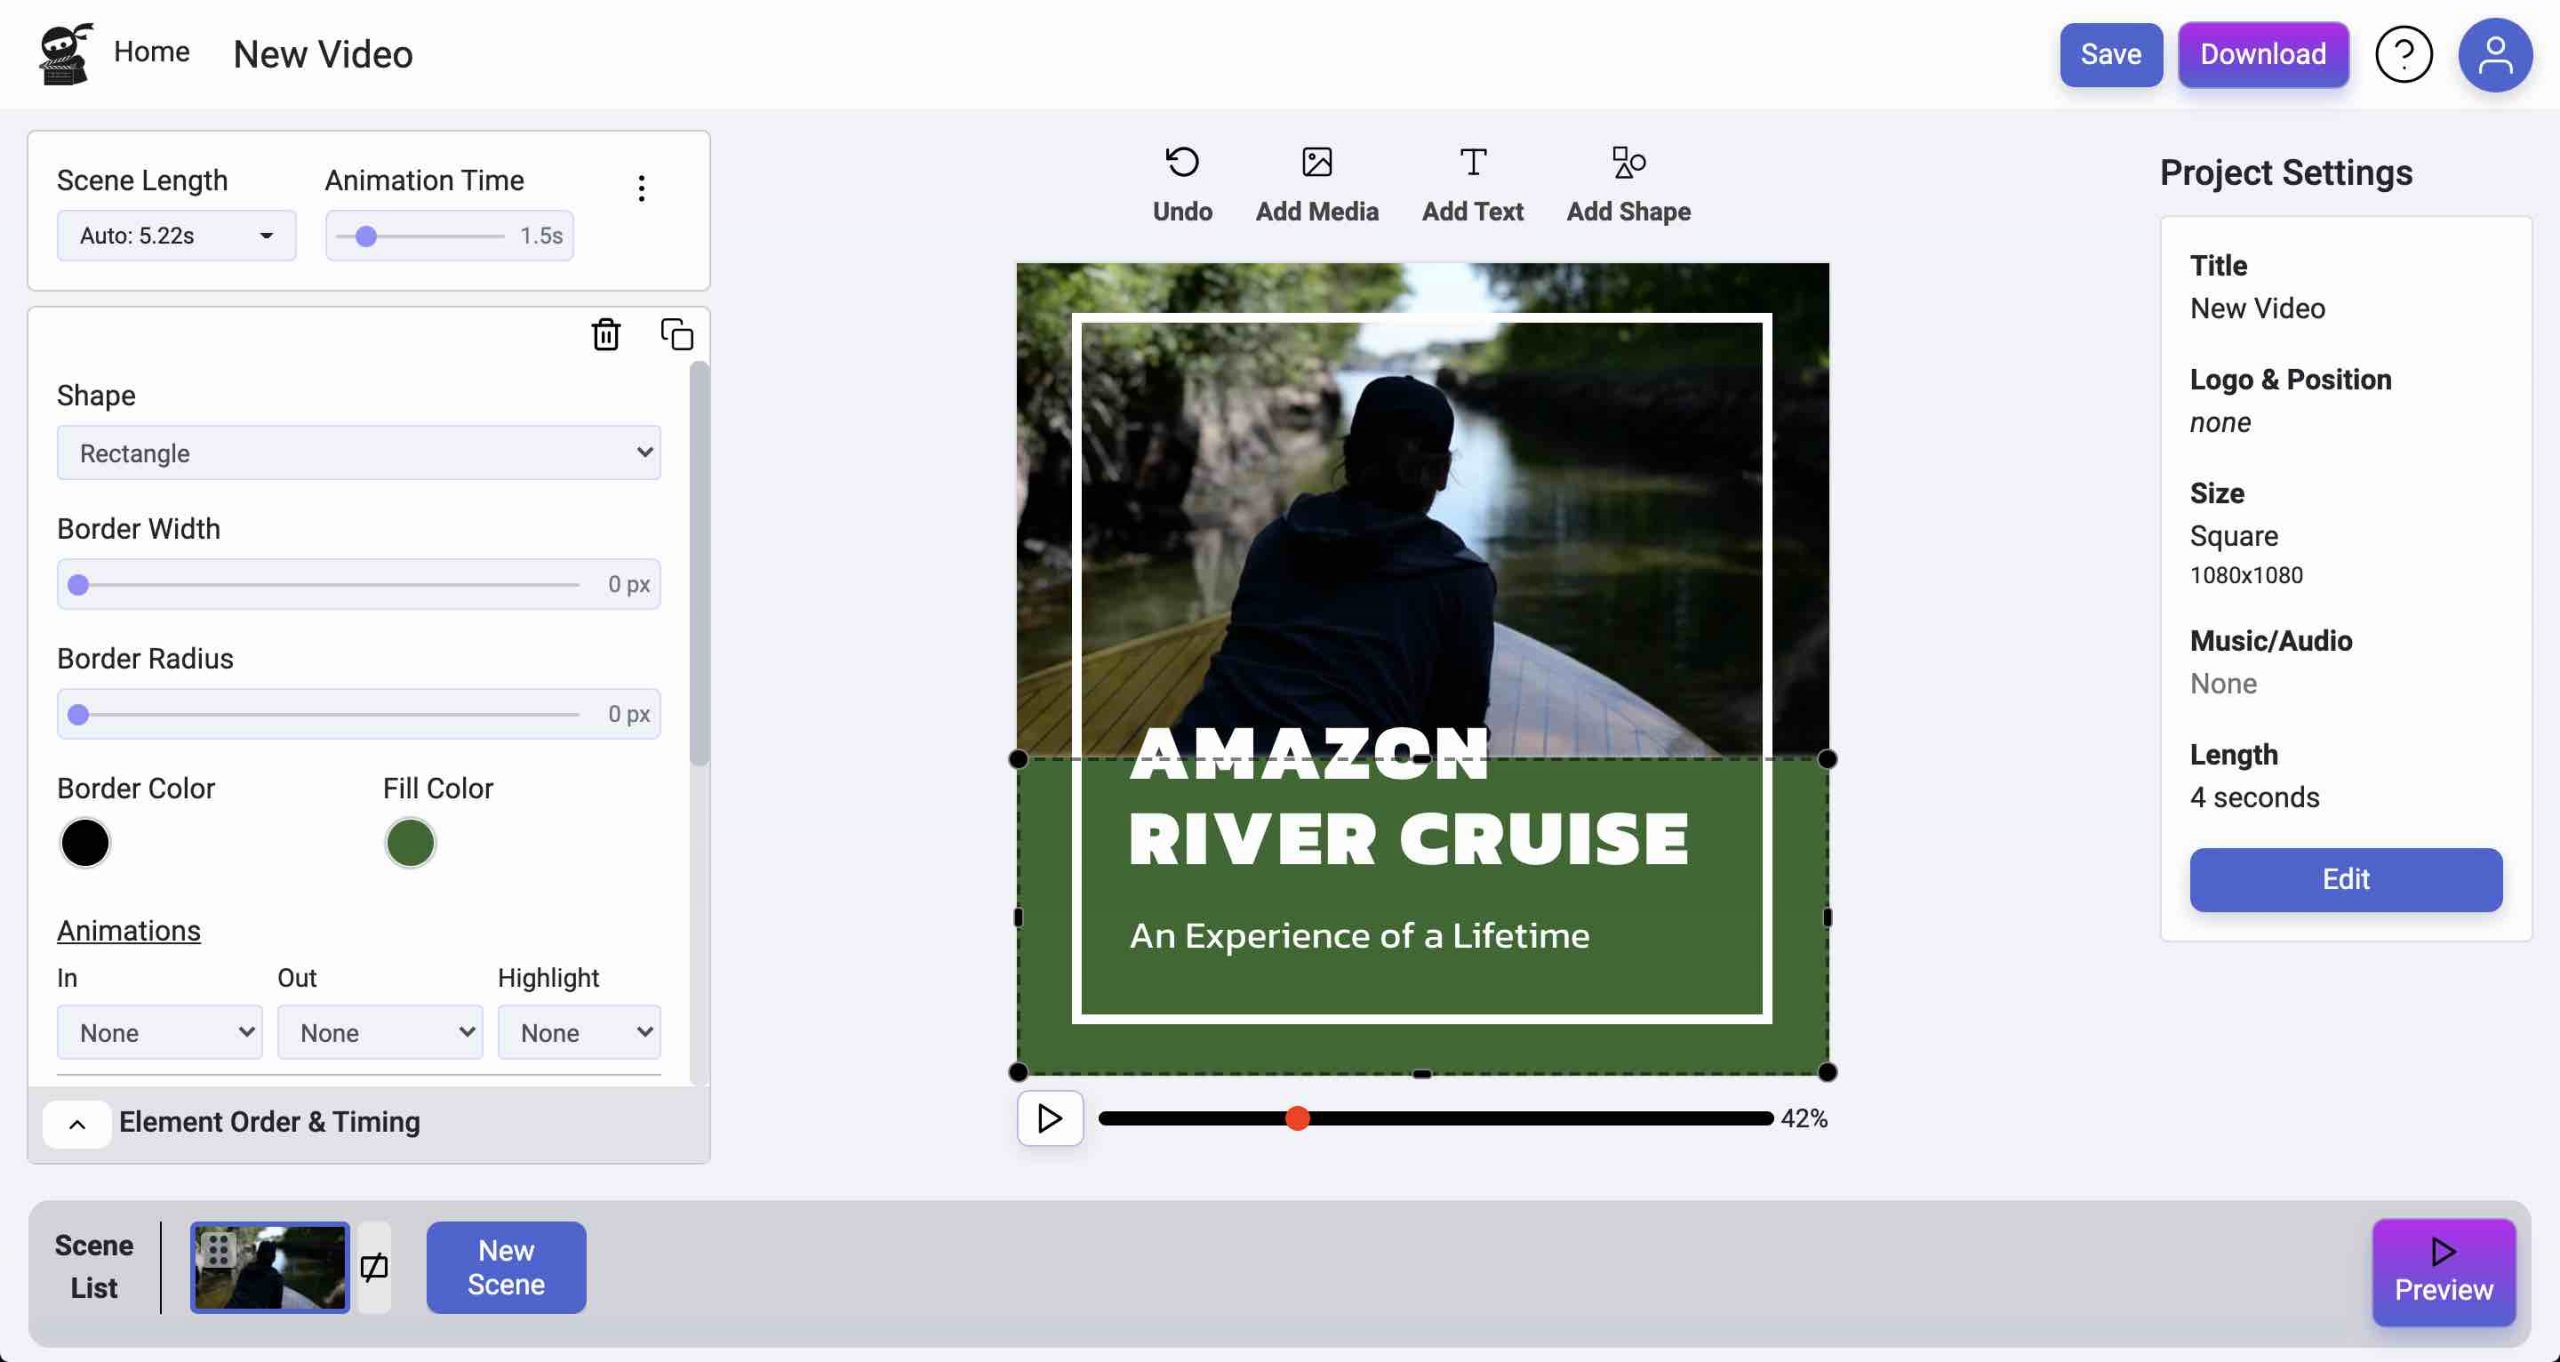
Click the icons above the video canvas to add more elements to your scene. You can edit the scene by clicking on an element in the Element Order & Timing tab to the left or by clicking on the video canvas itself.
Media
Secondary media
Texts
To the right of the video playback window, you will find the Project Settings section. Here you can update a number of different aspects of the project.
All changes made in the Project Settings section will have an affect on the whole video. Music does not currently playback inside the Vidds Creator and will only playback after exporting the video.
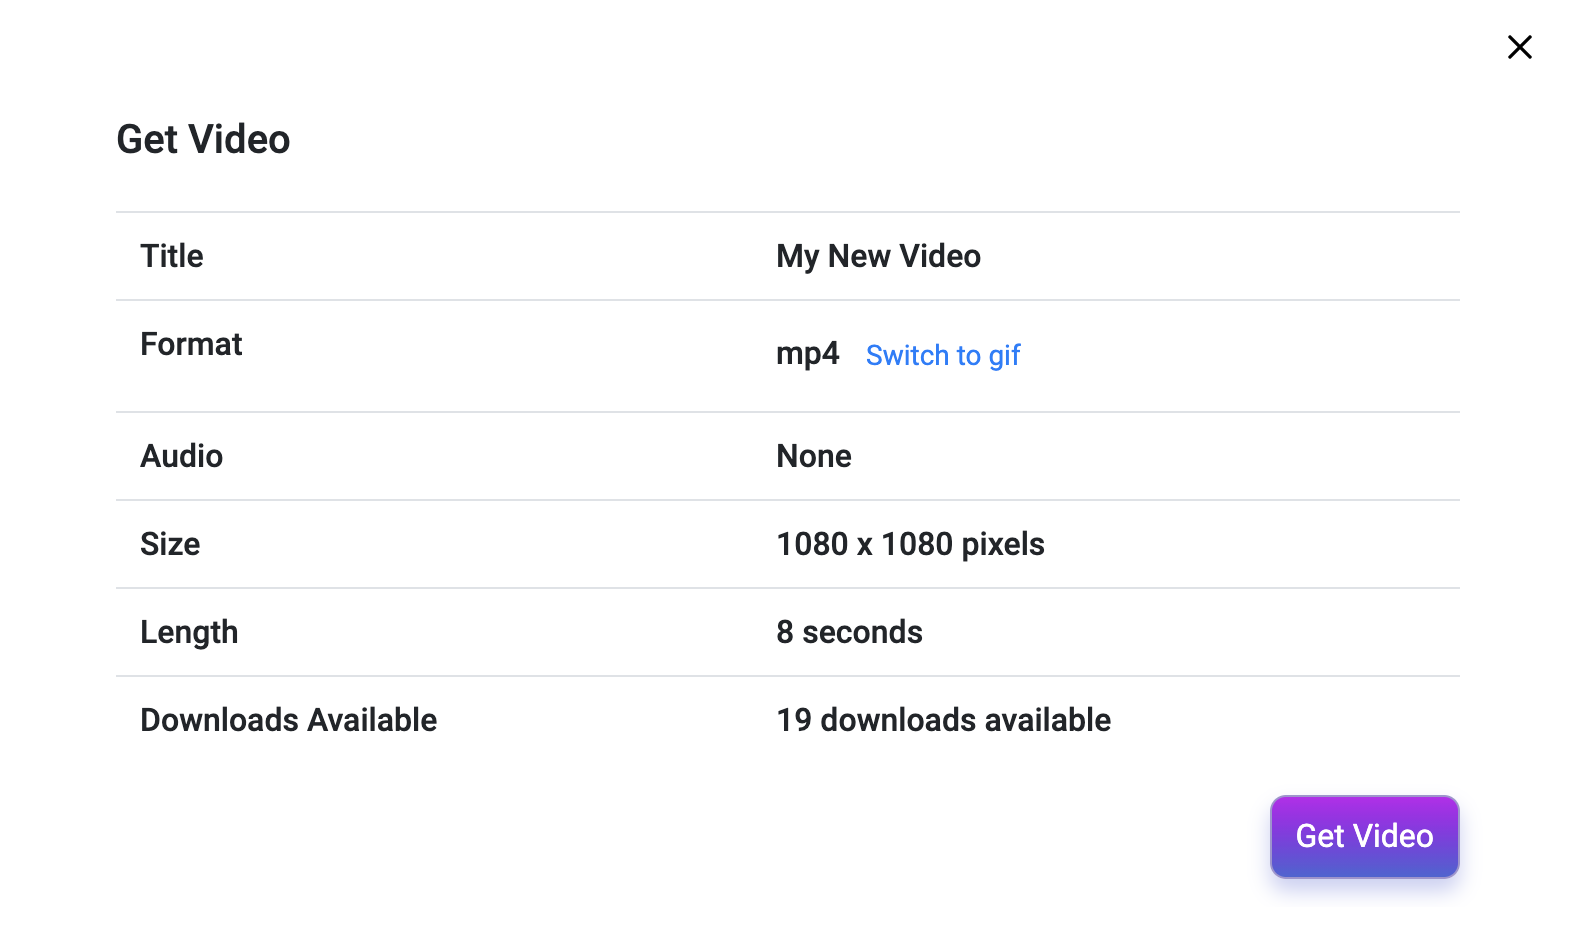
In the top righthand corner of the Vidds Creator you will find the two buttons “Save” & “Download”
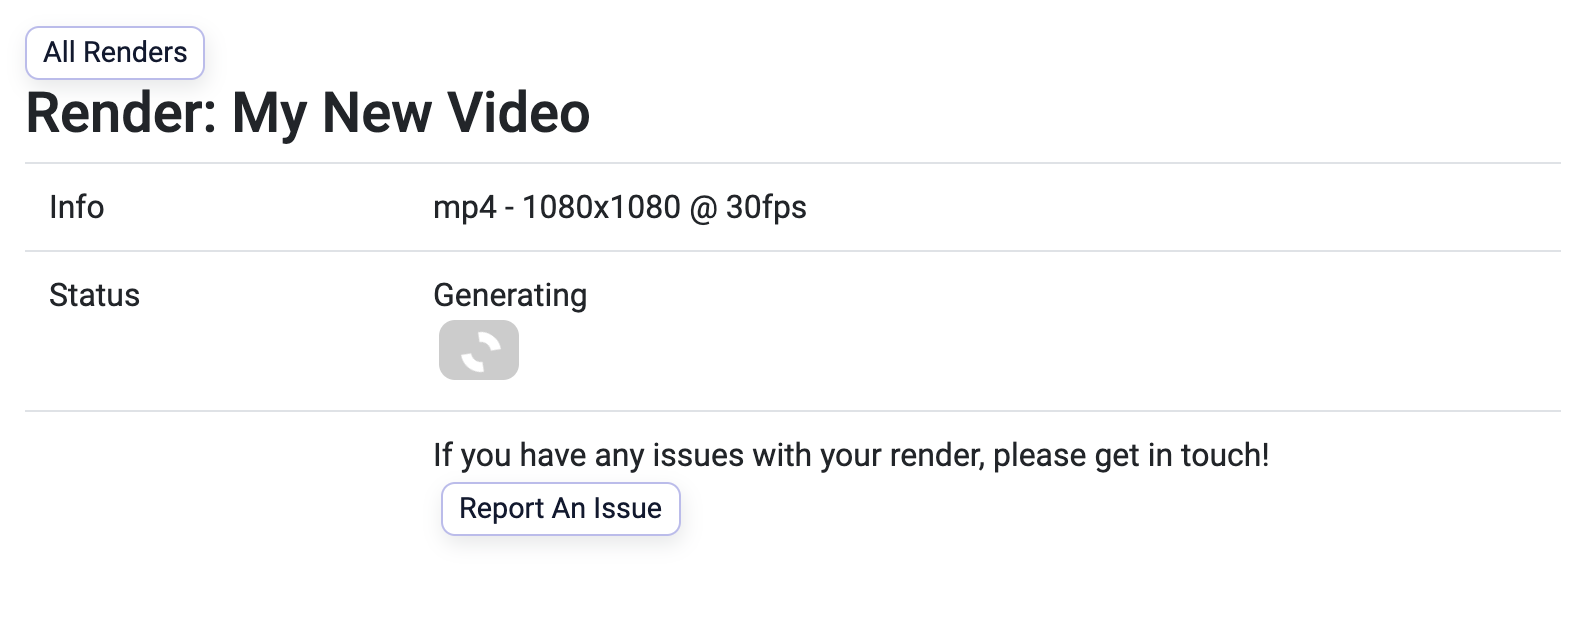
Once you’ve clicked “Download” your video will begin to be rendered (built) and will soon be ready to download. If you don’t want to wait around for the video to render you can find it in your dashboard when it is ready to download. Or by clicking the user icon in the top righthand corner and selecting “Completed Projects” – this will show you a list of all your previous videos and provide you the option to download them.
| Cookie | Duration | Description |
|---|---|---|
| cookielawinfo-checbox-analytics | 11 months | This cookie is set by GDPR Cookie Consent plugin. The cookie is used to store the user consent for the cookies in the category "Analytics". |
| cookielawinfo-checbox-functional | 11 months | The cookie is set by GDPR cookie consent to record the user consent for the cookies in the category "Functional". |
| cookielawinfo-checbox-others | 11 months | This cookie is set by GDPR Cookie Consent plugin. The cookie is used to store the user consent for the cookies in the category "Other. |
| cookielawinfo-checkbox-necessary | 11 months | This cookie is set by GDPR Cookie Consent plugin. The cookies is used to store the user consent for the cookies in the category "Necessary". |
| cookielawinfo-checkbox-performance | 11 months | This cookie is set by GDPR Cookie Consent plugin. The cookie is used to store the user consent for the cookies in the category "Performance". |
| viewed_cookie_policy | 11 months | The cookie is set by the GDPR Cookie Consent plugin and is used to store whether or not user has consented to the use of cookies. It does not store any personal data. |